|
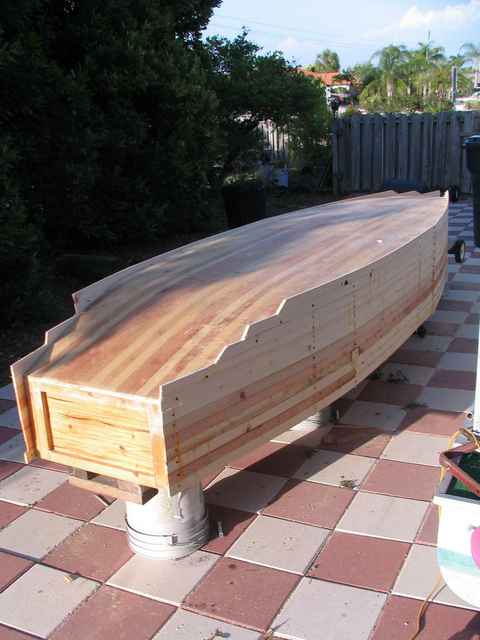
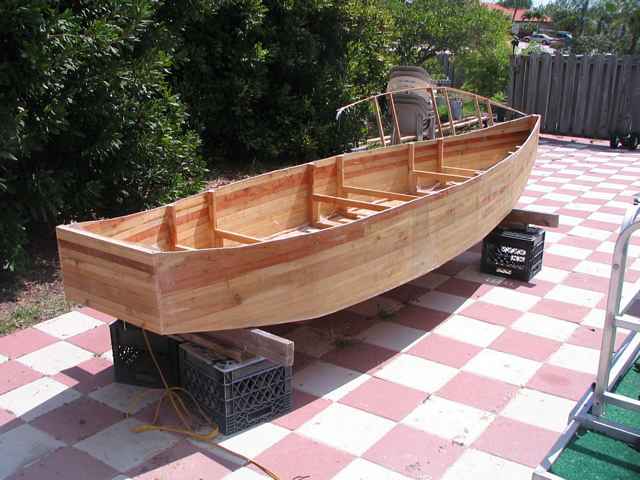
Flip time! Remove your empty one-side-finished hull and frames from the jig. If you dribbled glue or epoxy you may need to use some force in addition to removing the screws. Worse case, you can cut the frames. This will need to be done anyhow, but I like to leave them intact to help fight any stresses that are building up because the wood is coated one side only and may want to warp a bit.
I'll put on the most of the inside tapes before I trim the sides & add the gunnels.
Inside we use all our glass cutoffs and patchwork things together with tapes over framing and scraps on the flats. Try for 2" overlap. We ended up using all the glass & wood scraps and had very little material to discard. 13" wood scraps for the seats, even shorter ones for the seat faces use all the wood, as well as all the glass. Don't throw out those few warped or knotty pieces.
Cured glass can form needle sharp snags, especially when using many smaller pieces. Keep a couple of small sanding blocks handy. You'll miss some. Keep a box of Band-Aids handy too.
Like the Dr. said before attacking my shoulder, It's time for the big cut. Used the cut points from the table to draw nice smooth curve to approximate the dimensions, or just drape a piece of builder's string to a curve you like that approximates them. Cut dimensions are in the table. I cut after glassing the sides. Use a metal cutting blade In the jigsaw -a for-wood blade will dull on the fiberglass before you are half done. Cut right through the frames. IF you use the cut points you'll get a non-smooth curve essentially flat across the center.
 |
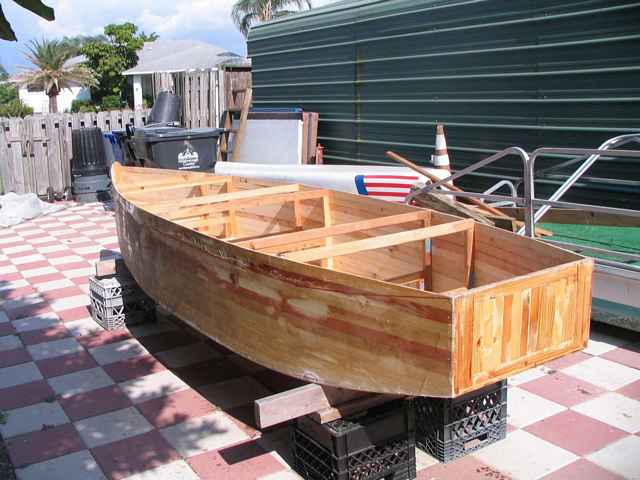
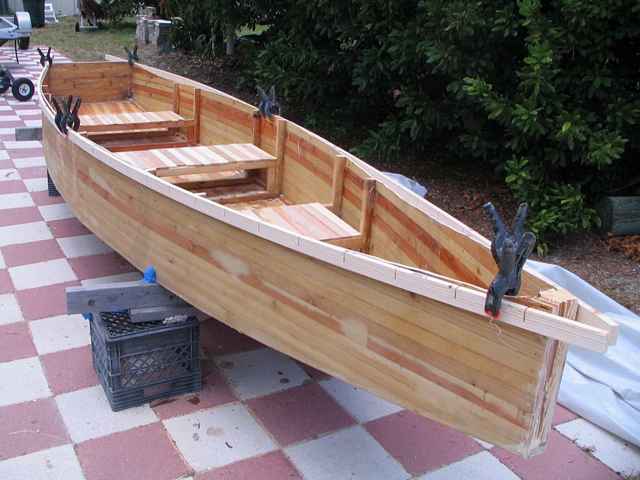
And here we are. We have created another major sanding opportunity. We'll need to sand the curve fair, round off the frame ends, and clean up all of the glass glitches. There will almost certainly be bubbles, high seams, creases, and other issues. Sand smooth, and, if you get to wood, just touch up with the resin. When you read about fiberglassing you will read about how important it is to have perfection to gain strength. If you are building airplane wings on a plastic foam base this is true, absolutely. But a silver dollar size hole, or a crease, or fold in our little boat, over a wood core, will make no difference. Make it smooth, then make it waterproof! Waterproof IS important. Sand out and finish your interior before doing the finish work.
Glue up gunnels outside and sand to fit. Plans called for ¾ X ¾, I liked 1 ½ X ½ better. I notched them for an easier fit. Filled the notches & other flaws with putty (Bondo).
Reinforce at oarlocks and mast partner. I want the mast partner fixed & one set of oarlocks - Payson provided two rowing stations & a lash on partner. My dimensions are listed in the table. Adjust the dimensions as you see fit; Bolger suggests the boat could grow or shrink a bit & we aren't limited to plywood sizes. If you build a longer boat, you'll probably want two more frames. Put in the flotation foam, and cover the seats (thwarts).
For the Foredeck and Afterdeck I used ½" strips, glassed the top side only, simply sealing the underside rather than trying to do a layup there. If using ¼ thickness on the decks you'll want glass both sides. It's possible but messy. You can stand on these decks if circumstances warrant.
At the end, I turned the boat over once more, inspected, sanded any rough spots, placed the three bottom skids. The skids get slightly faired edges and glass tapes (Optional).
The whole boat then gets a final light coat of epoxy.
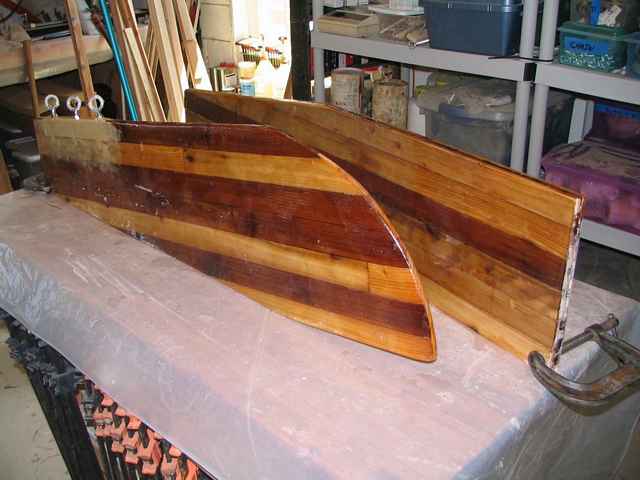
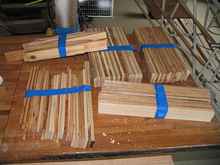
Table top Tasks: Making up the leeboard, rudder, tiller, and oars are table top tasks. Use drywall screws to clamp the laminations if necessary; masking tape and weights was sufficient for me. By the way, my reasoning for removing the screws from the hull, but leaving them in the thwarts & decks, is that, as a boat twist and turns the fasteners move a little bit & I've seen frequent failures of one poking through the glass. No sudden sinkage, but water inside the laminate will fail it eventually. I did the oars as solid blanks and hogged them out. A person with more foresight might have shaped the strips properly before laminating.
There will be a half dozen epoxy cure cycles of 2 hours to a day (you can buy fast/medium/slow cure goo
- I usually buy half and half fast & slow.) Stage the tasks so they can be interleaved. Sailing theory classroom & safety training is probably happening at the same time. Of course if you run a day camp or teach a class you know all this stuff.
Double frame the leeboard slot and double glass the leeboard and rudder blanks because there have been some reports of breakage under stress. Bolger suggested you can launch this by dropping it off a dock. Stressful, I'd say. This is only possible if the boat is decked and has reserve buoyancy per the plans. Reserve buoyancy is not a substitute for mandatory PFD's. This is a light boat and I'm sure it can be made to capsize. Read Bolger for the full rationale.
|