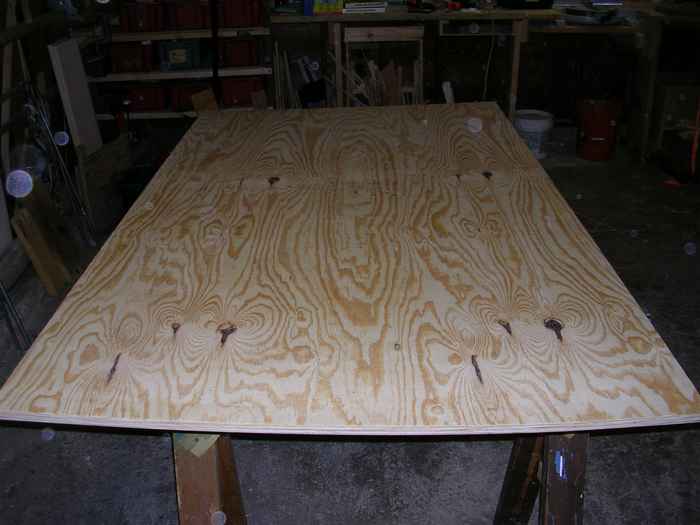
| I'm cheap; hence I'm using cheap plywood which has knot holes in one of the faces. By examining the edges of the sheet, it appears to be relatively void free in the core, but the exterior face wasn't so pretty.
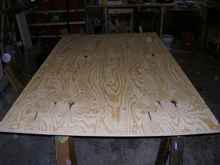 |
Ugly knot holes in plywood face. |
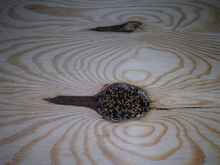 |
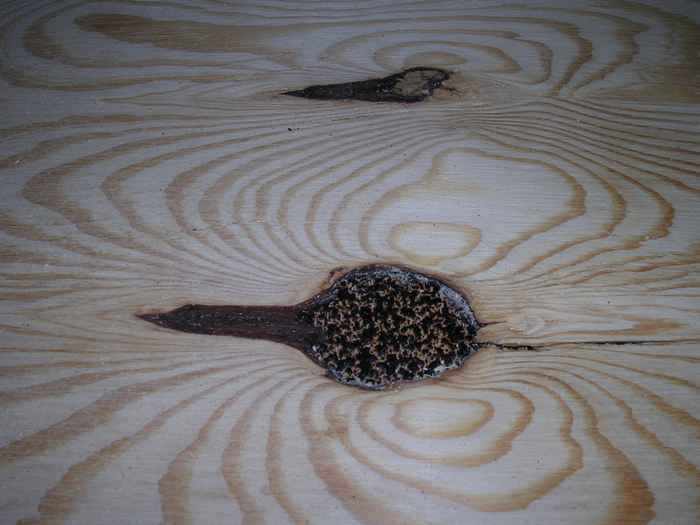
Close up of one of the knot holes. |
I figured patching the face would be much easier than patching the core. Many would probably just fill these holes with thickened epoxy. Go back and look at the first two words of this article again. Epoxy is not something I happily hand over money for. I decided to try to patch the face using Dutchmen. Typically those are the little football shaped patches you see on plywood. This article explains how I did it.
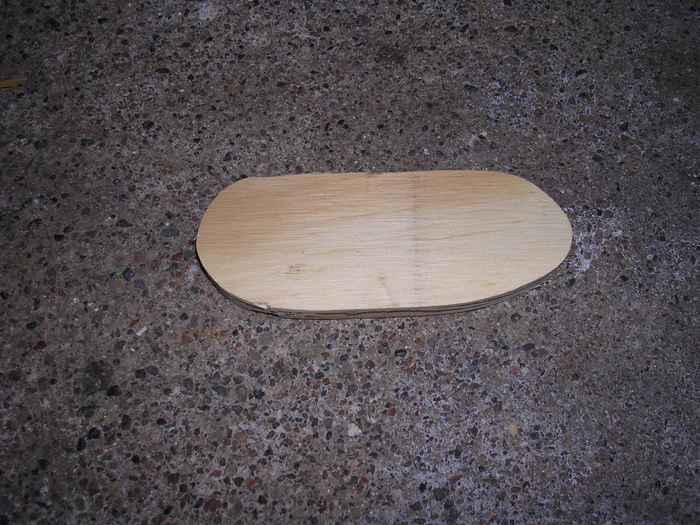
To start with, I needed a template (not to be confused with the word pattern that I use later for something else). This isn't going to be the final size of the patches, but somewhat smaller. I measured the largest area to be patched and cut a somewhat smaller template from some scrap plywood using a band-saw. I had decided that obviously irregular shaped was probably better than close to perfect, but not so perfect as to be reversible. I also figured sharp corners are likely to lift more than rounded ones, so I cut it free hand and ended up with an odd, faintly kidney shaped template.
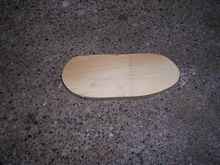 |
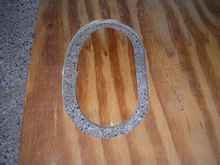
The template which will be used to make the patterns. |
This template is only a temporary step in making the patterns used for cutting both the patches and the recesses where they fit. One needs two patterns. One 'male' pattern to cut the patches and one 'female' pattern to cut the recesses. The male pattern is easy enough to use with a flush trim router bit to duplicate it. The female pattern is a bit tricky. It needs to be sized such that when I use a bushing around a router bit it produces a recess the size and shape of the male pattern. After some sketches, an error or two, and correction or two, I came to the conclusion that a bushing with a diameter 3 times the router bit diameter would do what I needed. Here's my router setup, a 1/2 inch diameter straight cutting bit with a 1-1/2 inch bushing.
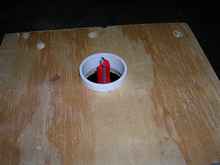 |
1/2 inch straight router bit with 1-1/2 inch bushing. |
I made the bushing by cutting off a short section of 1-1/2 inch PVC sink drain "tail extension" which surprisingly measures 1-1/2 inch outside diameter. I say surprisingly because most pipes are 'named' by a nominal size which seems to bear no relation to their actual size. The size of the bushing is actually what dictated the size of the router bit. I'd have preferred a 1/4 inch bit and 3/4 inch bushing, but I didn't have any pipe with an actual, measured 3/4 inch outside diameter lying around. I mounted the bushing by screwing a piece of 3/4 inch ply to my router's base plate, and drilling a 1-1/2 inch hole through it. To get it perfectly centered, I started by putting 1/4 inch drill bit in my router's 1/4 inch collet. With it unplugged, I then allowed the weight of the router's motor to rest on the bit as I turned it by hand a few revolutions. This sufficiently marked a center point on the plywood. I then removed the router's base (plywood still attached) from the motor and drilled the 1-/2 hole with a Forstner bit in a drill press. The bushing fits snugly enough to stay in place without any fastening.
I chose more scrap 1/4 inch ply for my patterns. I used double faced tape to hold it onto another scrap of plywood since I needed to cut all the way through. I also used double faced tape to affix my template to the pattern stock. The router bushing rides around the template while cutting through the pattern stock. Both patterns were cut at the same time. Once finished, I threw the template in the scrap pile, its job was done and the patterns were ready for use.
 |
Male and female patterns. |
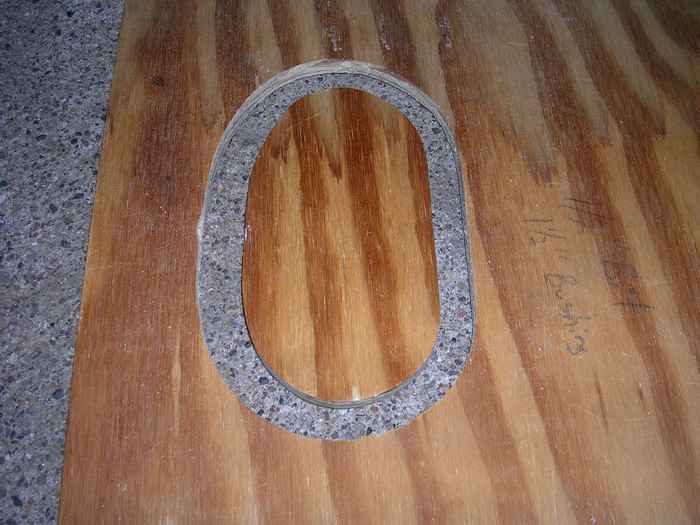
The female pattern is either clamped or double face taped such that it surrounds the knotholes in the plywood. The bushing runs around the inside of the pattern and the bit cuts out the knot. To set the depth of cut, I simply positioned the bit in one of the knot holes and let it rest there while I tightened the router's depth setting.
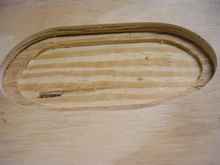 |
Female pattern mounted to plywood and knothole cut out. |
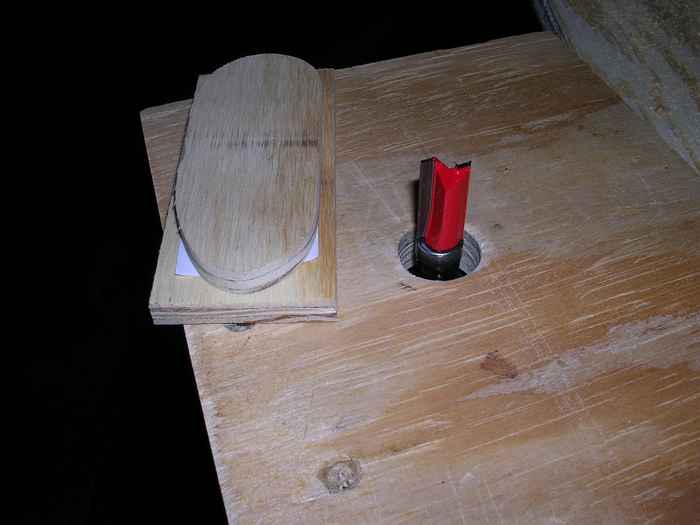
As mentioned before, the male pattern is used to make the patches. I re-sawed some scrap 2x lumber into 1/4 thick strips slightly wider than my male pattern. Double faced tape affixes the male pattern to the patch stock, and a flush trim router bit is used to duplicate the male pattern (may need to trim it close with the band saw first). The picture shows my trial patch using plywood as the patch stock.
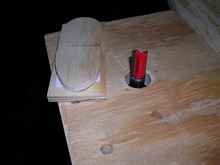 |
Flush trim or "pattern" bit, male pattern and patch stock. |
Once all the recesses are created and once all the patches are cut, it is a simple matter to coat them with glue and clamp them in place with weights. Actually, it is a good idea to first test fit the patches dry. I had one or two that needed a little sanding. Apparently I failed to cut the recess completely. Likely sawdust ended up between the pattern and the bushing causing the recess to be small. I numbered the patches and recesses as I test fit them so I could easily get them paired again. After the glue dried, a hand plane made quick work of cutting the patches down flush with the surrounding plywood.
 |
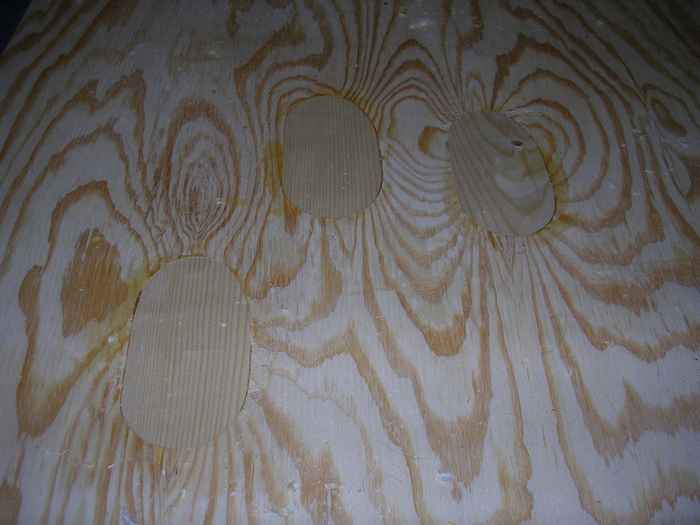
No more ugly, troublesome knot holes. |
If you study the picture carefully, you can probably see the patches aren't a perfect fit, but much better than the as purchased plywood. One can buy bushings and patterns for creating Dutchmen that will do a much better job, but again I'll refer you to the first two words of the article. Okay, I admit it isn't just those two words; I also enjoy figuring out how to do this stuff!
The plan for this piece of plywood is the bottom of a boat. The patches will be on the outside and it will be covered with fiberglass, so I'm not worried about the patches coming loose or the small gaps around them. I've labeled my patterns and tucked them away amongst the junk in my garage. Hopefully I'll remember where they are when I need them again.
|