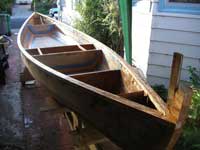
| I completed and launched my Flyfisher about 2
months ago. I LOVE it. It is a perfect boat for one
or two anglers. People who see it always want to ask
questions and give me compliments. Thanks to David
Nichols for the great design!
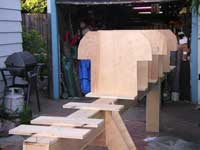 |
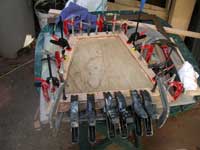
Mounting the
frames on the strongback |
 |
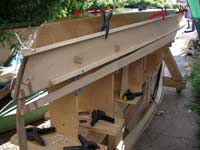
Garboards tacked
in place with screws and scrap pads. Battens
to guide the beveling |
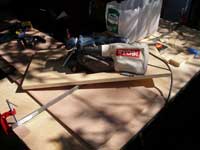 |
Homemade jig
for cutting scarf joints with a belt sander |
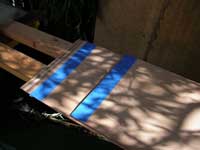 |
Masking the
scarfs for easier cleanup |
 |
Fitting the
midplank |
 |
Cutting the
midplank. I used battens to hold the plank to
a fair curve. This made up for some “sag”
in the garboards |
 |
The “V”
shaped gap between each set of planks is filled
with epoxy thickened with glass fibers. It took
a LOT of epoxy to fill these spaces, but the
result is very strong |
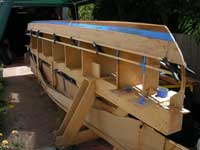 |
Almost done
gluing midplanks. Starting to look very boatlike |
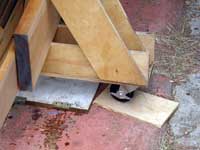 |
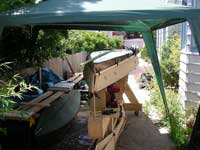
I added wheels
and lumber storage to the strongback. Careful
leveling was a must |
 |
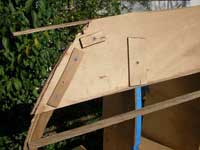
Cutting the
gain for the shearplank. I made them overlap
a bit too much, so my shearplank is kinda wide.
Still looks great |
 |
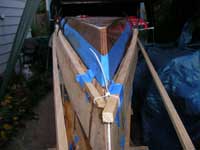
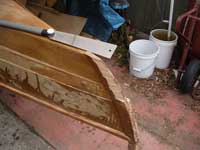
The idea is
to get a smooth bevel from plank to stem. The
planks are so thin that it's easy to go through,
as here. Epoxy fixes everything |
 |
Gluing the shearplanks |
 |
Gluing the gunwales |
 |
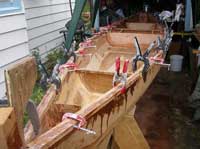
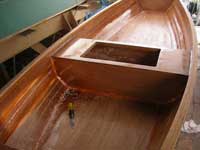
Filleting the
interior joints with thickened epoxy |
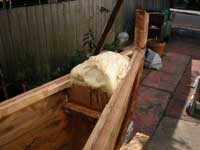 |
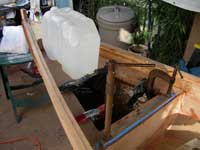
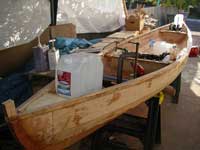
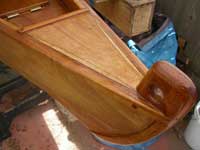
The ends are
filled with closed-cell foam for positive floatation.
You mix the two parts and pour it into the space
you want to fill |
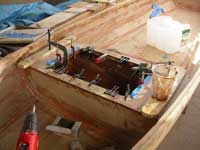 |
Assembling the
center deck with epoxy, clamps and screws. |
 |
I used weights
when clamps wouldn't reach. |
 |
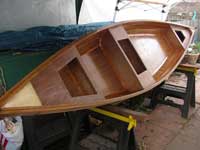
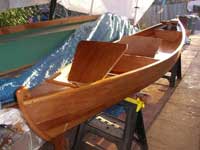
Interior coming
along nicely. I actually thought I was nearly
done at this point. I was wrong. |
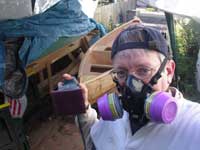 |
Safety first! |
 |
Interior coated
with epoxy. Flipped her sideways to let the
fiberglass tape sit flat on the plank seams. |
 |
Trimming the
fiberglass tape with a sharp chisel. Very easy
to work when half-cured (“green”). |
 |
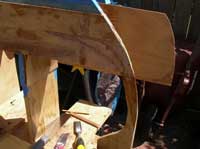
Gluing up the
stern hatch. Scrap 6mm plywood and 3/8“
cherry. One can't have too many clamps. |
 |
The hatch openings
are rimmed with 3mm plywood strips. The hinges
are in place. |
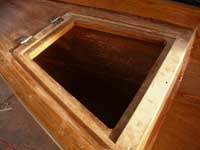 |
Stern compartment. |
 |
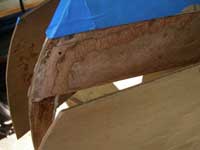
Flipped her
back over to carve the stem and stern. Carved
a little at a time. Love that Japanese pullsaw! |
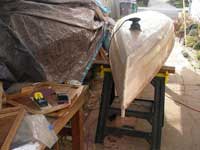 |
More more more
sanding sanding sanding. |
 |
Hatches and
exterior coated with epoxy. Three coats. All
sanded in between. |
 |
Hatches installed
and coated with epoxy. Hinges are a departure
from the original design, which calls for wingnuts.
I like mine better. |
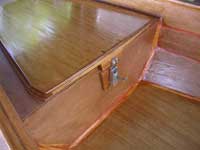 |
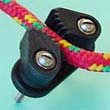
The hatches
are secured with galvanized draw latches. Easy
to work one-handed without looking. |
 |
The ends are
capped with chunky cherry made to look like
a true stem. |
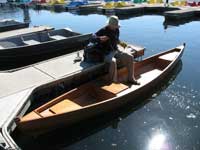 |
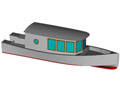
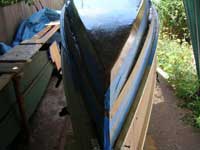
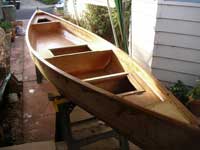
Launch Day! |
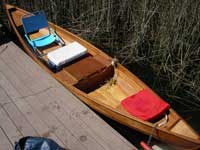 |
Loaded for bear.
Plenty of room for the lawn chair up front. |

|