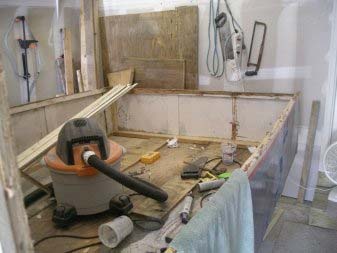
Life has a way of interferring with the best laid plans. This happened to me recently. Phoenix was coming along nicely (see Rise of the Phoenix - Part 1) and reached the point as she appeared below, just before I covered her for the winter. Financial disaster arrived in our family and future plans for this reincarnation of the Sneakeasy "Katie" were put on hold, permanently.
 |
 |
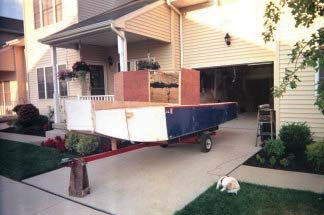
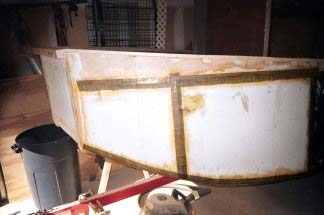
In May of 2008 I had to either pay for the coming boating season at the boatyard where she was or move her. I could do neither option. I couldn't afford to store her and I had no place to keep her elsewhere. The only option I could think of was to cut her up, stack her on her trailer, and put her in the garage of our townhouse. The garage was only 18 feet long so I made the various pieces no more than 17 feet long. Keep in mind that this was the SECOND time I cut "Katie" up. It was excruciating the first time, you can imagine what it felt like the second time! She sat very sadly in the garage for much of the summer. I hosted the Second Annual Eastern Messabout in June and I got a couple rides in my friend Bob Throne's boat during July and August.
Around the middle of August I was in the right state of mind to contemplate what I would now do with "Phoenix". Because of space constraints I could only build her 16 or 17 feet long since I couldn't afford to store her at a marina, I had to keep her in the garage. The big decision was what design to use.
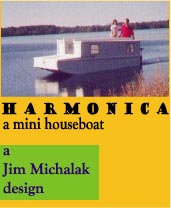
Steve Lewis designed and built a minimalist cruiser called "Chugger". It always appealed to me because so much utility was wrapped up in a small, simple package.
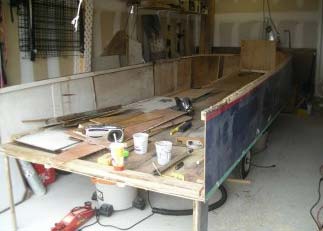
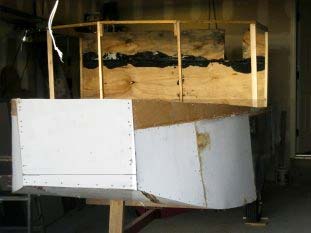
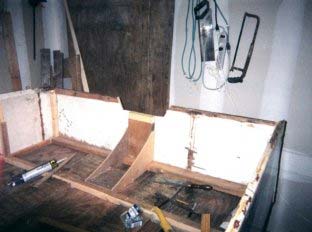
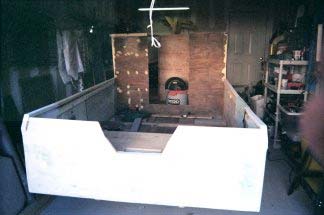
She is 12 feet long and 4 feet wide. My reasoning was I wanted to build the biggest boat I could out of the remnants of "Katie" and be able to store her in the single car garage I had. Since the bottom of "Phoenix" was 6 feet wide and 17 feet long now, I started with those dimensions. I unloaded all the pieces from the trailer except for the bottom panel. Because of how I built "Phoenix" the first time I decided to cut the bottom just inside the chines. The result was a 5 ft 6 inch wide bottom panel which was 1 1/2 inch thick. I then took inspiration from Chugger and brought the forward end in toward the center, leaving a flat section which would become the bow transom. I then wanted to curve the bow up like Chugger. I couldn't bend 1 1/2 of laminated plywood so I removed the top 3/4 inch layer and curved the bottom up and secured it with temporary bracing.
 |
Steve Lewis in "Chugger" |
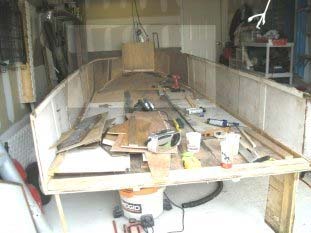
I mounted internal chines onto the bottom and secured the sneakeasy sides. I built the bow transom and glued and screwed everything together. Keep in mind that I am using mostly recycled (twice) wood panels. It made the whole project more difficult, but fun non-the-less.
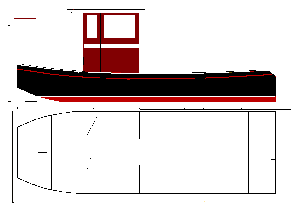
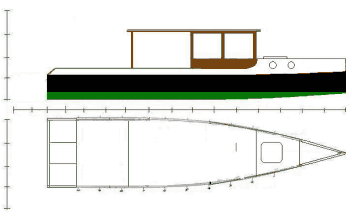
The next thing was to decide on the topside design. My initial thought was just to make a Super Chugger , keeping to Steve's design, only bigger. I drew that out in a couple different configurations and liked what I saw, but I wasn't quite satisfied. I have long been intrigued with the Mini Tug idea. I almost built a Bolger Micro Trawler when I built the sneakeasy. So I played around with that idea and got the picture below.
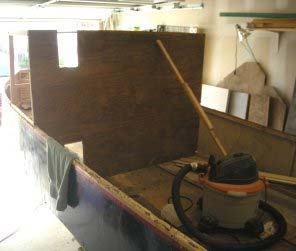
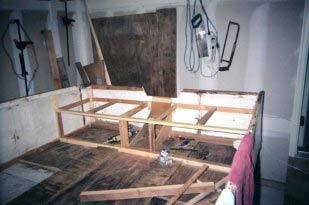
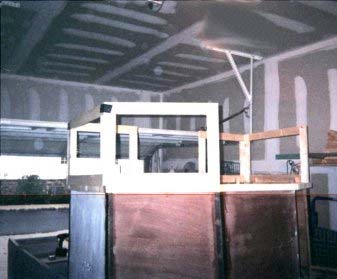
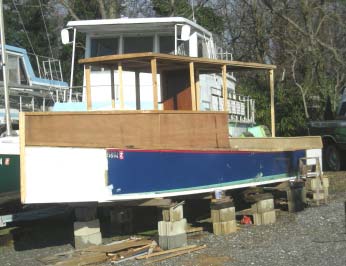
Notice that I added some flair on the sheer to resemble a tugboat. The wheelhouse has 6 ft headroom, but doesn't look too much out of proportion. I like that rendition and proceeded to make it reality. I had to figure out how to make the wheelhouse a convertible because the boat would not fit into the garage with the full headroom. More on that later. Next came the transom and the main frame assembly which is the wheelhouse back wall. Notice the missing pieces in the wall, used plywood!
I next built the frame for the wheelhouse and installed luan panels for the sides. How wonderful to finally use NEW wood! Note the hexagonal type shape, kind of like a tugboat.
I was quite concerned about the transom and wanted it very strong. Even though I will probably use the Mercury 15 that was on "Katie" I wanted to build it to support a larger engine. I wanted storage under a useable seating area and a place for the gas tank and stuff.
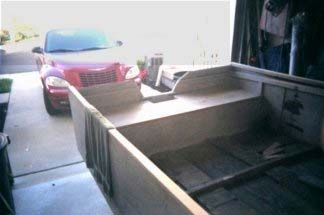
I then built the sheer flair into the sides, which improved her overall look dramatically.
I finally got primer on the outside of the hull.
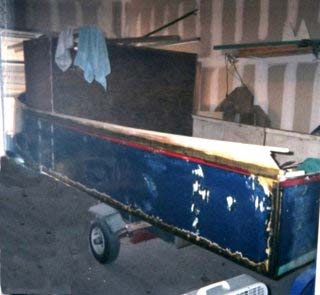
I was now ready to tackle the convertible feature. I decided to make window panels that would be hinged and could be folded down for transport and would allow the boat and trailer to be stored in the garage. The hard top would lift on and off and store in the cockpit.
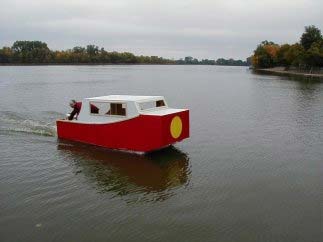
This concludes Part 2. Even with severe financial difficulties I am pleased to report that I have been able to build what I believe will be a very functional and safe boat using used wood and some imagination. Please visit Duckworks often and watch for Part 3, soon to be published. Remember, you too can build a boat, sure you can!
***** |