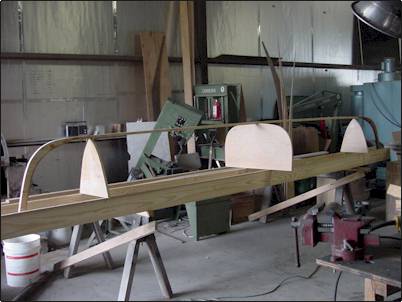
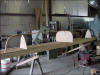
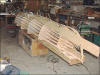
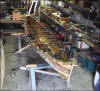
| Here you see the strongback set up with three of the
station molds and the inner stem/inner keel assembly. |
 |
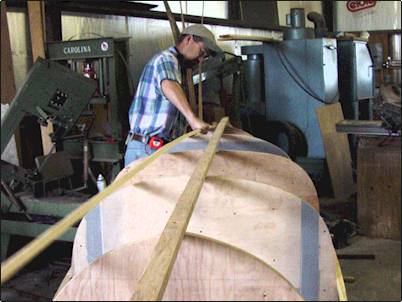
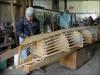
| Here I have all the station molds in place and am
attaching the first riband. That is the strip that defines where the
overlap will be and how wide it is. |
 |
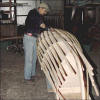
| After all the ribands are attached to the molds, I
spend a little time adjusting their placement and twist. |
 |
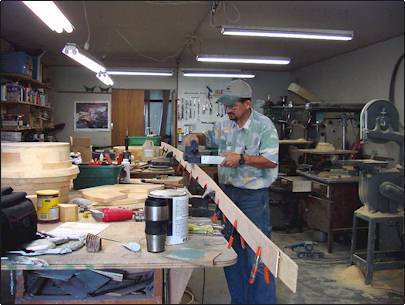
| The plans say to rip a whole sheet of ply lengthwise,
and splice the ends together, then place the whole thing on the boat to
mark where to make the cuts. I could not do this with the heavier ply, so
I ripped a 5" wide strip and used that. |
 |
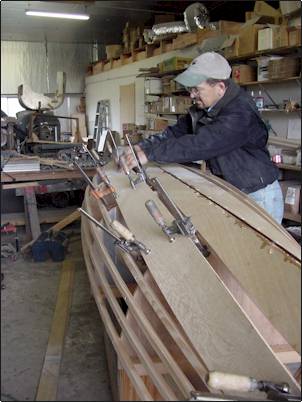
| When the strip was clamped in place, I marked the
outside of the first riband on it, and cut it to that shape. Then I
marked the second strake. You have to mark ahead of the gluing so
that you can get to the ribands. |
 |
| I put packaging tape on the ribands to keep them from
sticking to the epoxy. Once the glue on the garboard strake (the one next
to the keel) has set up, I get ready to mark the third strake. |
 |
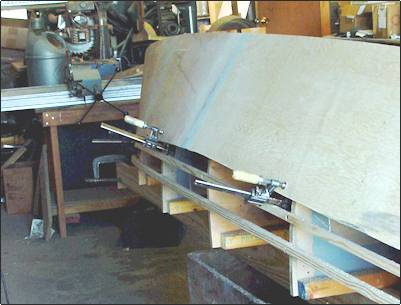
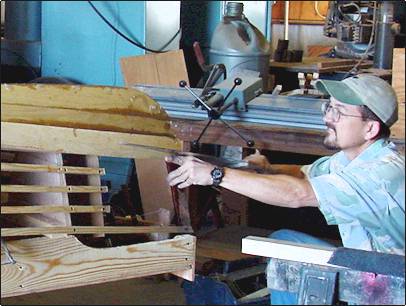
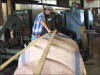
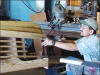
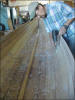
| Here I am spiling (marking) the third strake. You
need lots of clamps for this kind of boat building. |
 |
| Speaking of clamps, I had to make a boatload of these
simple plywood jobbies and as many little wedges. |
 |
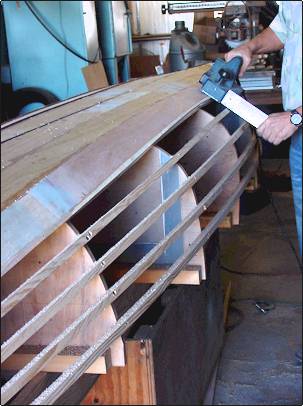
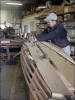
| When making each strake, I used the power planer to
smooth out the edges which are cut with a jig saw. |
 |
| I also used the power planer to bevel the edges of the
strakes that are already in place. This face is glued just before
the next one is placed and clamped. |
 |
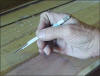
| This shot shows how I ground a regular wood pencil to
make a mark right along the ribands. |
 |
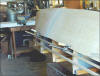
| The spliced together length of ply is presented to the
form so that it can be marked (spiled - if you are a purist) prior to
cutting the next strake. |
 |
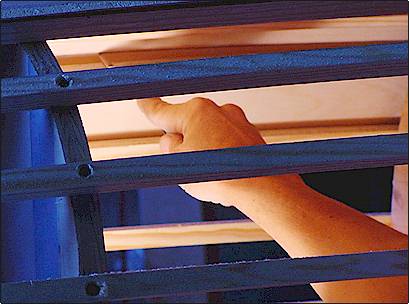
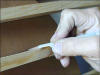
| Here is how you move the pencil along the riband to
make the mark on the ply. Marks are made on the outside of adjacent
ribands so that the strake is wide enough to overlap by the thickness of
the riband. |
 |
| This attempts to show me spiling the strake from the
inside of the form. |
 |
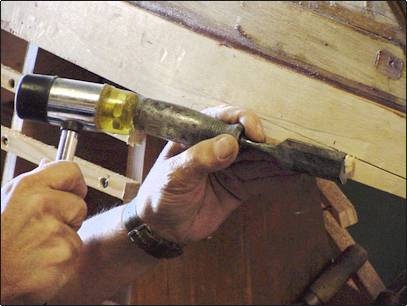
| Where all the strakes come to the stem, each has to be
let in where the overlap is. First you make a short sawcut.... |
 |
| .....then chisel out some of the strake so that the
next one will lay flat at the stem. This is explained much better in
Tom Hill's book. |
 |
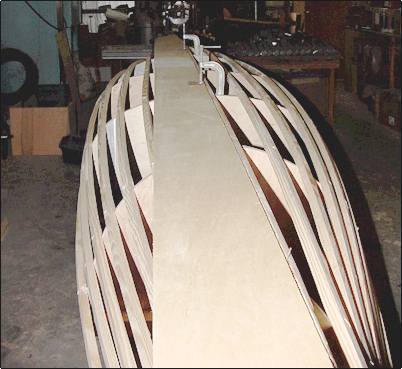
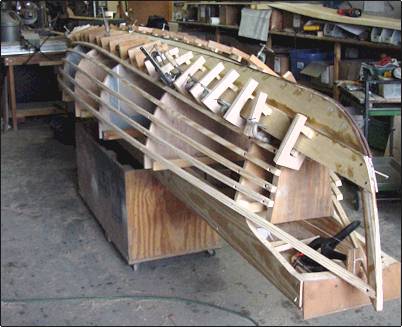
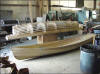
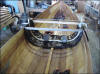
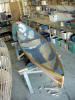
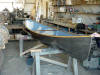
| Finally, all the strakes are glued and the 'husk' is
off the mold and turned over. |
 |
| Here is another view of the hull and the mold. |
 |
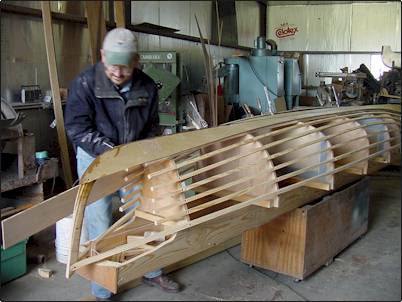
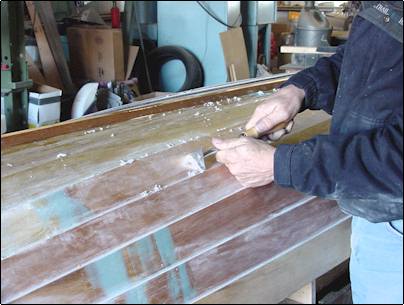
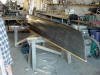
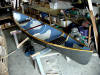
| There are always a lot of drips and globs on a job like
this. To smooth things up, I got a scraper from Home Depot, and
Modified the shape to match the laps, and worked the whole hull over. |
 |
| The inside was lots worse, so I got out my trusty heat
gun, and softened the epoxy before easily scraping off the excess epoxy.
Richard Spelling taught me this trick. |
 |
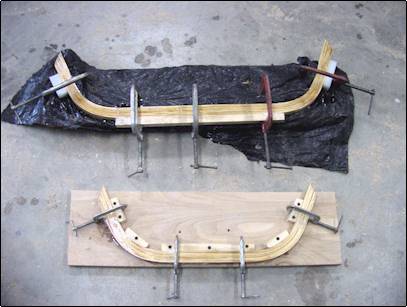
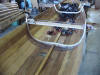
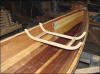
| The plans call for the construction of four seat
thwarts. They are laminated from a dozen thin strips of wood glued
into the proper shape. I made some forms and glued the thwarts in
place. The one on top in the picture has the plastic that keeps it
from sticking. The lower one has the plastic removed so you can see
the form. |
 |
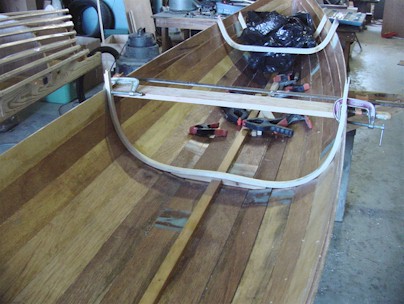
| A center rib is made of four 1/8" thick strips
laminated in place. I used a black plastic trash bag to keep the
epoxy off the hull. |
 |
| After the resin set up, I did a dry fit. |
 |
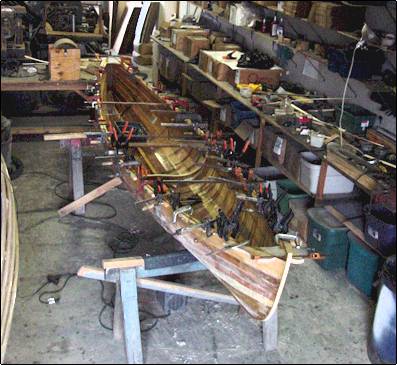
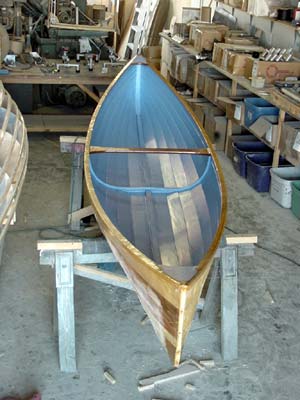
| The next step was to glue the rib, the center thwart,
and the inwales to the hull. I used every clamp I could find. |
 |
| The next day, I took the clamps off. All that's
left now is the outwales and seats, and we can begin painting. |
 |
| Here is a dry fit of one of the seats. |
 |
|
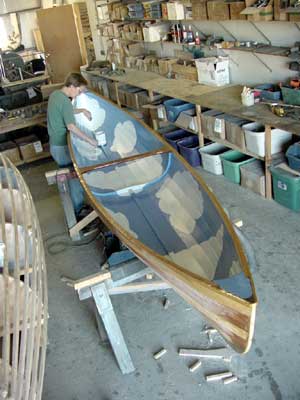
Let the painting begin! Ok, we have some blue
left over from the Summer Breeze... |
 |
| ....with a little white from the back door we
repainted..... |
 |
| .... some metallic gray left over from another
project.... |
 |
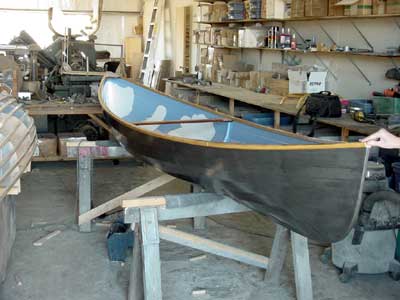
| ....and, presto, a canoe. The clouds are one of
Sandra's favorite motif's. I like them, besides, it's her boat.
Now, all that's left are the seats. |
 |
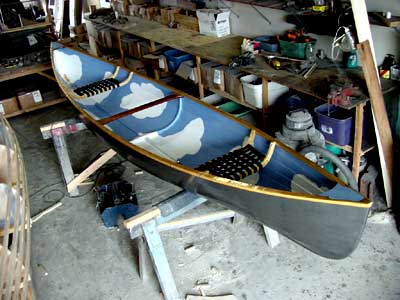
| The seats are covered with 1" Nylon webbing that is
woven and screwed into the bottom of the frame. |
 |
| Here is a close-up of one of the seats. |
 |
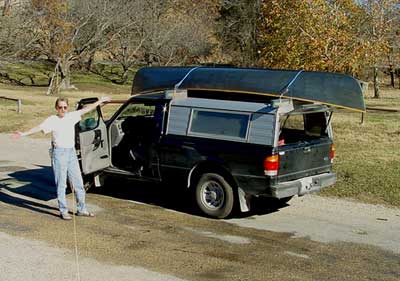
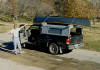
| She's loaded on the truck and hauled
to the closest water we can find.... |
 |
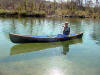
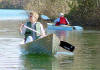
| ......and finally Sandra gets to try her new canoe |
 |
| Our friend Bob Williams joined us with his
skin-on-frame Rob Roy. |
 |
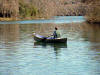
| The last time I saw Sandra, she was headed down the
Guadalupe river.... |
 |