I've been a member for a few years, never posted. I built this springer style tug for my son and I to use on the small "electric only" ponds in our area. I used ACX ply, ripped 2"x4"s and salvage wood. For fasteners I use stainless #8 of various lengths, TB3, liquid nails, and reclaimed deck screws that I had used indoors.
The plans were for 18"x8" and were actually metric. I converted to inches, multiplied by 4.9 for the length and 6 for the width. This was so I wouldn't have to scarf together a bottom panel. It's 3/8". The wheelhouse is 1/4". I painted it with 100% acrylic exterior latex - 4 coats on the bottom, 3 on the decks and 2 on the wheelhouse. Power is from a trolling motor in the stern as an inboard. That still needs to be done.
This should last as long as he will fit in it with me, he's 3 1/2 now.
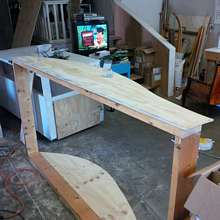 |
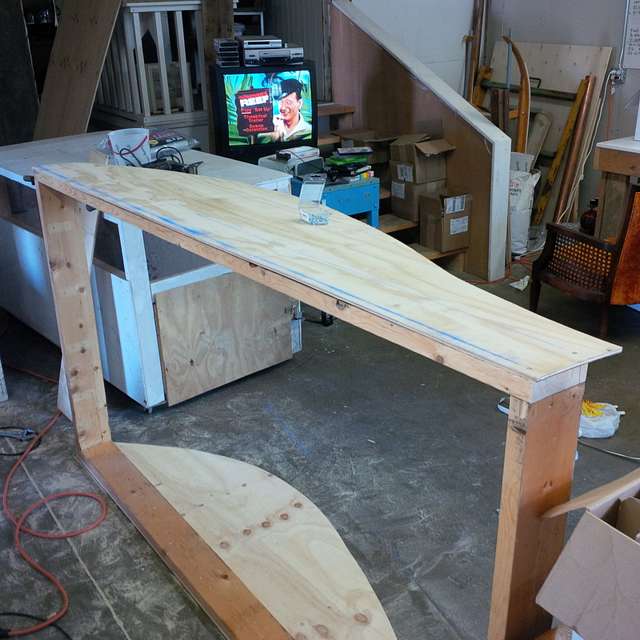
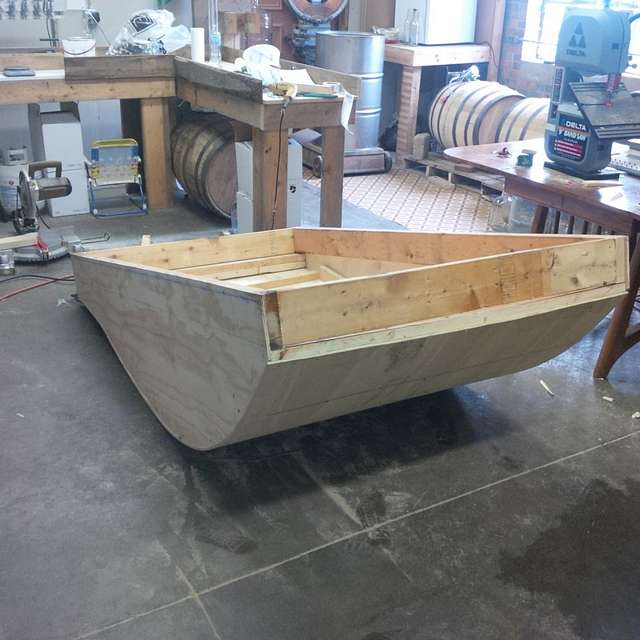
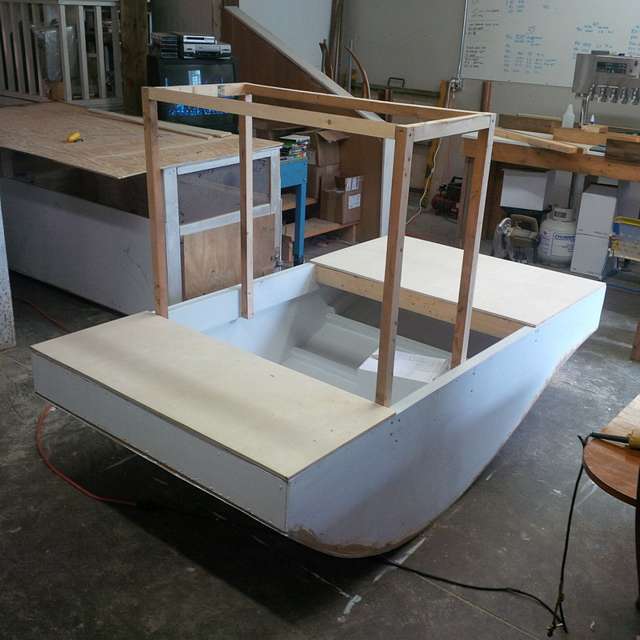
1. This is the basic frame work made from salvage 2x6 with the 3/8th ACX sides. I got both sides from the same sheet. All side measurements were scaled up 4.9 times working from the Springer Tug Boat plans all over the internet. I snapped a line and used the station lines to gauge screw placement. I also used TB3. |
 |
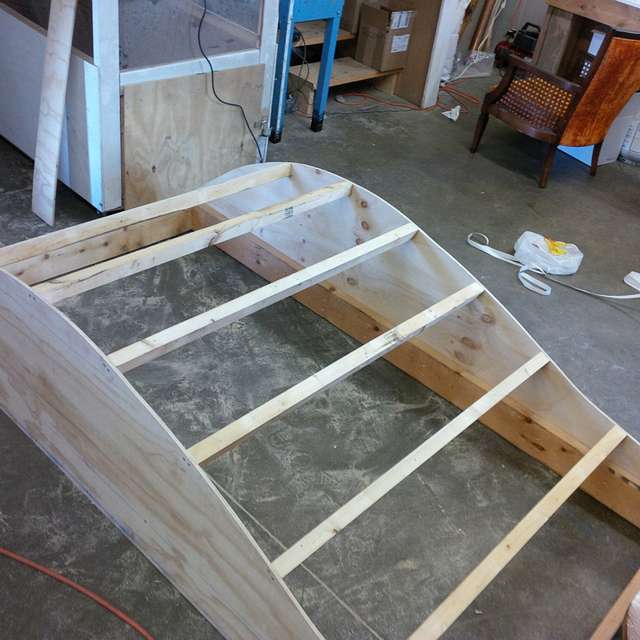
2.
This shows the ribs being screwed in. They are made from ripped 2x4 left over from something else. One rib up front was a full 2x4 because of the turn in the hull. |
 |
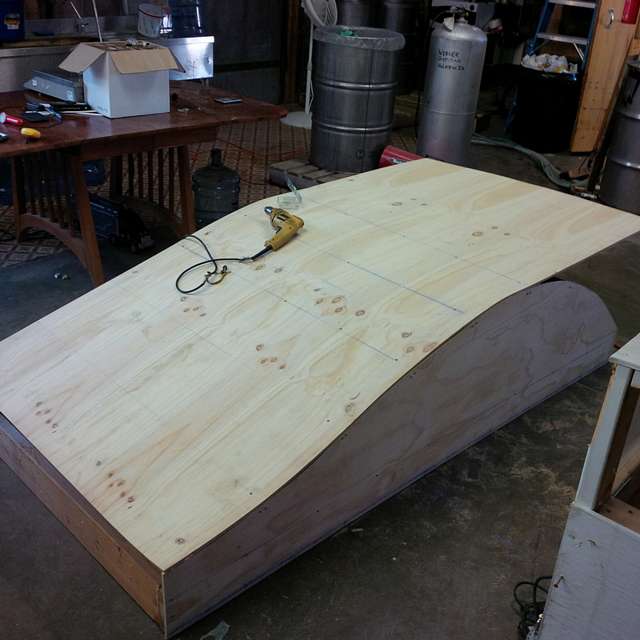
3.
Here is the hull bottom sheet being screwed down. It Is also 3/8th ACX. I started in the middle and went to the rear first. Where the bottom inverts, I had to add some pieces inside to suck in the bottom and hold it there. |
 |
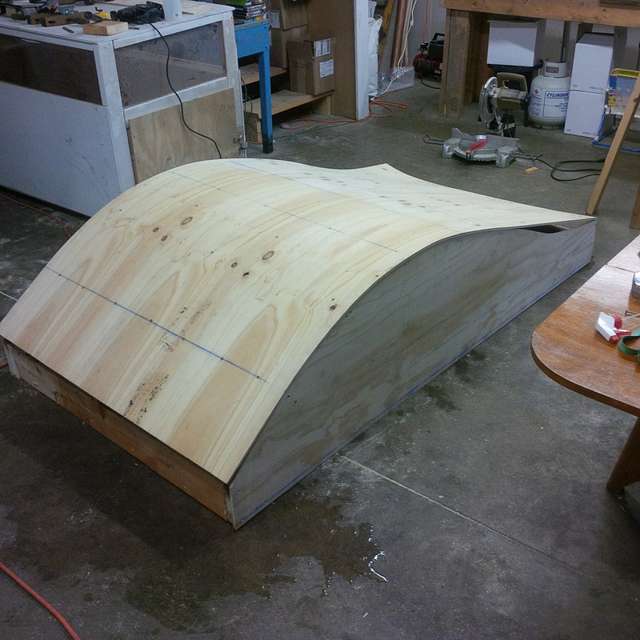
4.
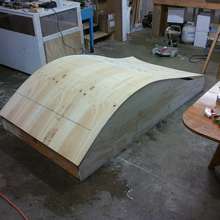
This is the bottom panel on completely up front. It took some hot water and plenty of ooopfh to get it down without cracking. I would not try this with old wood! The torture in the aft section can be seen. The transom is part 2x6 and part stacking of 2x4s to get the dimensions right. A hammer helped get it all in there and that straightened the bottom panel enough to get it all screwed down too. |
 |
5.
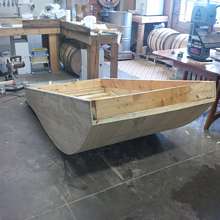
This shows the hull upright, and the slight gap caused in the front by the strength of the plywood. A few screws and some glue fixed that. |
 |
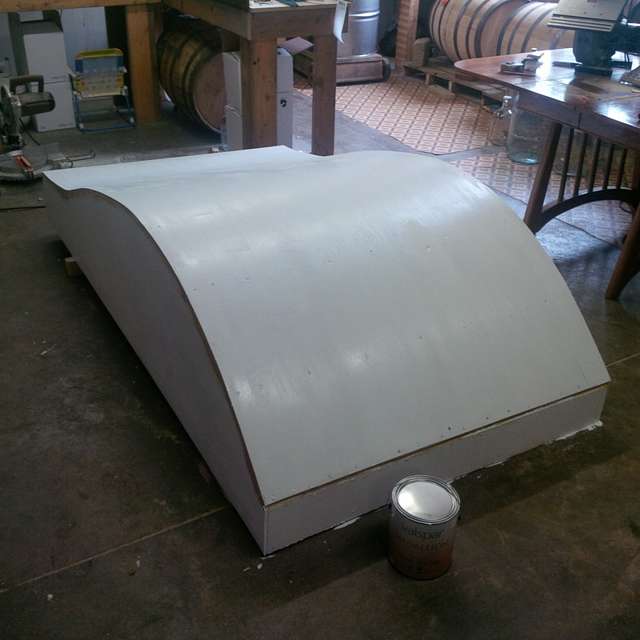
6.
The first coat of paint goes on except for the seams, where the construction adhesive was and hadn't dried yet. If I do it again, I will use a dedicated primer. I don't care what anyone says about combo paint. |
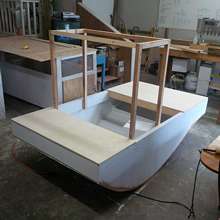 |
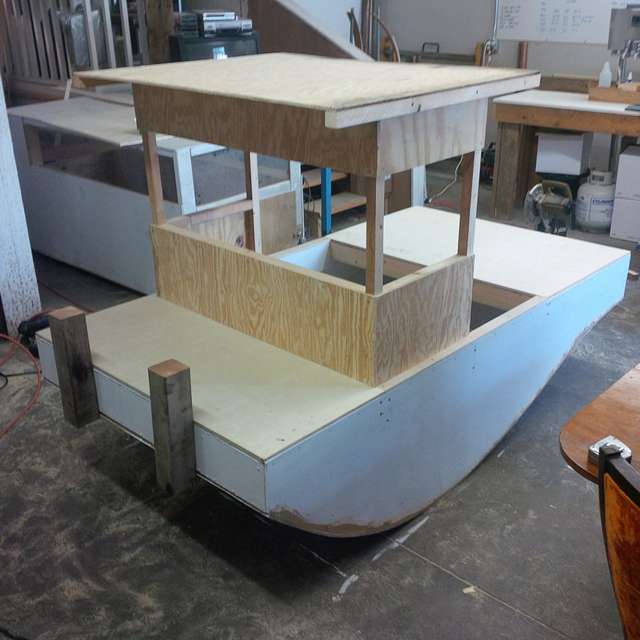
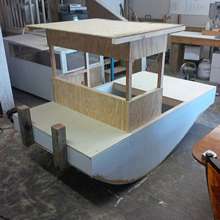
7. The wheel house is coming together. Also made from ripped 2x4s. They were made square rather than just ripped down the middle. So they are 1-1/2 x 1-1/2 inches. I measured everything, but didn't work form plans above the deck. I sort of eye balled it for the right look and a guess towards where it would balance in the water. The 2 deck pieces are 7/16 baltic birch. Real nice stuff I had left over. Pricey! Cabinet quality wood. |
 |
8.
The largely finished wheel house is made from 1/4" bcx and needed lots of paint as it was old and dry. The push bits are left over cedar I had. |
 |
9.
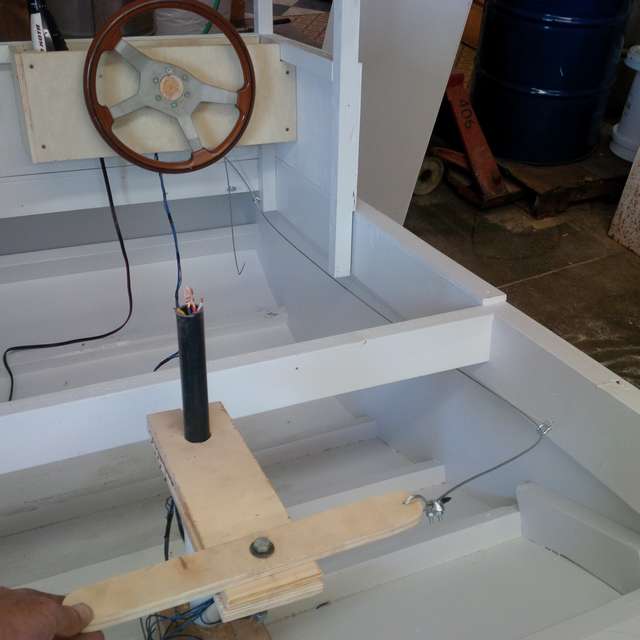
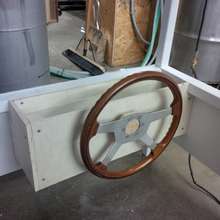
This is the steering wheel that came from my 74 super beetle I got for graduation back in 1990. My dad gave it to me so I'm glad I saved it all these years. The dash is the 7/16th nice stuff. I drilled a hole in the dash front and back that was 1.5 inches and I put short lengths of pvc pipe into them for the shaft to ride on. The shaft is just 1.25" railing stuff. More left overs. |
 |
10.
This was the original steering configuration. It didn't work at all. |
 |
11.
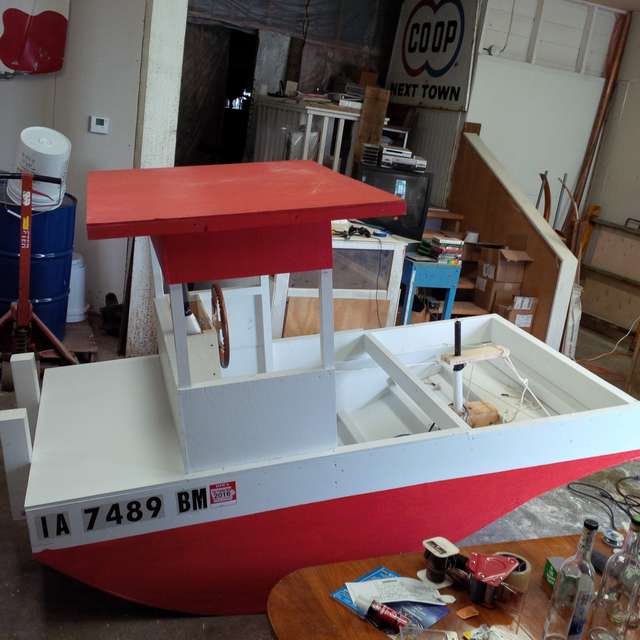
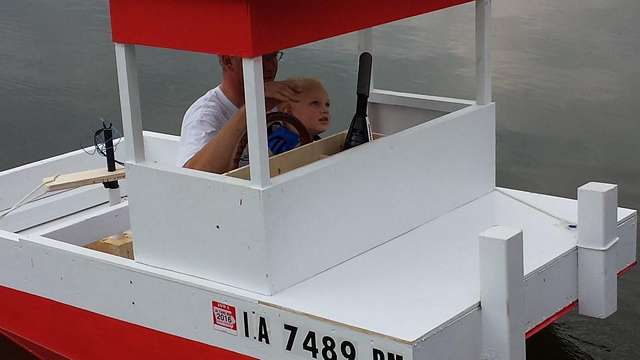
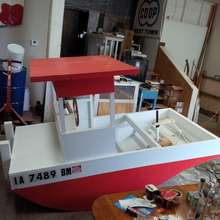
Here it is largely done and with the working steering. The rope is all one length and wrapped around the steering shaft 5 or 6 times. It works perfectly. Tension is via taunt line hitch. The registration stickers were $16! and they barely hold. Thankfully, none of them flew off on the way to the pond at 60+ mph. |
 |
12.
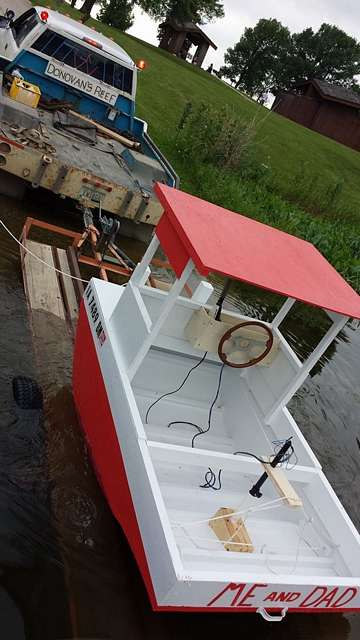
We had the boat on my car trailer, I didn't know if it would float off or not. It did! |
 |
13.
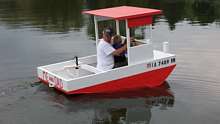
This is the first test of the steering under power. Some dead zone in it, but it's a slow boat not a fast car. My son named the boat. |
 |
14.
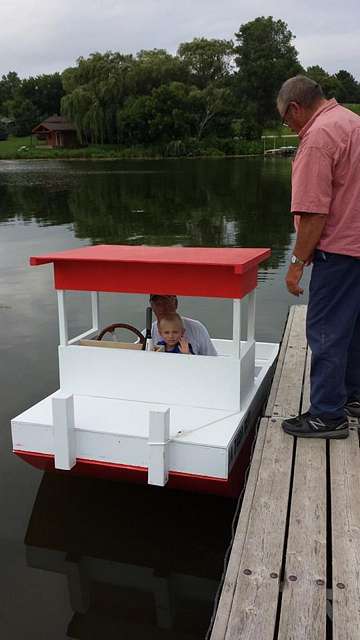
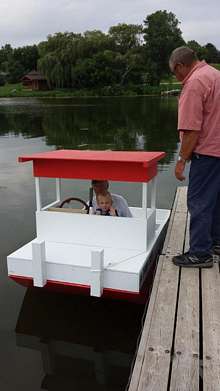
Final prep before the first trip. I didn't think it was going to go, the wires were hot and it barely moved from the other side of the dock going back to this side. Someone else was waiting for the ramp, so I had walked it there. |
 |
15.
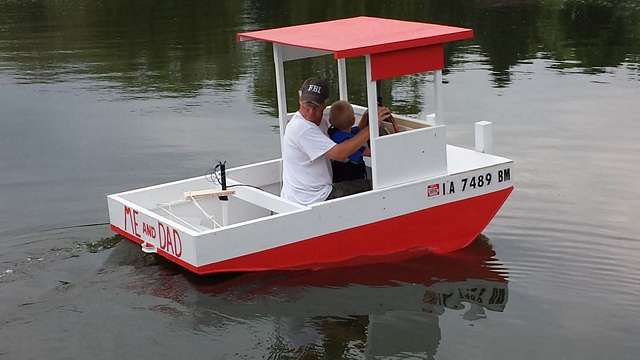
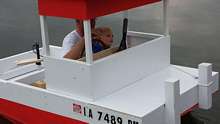
Here we go! Viktor is on my lap, but he was grinning and enjoying himself! |
|
To comment on Duckworks articles, please visit one of the following:
|