
 Custom Search
|
|
| sails |
| plans |
| epoxy |
| rope/line |
| hardware |
| canoe/Kayak |
| sailmaking |
| materials |
| models |
| media |
| tools |
| gear |
 |
 |
| join |
| home |
| indexes |
| classifieds |
| calendar |
| archives |
| about |
| links |
| Join Duckworks Get free newsletter Comment on articles CLICK HERE |
|
|
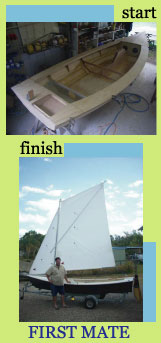
| Homemade Wood Stove For a Small Boat |
by Alan Jones - Vancouver, British Columbia - Canada |
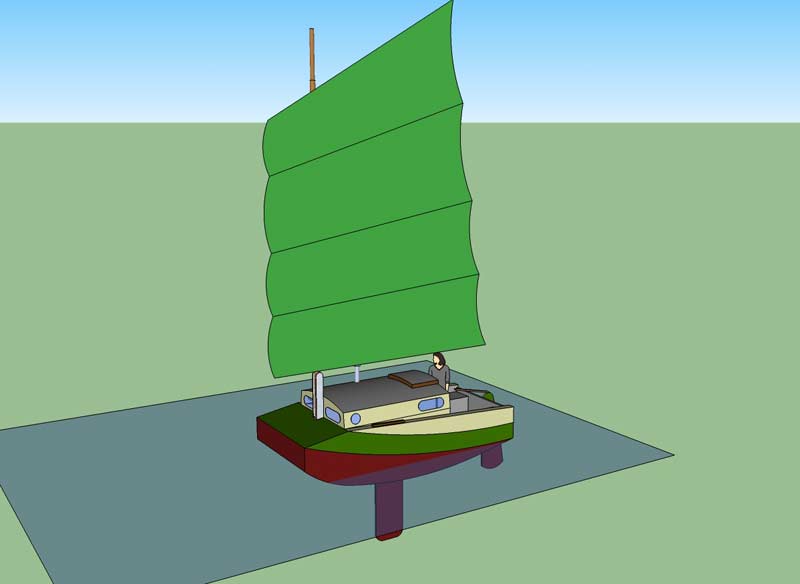
Out here on the 'Wet' Coast, specifically in the Lower Mainland of British Columbia, keeping the cabin of your boat warm and toasty makes for a better boating experience. A wood stove is a great solution, but marine wood stoves are costly. The smallest ones available are still too large for the sixteen-foot sailing barge I intend to build (my own design) shown below.
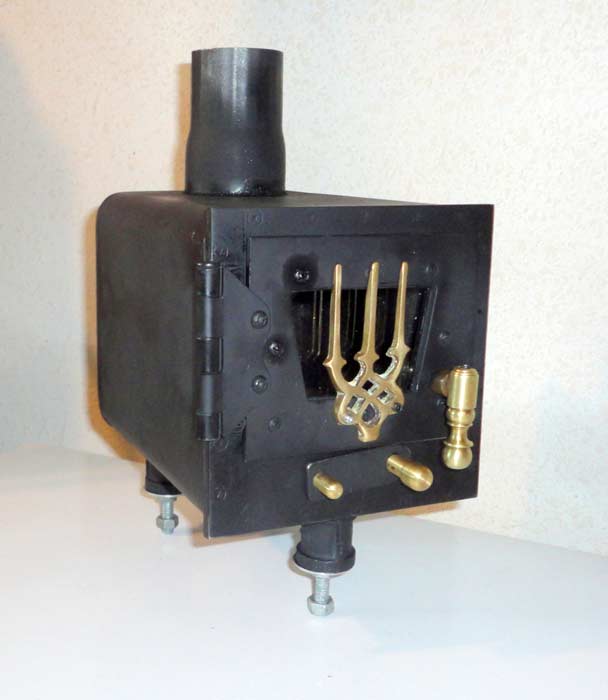
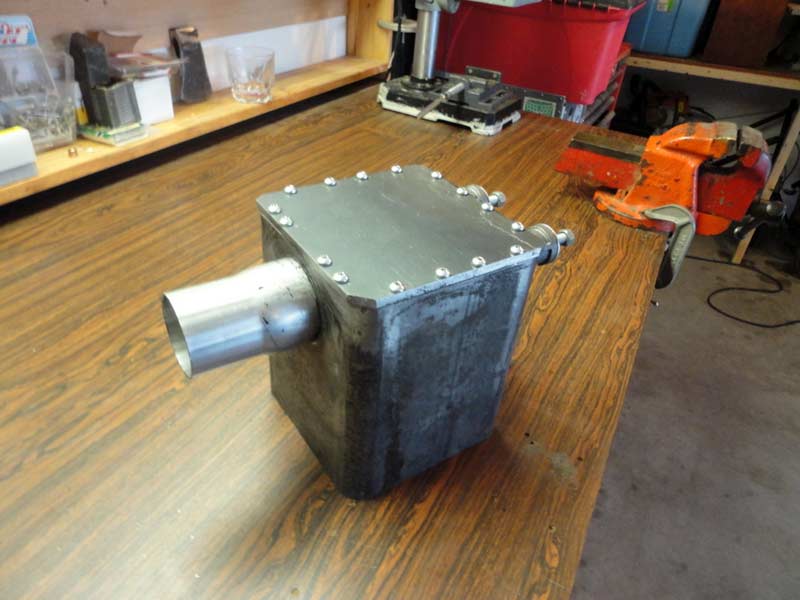
So as a warm up to building the boat itself, I decided to make the wood stove first. A pretty extensive search online yielded few results or examples of anyone making their own small solid fuel heater for a boat, so I decided that I would document the construction of mine for the sake of interest. However, this is not a building plan or instructions to construct this stove. I assume no liability whatsoever for anyone copying this design, or even being remotely inspired to do something similar. Having said that, here's how I went about making this stove: The main body of the stove is a piece of mild steel box section, 3/8 inch thickness and six inches by six inches by seven inches long. I was able to find it at a local machine shop in their scrap bin. The ends were already square and just need a little dressing with a file.
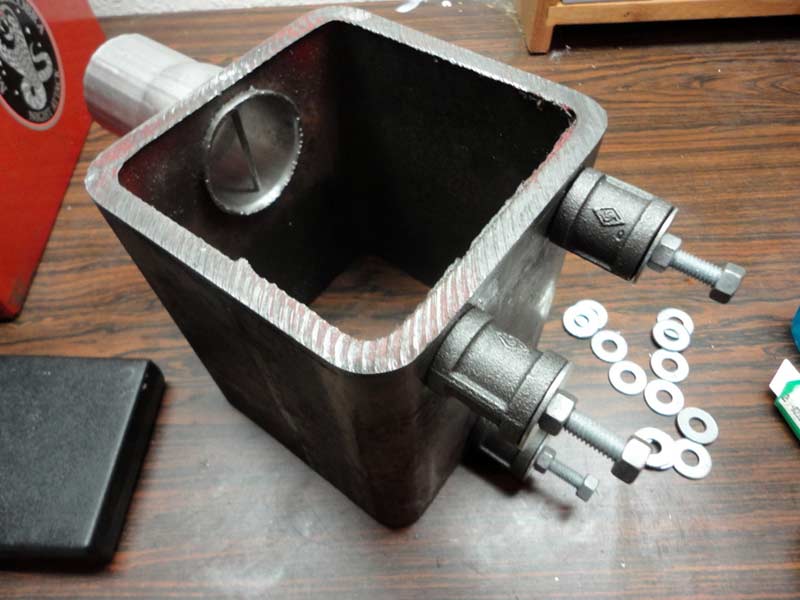
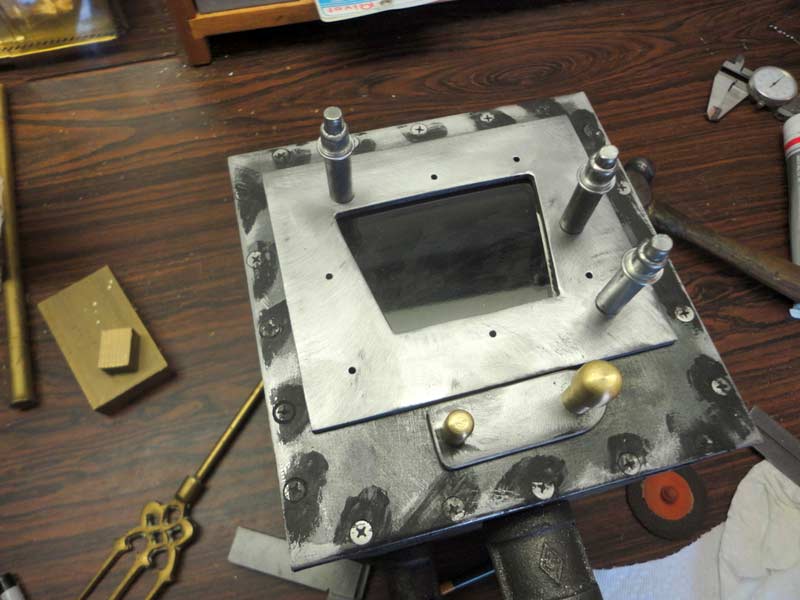
I chained drilled (more on that later) a round hole to accept a muffler fitting and finished the hole well enough to basically tap the fitting in tightly from the inside, and secured it with nail after drilling a hole to accept it. I made three feet with carriage bolts and black iron plumbing fittings. The stove will be bolted down so I figured three feet were enough, and with the single foot at the front, it will be easier to sweep and clean under the stove. Next I made the back of the stove with a six inch by six inch piece of ¼ inch mild steel plate, and drilled and tapped to accept 10-32 machine screws to bolt it on. Before doing so, I smeared on copious amounts of stove cement to seal it.
I dressed everything up with a file after assembly. The front was made much the same way, but I used countersunk 6-32 screws, and prior to installation I cut out the opening for the door.
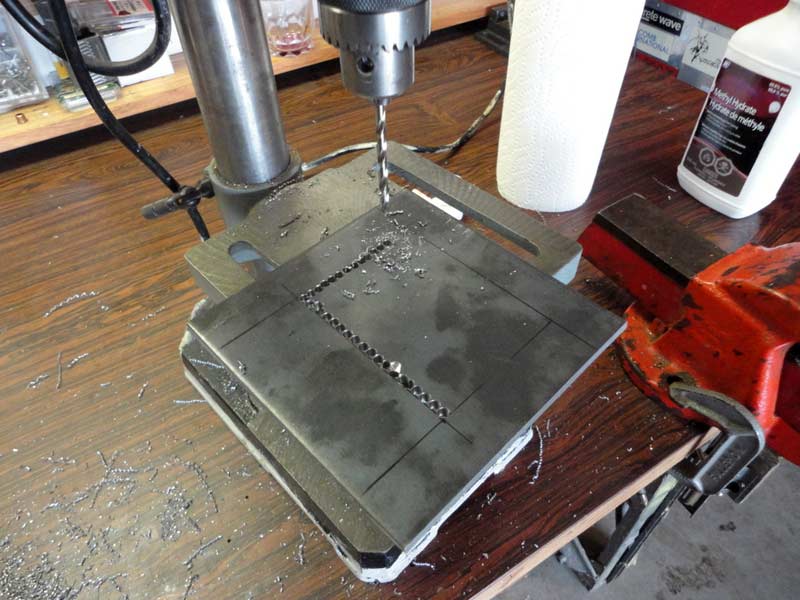
The above photo shows how I cut the holes by chain drilling. The secret is to drill each hole slightly overlapping the last. If you drill too closely however, the drill point slides off into the previous hole. When this happened I flipped the piece over and came in from the other side. I used the lowest speed on the drill press and kept the belt loose enough that I could stop the chuck with my hand. This allowed me to drill without clamping thereby speeding up the process. If the bit grabbed, the drill would stall rather than spinning the piece like a whirling scimitar. There is no guarantee the belt on any drill press will slip when you want it to. So if you are going to do what I did at least wear heavy gloves and in any and every case, safety glasses. Like my Dad used to say, "do what I say, not what I do" so folks I'm making no recommendation here. My advice is, always clamp your work and keep your hands clear. Once the piece was cut out, I put it in the vice and filed the edges to my scribed lines with a bastard.
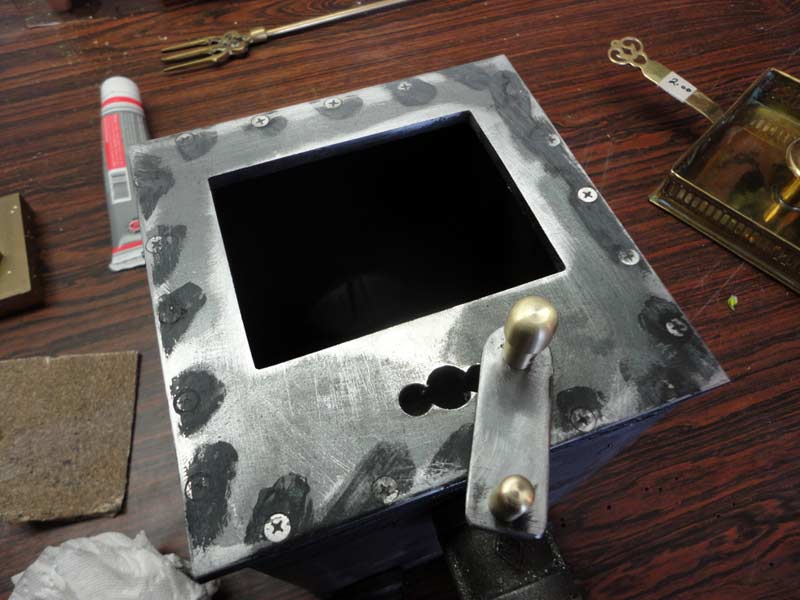
Here you can see the draft control I made. The knob on the left is made of a piece of brass drilled and tapped to accept a 6-32 screw which is installed in a countersunk hole from the back of the piece so it can slide across the front easily. The right knob is drilled and tapped for a 10-32 screw that protrudes from the inside of the stove though a tapped hole. To adjust the draft I loosen the right knob and move the control to the desired position, and then tighten. The most time consuming of the whole project was making the door. I wanted a window so I could see the cheery flame and avoid suicidal thoughts when it is raining. I was able to source a piece of stove glass quite cheaply from the local glass supplier - enough to make a few spares. The glass is very expensive otherwise - about $90 a square foot, but they had a scrap piece they couldn't use and let me have it for $10.
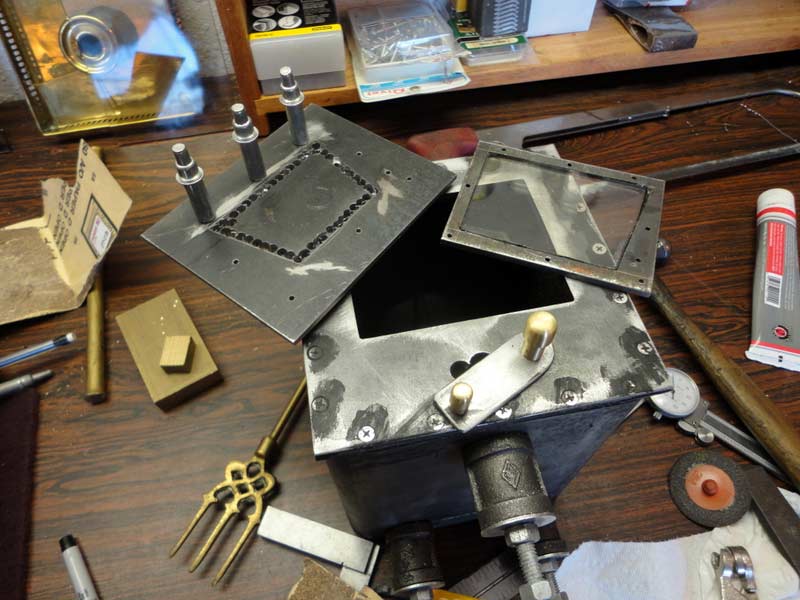
I made a frame from mild steel the same thickness as the glass, and sandwiched it between an inside frame, and the door itself (see test result at the end of the article). The door is larger than the stove opening by ½ inch all around. The glass frame, and rear frame are the same size as the stove opening. The openings in the door and the rear frame are slightly smaller (about 1/8 inch all around) than the glass itself. The rear frame is drilled and tapped to accept 6-32 screws, and the door and glass frame were drilled larger so the screw threads cleared. Before assembly I smeared it all up with stove cement. If you are wondering what those three things are on the door they are clamps called clecoes. They are really handy for this sort of work.
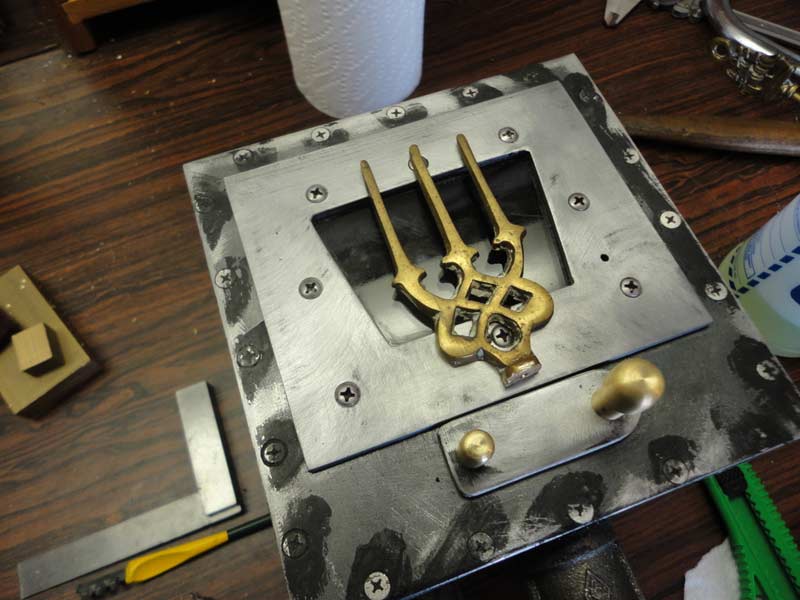
Nothing dresses up a stove like this more than some brass trim. I found this brass fork at the local Salvation Army thrift store for two bucks. I sawed the end off and mounted like a grill over the window - kind of a Poseidon's trident. I figured it would make it a little more nautical.
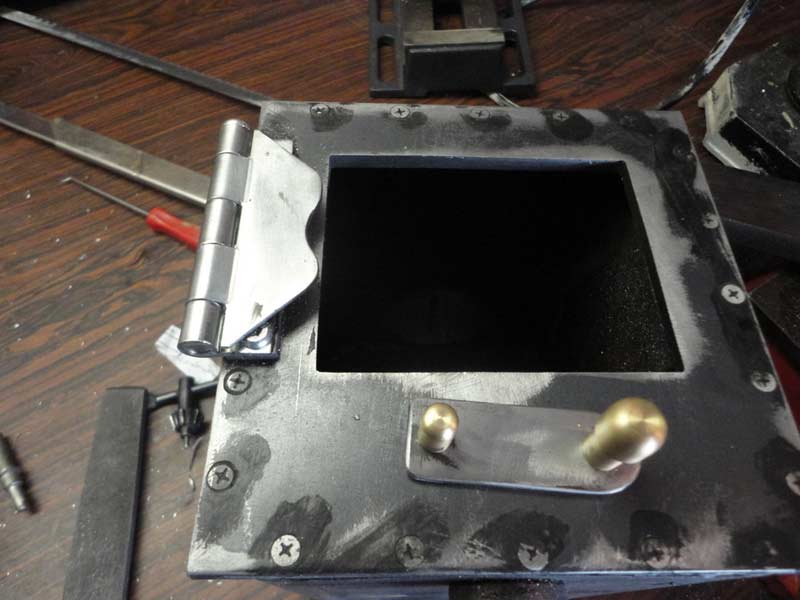
The hinge is a plain old door hinge, cut and shaped. I shimmed it so that it would make the door fit nicely with the gasket thickness taken into account.
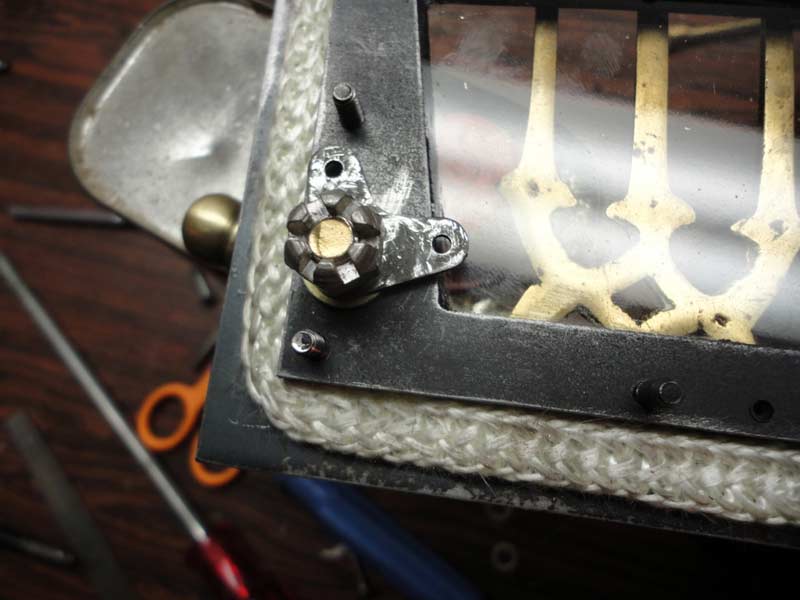
I used an anchor nut locked even tighter with a castle nut as a latch. A decorative brass handle made from another thrift store find is on the other end of the bolt. The gasket is glued on with a special wood stove gasket glue that is clear and looks like model cement. I painted the stove with flat black Tremclad high temperature paint. Test Run
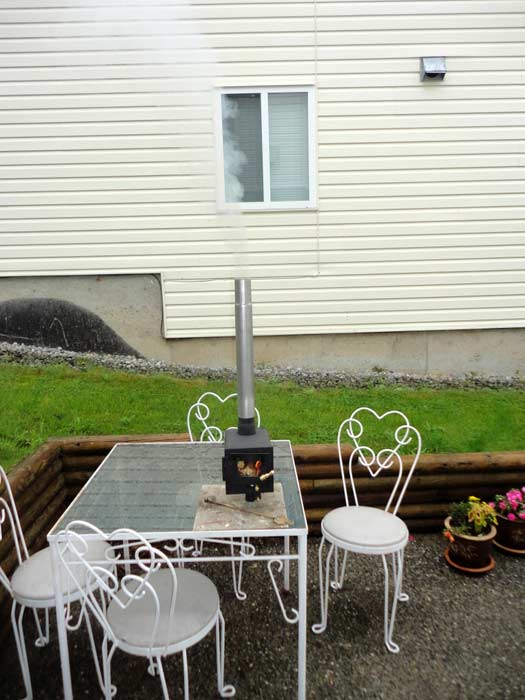
The stove would not operate correctly the first time because I ran it without a chimney. Also, the heat from that first trial cracked the glass. When I dis-assembled the door I realized that the tight frame around the glass, along with it all being cemented together caused stresses resulting in the fracture. I cut a new glass, but installed it without the middle frame, instead using gasket material around the glass. I did not use cement either. Before firing the stove I used a propane torch to heat the whole thing up and see if it would crack again and it did not. I put on a piece of muffler pipe as a chimney and built a fire with some dry wood. Once the fire was going I threw in a dozen charcoal briquettes and closed the door. I left the draft control full open. The stove threw heat for a good six hours before I went to bed. I don't know how long it burned after that, but I'm very happy with the result. We should be very comfortable in our little boat. Alan Jones swarfmakeratshawdotca
|
To comment on Duckworks articles, please visit our forum
|

 |