A few days ago I found myself sitting with the drawings for the Steve Redmond TETRA design I have been building and working out the details of the tiller extension shown there. This simple but invaluable fitting appears to have had little written support concerning construction or design, as a web search failed to turn up anything. Of all my books only one, Oughtred’s CLINKER PLYWOOD BOATBUILDING MANUAL provided any construction/assembly details and Oughtred uses a small rope as the pivot/hinge with a cleat mounted on the underside of the tiller to facilitate tightening of this line, for as he points out, it will tend to loosen quickly. In truth I liked the simplicity of Ian’s approach but I already had two control lines for the rudder blade and two tube cleats taking up space on the tiller and didn’t want yet another line and cleat to further encumber things. The “design” employed by the builder of my ancient 1954 BLUE JAY, consisting of a loose fitting machine screw run through extension & tiller, was out of the question. Not only does it look awful but function is about as poor as one can imagine. Too, no modern commercial extension was about to grace the TERTA, so it was off to the drawing board...
What follows is my approach to resolving the issue.
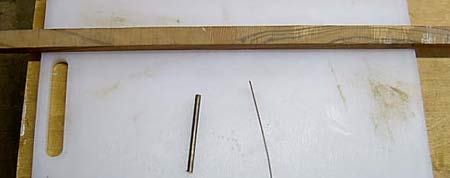
Raw materials: scrap wood (Tigerwood in this case),
1/4” & 5/64” (or other small bronze rod
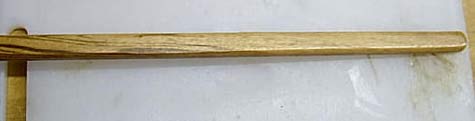
Work down the wood blank (I used spoke shave, hand plane & small round over bit) to a size/shape your find pleasing...
Clamp the 1/4” rod in a vise and file two flats, one on each side. Flats should be the same length as the thickness of the extension stock.
Flat filed on bronze rod
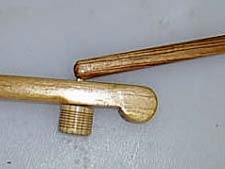
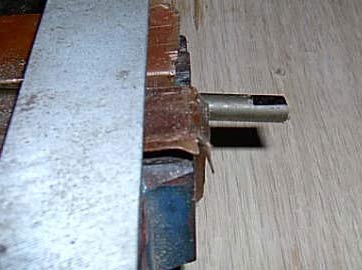
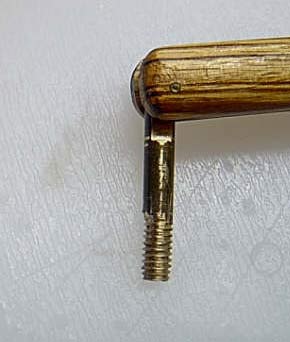
Notch the end of the extension stock to receive the connector... Test fit and measure the combined thickness of tiller, extension & nut. Add sufficient length for threads and cut the rod to that length. Grind a short taper on the newly cut end to enable feeding the die and work 1/4-20 threads into the rod to just shy of the tiller face (this allows a small amount of play so the extension does not come up too tight against the tiller).
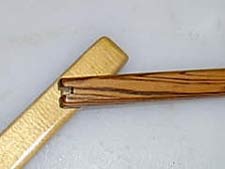
Notch extension & test fit connector
1/4—20 die used for threading
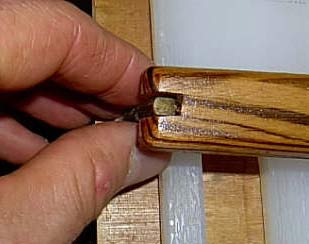
Drill through extension & connector and press bronze pin into place
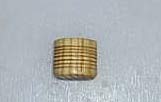
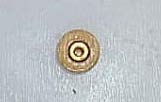
Knob: I had some scrap ash of roughly 1” diameter already turned from making up block sheaves and used this for the knob (a piece of dowel would work fine). A 1/4—20 nut measures 1/2” across the points so inletting is straight forward: drill a 1/2” flat bottomed hole using a Forstner bit the depth of the nut, change to a 1/4” Forstner and drill to a depth equal to your connector’s threaded length. Press the nut in place & dribble super glue around its edges to glue it in place (I used a gap filling type)
Nut pressed into knob & glued in place.
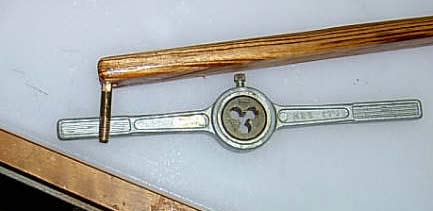
Assembled tiller & extension
Bob Booth
|