|
I spent about two or three months designing my boat, beginning with the main hull, into which I would put most of my effort. The section shapes are more or less parabolic, being deeply v'd at the sides, and rounding off at the bottom. It's 18 feet long, with a relatively plumb bow and stern, and some rocker across its length. Without the stability of outriggers, it surely would not float, but after all, I was building a trimaran. I found a Hobie 14 being sold cheaply with some spare parts on Craigslist, and bought it, finding an intact and complete Hobie 14 turbo, an extra mast and boom, mainsail in good shape, a sun-bleached and torn roller-furling jib, and extra set of frames. I sold off everything but the masts booms and sails, which would become the rig for my boat. Thinking I would strip the main hull and outriggers, I decided I would build the main hull first, and so began laying out a strongback on my very non-flat garage floor, followed by station molds, and strips.
 |
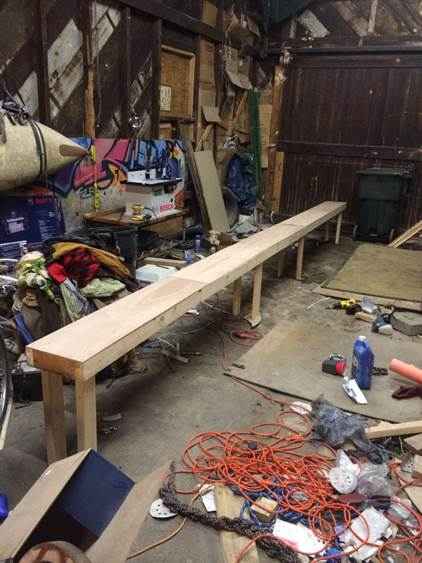
My "shop" is a garage full of junk in the back of the house that I rent, with partially dirt floors, and dubious power sources, but it has served me faithfully.
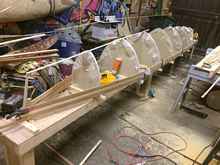 |
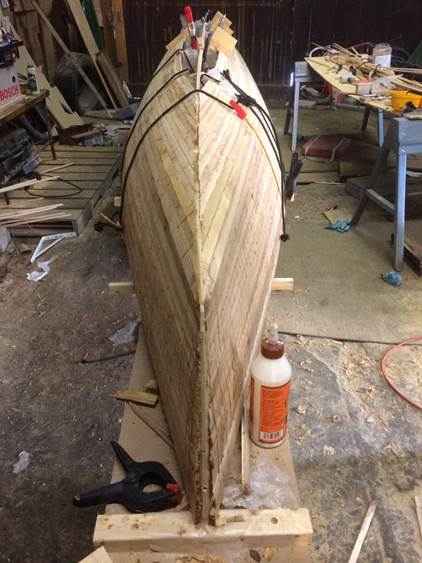
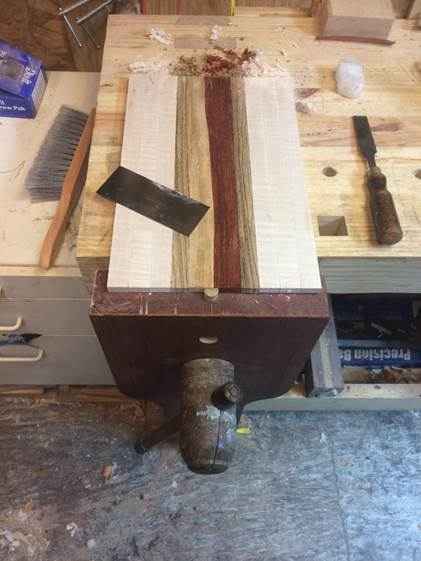
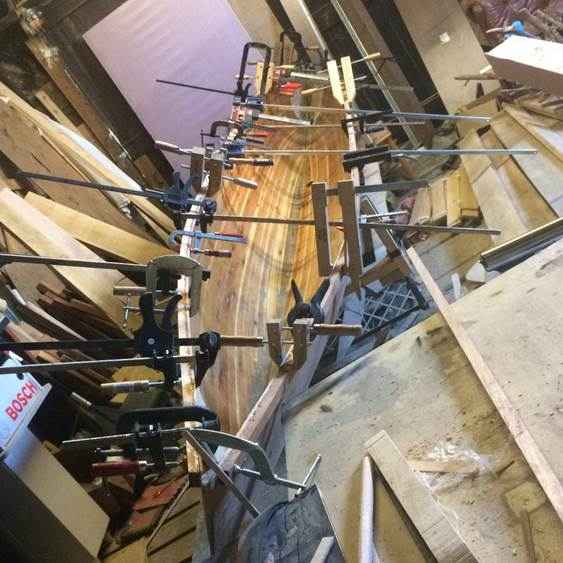
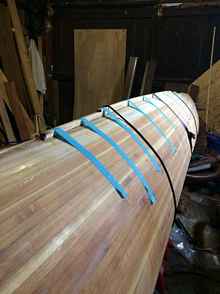
I used a cheap jobsite table saw borrowed from a friend to mill the strips from boards of western red cedar, and a router table to bead and cove the strips. Glue sat nicely in the cove while a new strip was clamped down. I made a lot of informative mistakes when making this boat, which after a lot of effort, are thankfully not exceedingly obvious to the casual observer. For instance, I milled the strips on the saw, but I did not own (or even at the time understand) a thickness planer. Consequently, the hull was uneven on a surface level much more so than if the strips had been machined to the exact same thickness, meaning more shaping after the glue-up. The glue was another thing - I would have gone to greater lengths to clean it up before it dried if I had known how difficult it is to remove without creating a low spot in the surrounding hull. I would have done so much differently, but I am still pleased with my first attempt at making a hull.
 |
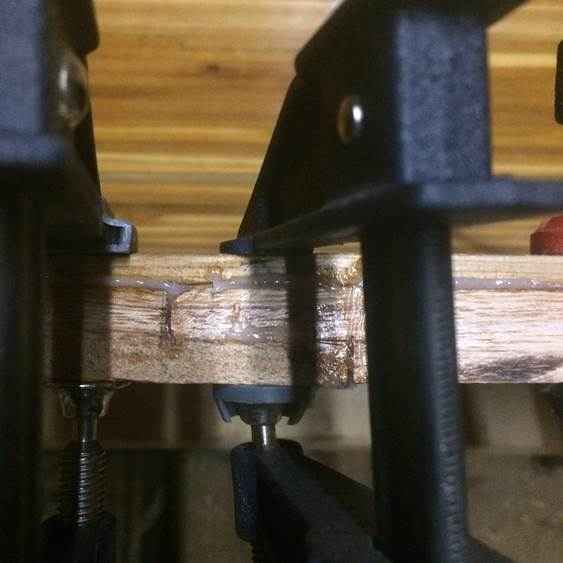
I used Titebond III for all the joints that would theoretically never see water. Shock cord and little strip-shaped clamp pads did a pretty good job of securing the strips during glue-up. They were thin enough to bend around the molds without any steaming.
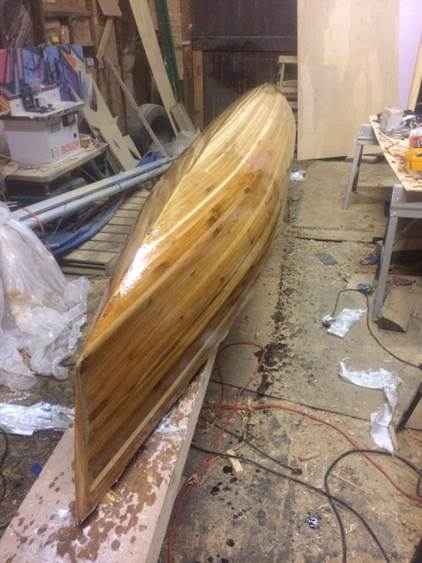
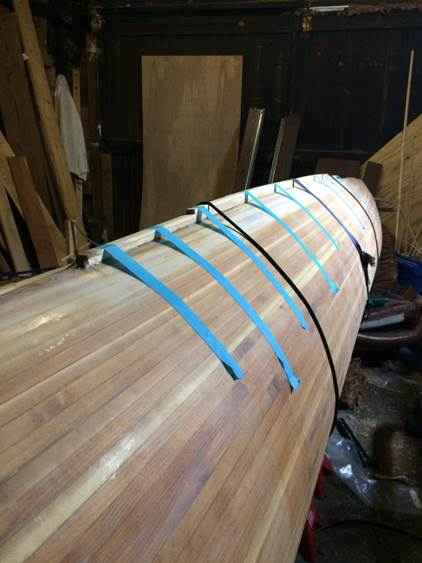
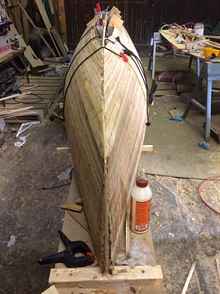
Here the hull has been glassed. Building the main hull made me think differently about manipulating wood. In the same way that the canoe trip had nudged me to think about sailing, building the boat nudged me to think about woodworking. I decided to build a workbench, and settled on the Roubo design for its rigidity and versatility, not to mention that they are fairly trendy on the internet.
 |
Having a workbench meant the ability to make more things - I made a scissors leg vise as a project, some furniture on commission for word-of-mouth clients, and also got hired to work as the assistant to a furniture conservator here in Richmond, William Ivey. Working for Bill put my boatbuilding on hold for about a year. It was so valuable to see the inner workings of the craft of fine furniture, and it certainly influenced the way I think about wood and its use as a construction material, as art and craft. But I digress! In the fall of 2015, I left the stewardship of Bill Ivey under very good terms to begin finishing my boat and restructuring my life a little bit - I had decided to apply to the Northwest School for Wooden Boatbuilding. I had arrived upon something that I love, and I had gotten a taste of the professional world of fine woodwork. I quite literally dreamt of being in class at that school.
 |
I was accepted to the school's Modern Composites program for the school year of 2016-2017, and my goals for finishing the boat became less lofty and more practical. Needing a way to resist leeway, I put on a very small stubby keel, thinking I can build a leeboard later on if necessary. I originally wanted to make strip-built outriggers, and indeed may still do it one day, but for the good reason of my acceptance, I did not have the time. I decided to make glass-on-foam outriggers in the style of Gary Dierking.
Here they hang drying after their first coat of paint. They are made from closed-cell foam glued to a plywood stringer and shaped, with 6oz fiberglass encasing them in epoxy, overlapping at the bottom, top, and bow. Dowels serve as tenons to align them with the crossbeams.
I wanted to make sure the windward outrigger would clear the water, so I made the crossbeams curved box beam sections, cedar on top and bottom, thin plywood on the sides.
With warmer weather in March, I could do some work outside. Here I'm preparing the sides for the gunwales, while fooling around with the crossbeams.
Gunwales glued on. In the background on the floor and against the wall you can see all the hardwood lumber I've gradually accumulated in the last year through various projects. The gunwales are mahogany, and are joined with a scarf in the center, for an 18+ foot length of mahogany is a little pricey for me.
Thickened epoxy, I have found out, is one of the greatest assets of the modern boatbuilder.
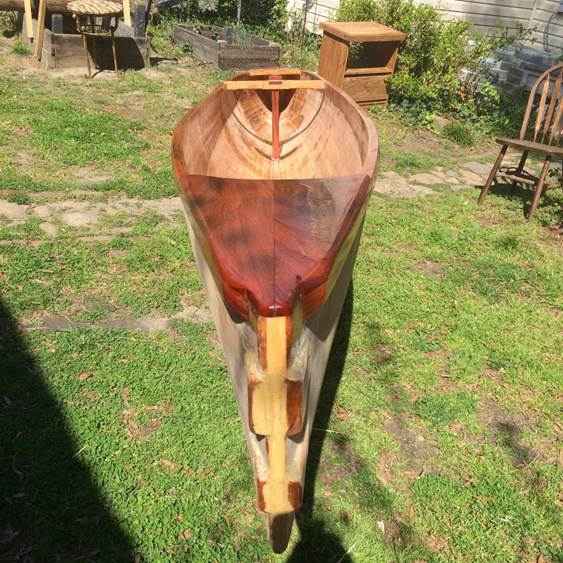
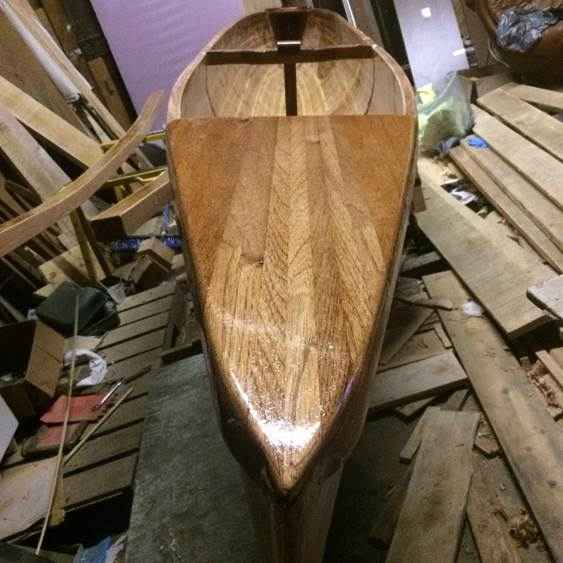
Here you can see the aft breasthook (is that the appropriate term?), along with the shaped rudder gudgeon mount blocks. I did not have enough appropriate mahogany to make a book matched deck, so there is an obvious glueline - perhaps it is not perfect, but I am happy to sport it.
The front decked over section is made from strips of mahogany - it was easier to cover a a slightly wider longer area with strips, and I like the look.
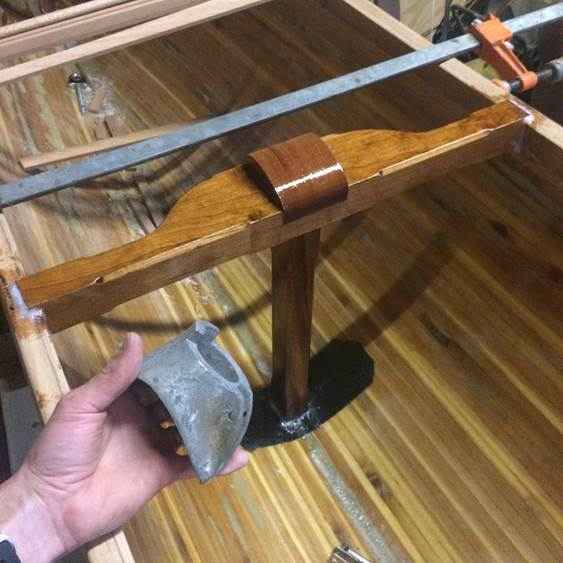
The mast step is made from mahogany, it ties into the gunwales through fasteners, a beveled tenon joint, and thickened epoxy. The post sits on top of a carbon patch to help distribute the force of the mast under sail over a wider surface area of the fiberglassed hull. The top block is shaped to fit the Hobie mast step casting.
 |
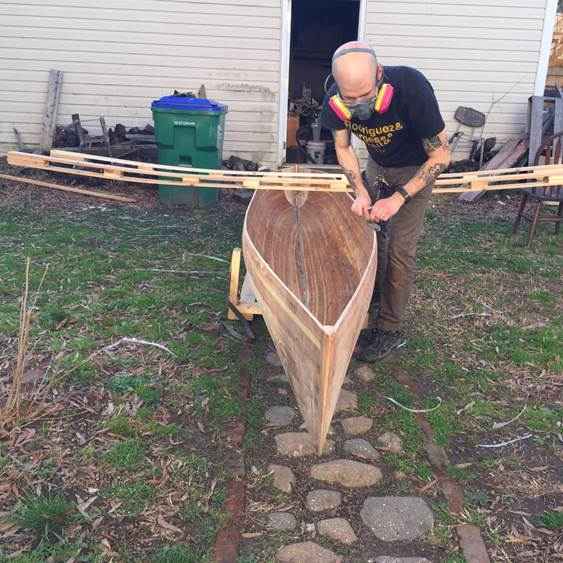
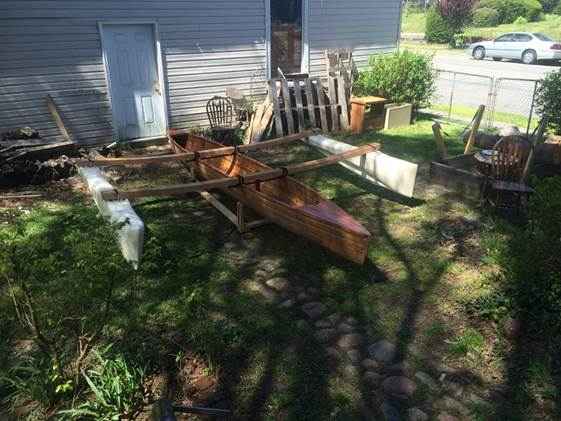
As I write this, the above picture is from a week ago. Sitting in a webbing cradle, the boat is balanced with the outriggers reaching maybe 6" or so above the bottom of the center hull. Heeled over, I hope this will allow the windward outrigger to wear the water. Ultimately, some sort of hiking platform will span between the crossbeams on either side. The captain is meant to sit behind the rear crossbeam, with sheets led to him, and rudder controlled via converted kayak foot pedals. The idea is to have hands free from steering to operate the sheets, cleat, then paddle, for instance, through a difficult tack, or to assist in covering distance in light airs. The way things are looking, the passenger will occupy the center, where they can move to either future hiking platform, or move to the front to paddle with the sails down or in very light air. To determine this with any authority, however, I need to put the boat in the water, with a few assistants present to experiment with where best to distribute weight. I will follow up as soon as I do with photos and information.
I would love one day to make longer strip-built outriggers, but until then, I have to get myself and my boat both sailing, and across the country to attend school.
This is a work in progress, and it's an experience of firsts. It has also been profoundly informative. I have often in life wondered "could that be done?" and then naturally "could I do that?" in regards to building something interesting or innovative. I had no guarantee of this boat working, but I did not stray far from readily available and tested design choices, and making something unique was one of my goals. Uncovering sailing led to the desire to build a boat, and building a boat led me to realize how I want to orient my career path in life. I believe all of my experiences have been cumulative, and have all helped me along the way to combine disciplines and create something interesting, certainly something of which I am proud.
In the two or so years I have been working on the boat off and on, my girlfriend became my wife. She is about to graduate nursing school, and I am lucky that she supports my dream of attending the program in Washington. She graduates in May, and is currently looking at jobs in Seattle. We are planning to move in June.
|