The Unsinkable Foam Kayak Anyone Can Build, 16 Pounds and Eight Feet of Fun
Step 10:
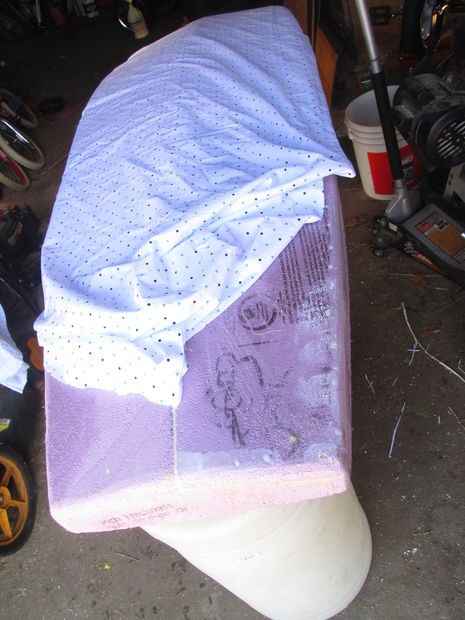
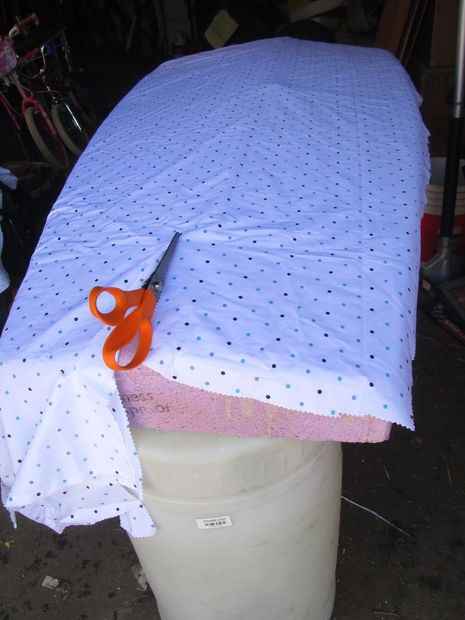
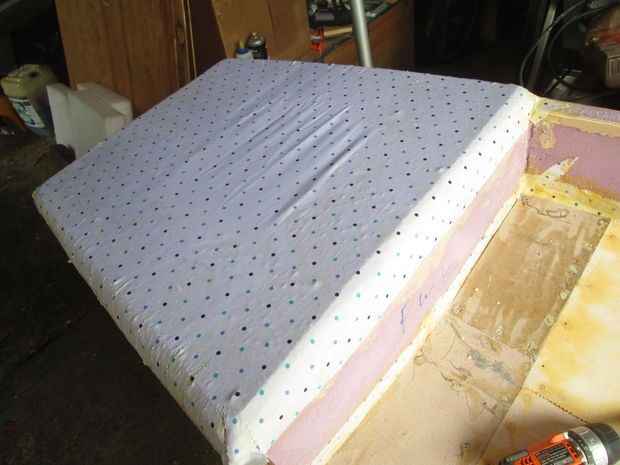
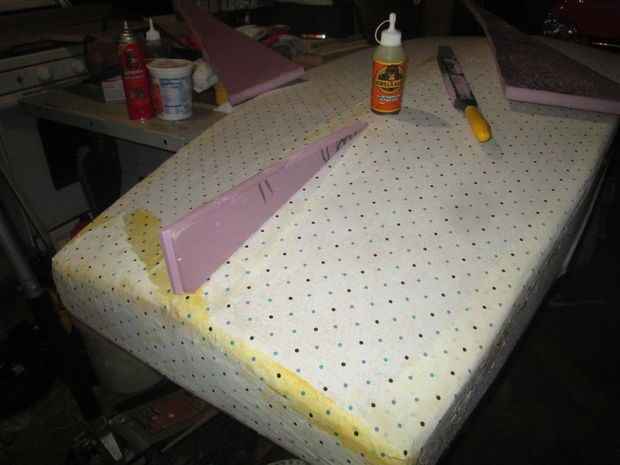
Wrapping the mummy - In reality we are almost making a skin on frame boat, the foam is the frame, but the real strength is the fabric, without it you have a very fragile box that could come apart at any moment.
I used bedsheet cotton as the skin, thinner than cotton drop cloths that I used in this build. I used the thinner fabric to save weight.
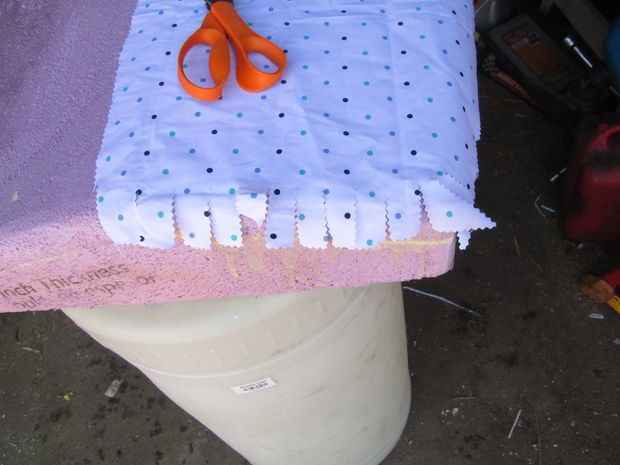
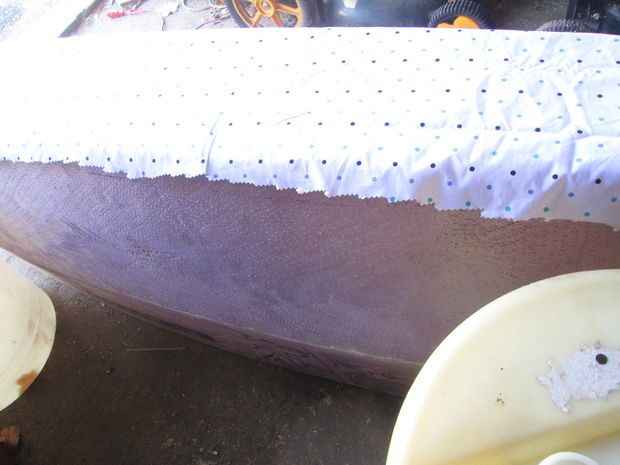
I cut each fabric panel a couple inches wider than each foam panel, this overlap will give each joint more strength. When I was smoothing the hull out, I rounded each corner over, this makes it easier to get the fabric to stick without lifting. Since the sides are all curved due to the shape of the hull, when you glue the edge down to the next panel it will tend to have wrinkles. I found the best way to take care of this, but you won't need to deal with that until we get to the glue stage.
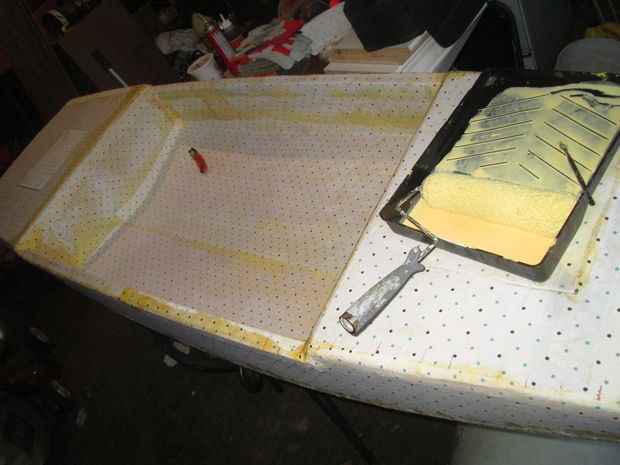
Cut all of your fabric panels for the outside of the hull, then lay them aside, in order, from the bottom panels to the top panels. Once the glue is in the roller and pan, you want to do the covering in one shot, I chose to do the top of the decks first, then the sides, bow and stern, and finally cover the bottom panels last.
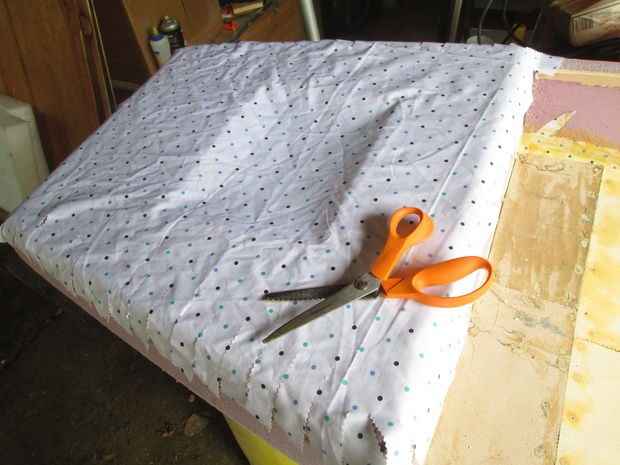
Step 11:
All hands on deck! Now it is time to glue the fabric skin on. This step is where your preplanning will make or break you. Make sure you have all of the fabric cut to shape, and make sure it is laid out in a way that you remember what goes where.
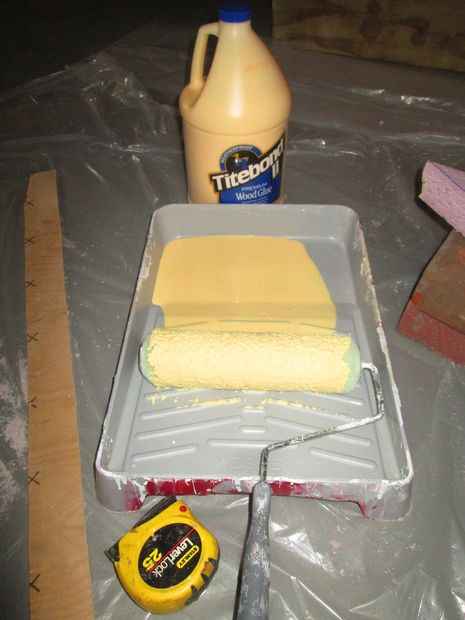
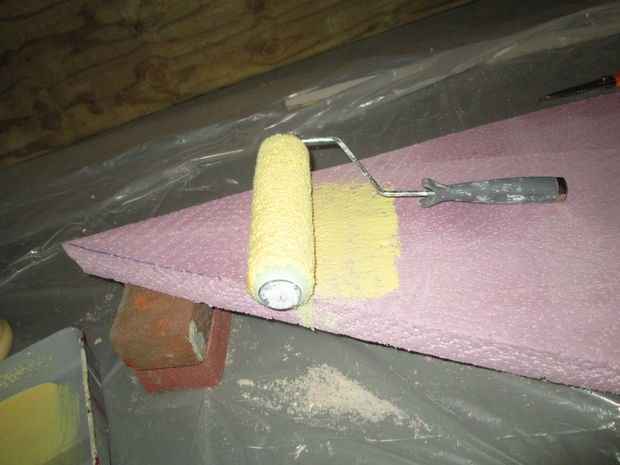
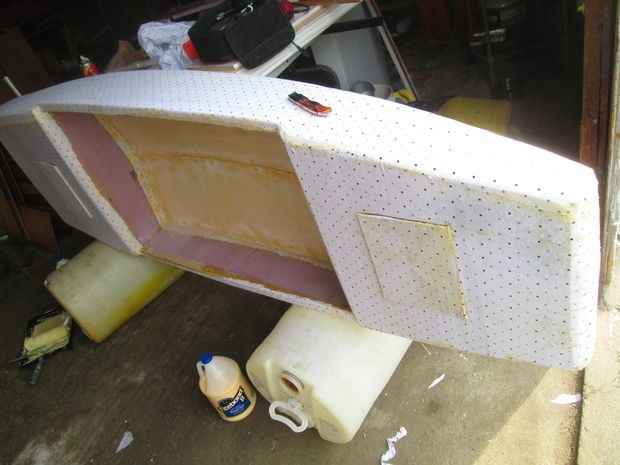
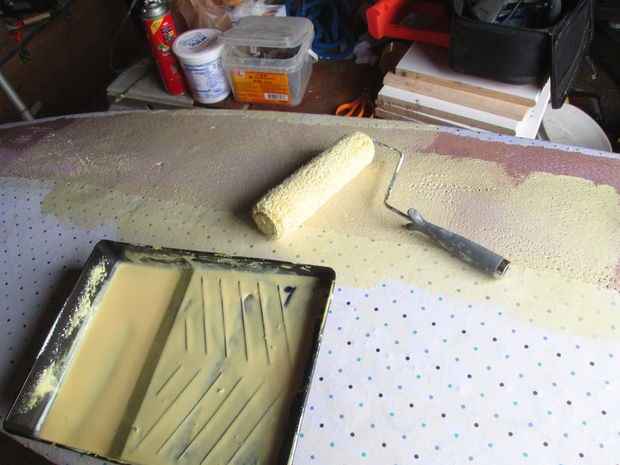
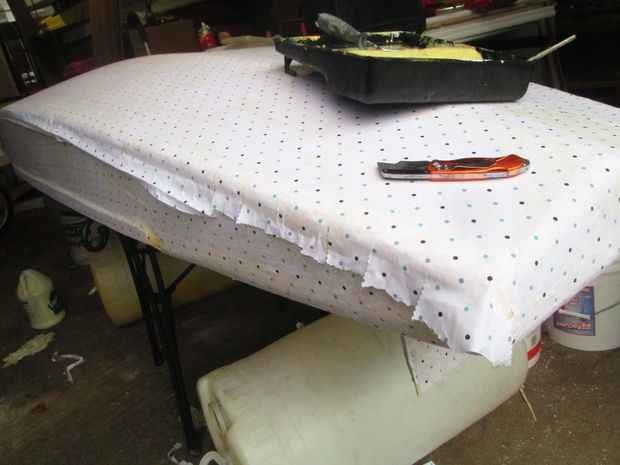
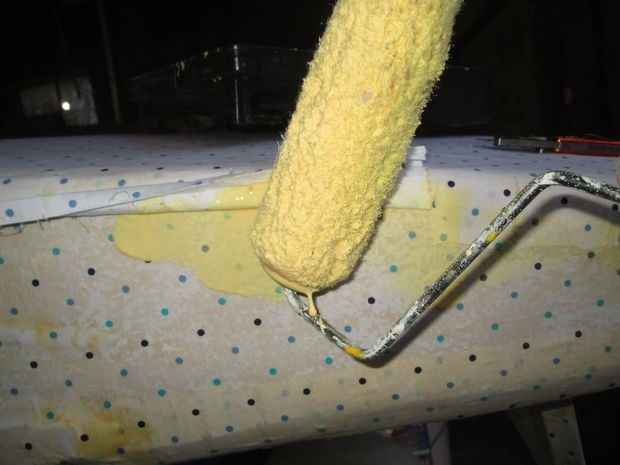
I started with the decks first, the sides, bow and stern, then the bottom. The cockpit was left for last. Before gluing, make sure all foam surfaces are perforated. First roll on a thin coat of glue, you can tell you have enough glue, when every pore in the foam caused by perforations, has a dot of glue in it. Then work the fabric into the glue with gloved hands, remove any bumps or wrinkles and stretch and smooth the fabric into the glue. Since I put the glue on thin and sticky, the fabric stuck fast quickly, allowing me to go right on to the next panel.
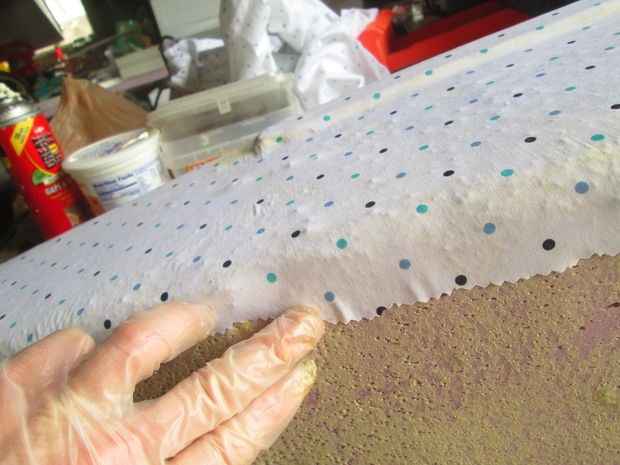
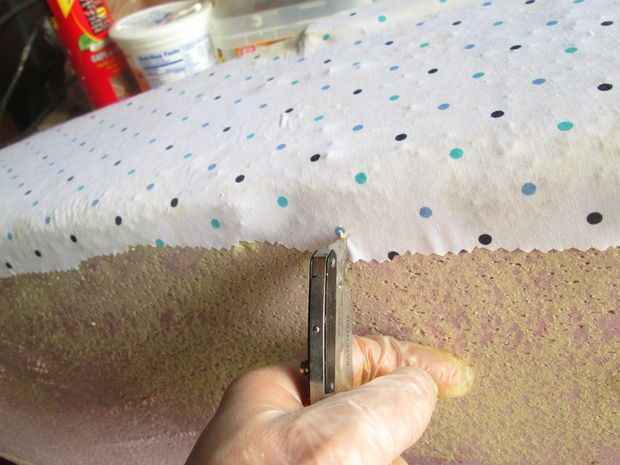
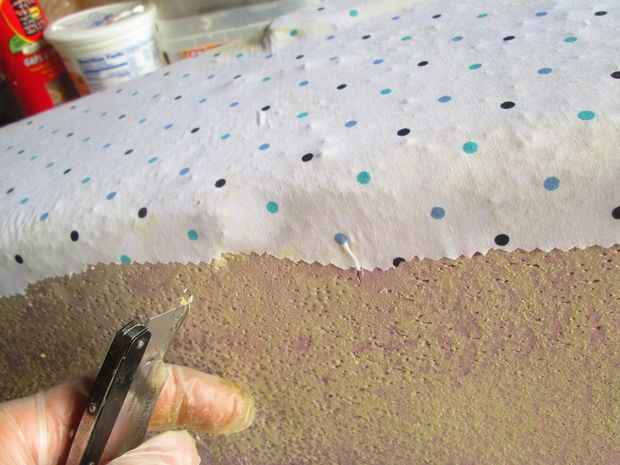
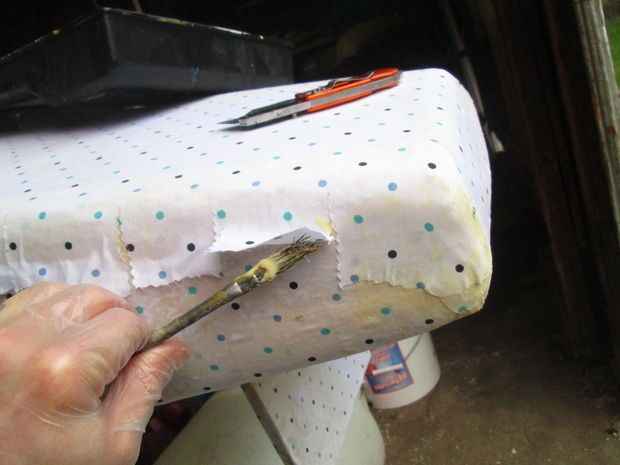
As I showed before, I cut gores into the edges of some panels, then I got lazy and just left the overlaps uncut. When gluing them down, wrinkles would form, I would cut the top of the wrinkle with the razor, then glue both edges down flat. This is much easier and faster, and you don't end up with extra cuts where you don't need them.
I rolled a bit more glue onto the fabric where it would be under a joint, you want these overlaps to be fully glued, they are the real strength of the boat. Otherwise no extra glue is needed. Once the fabric is glued onto each deck, and the glue has cured, use a razor knife to cut the fabric on the edge of the deck hatch holes. Using PLpremium adhesive, glue the rings into the decks of the boat. Screw the lids in, and put weights on them to help them stay seated until the glue is cured.
www.facebook.com/Rowerwet/
|