Or, Everything I Thought I Knew about Epoxy is Wrong
You're probably already aware of this, but Chuck Leinweber over at Duckworks has a new epoxy product that's generated quite a buzz. It's BPA free, has UV inhibitors and supposedly won't go exothermic. Seeing as I was initially drawn to SOF construction mainly because of the evils of epoxy (it's usually messy, toxic, overheats and has to be painted) this made me sit up and take notice. Epoxy is an amazing all around adhesive/sealant but hasn't been used much as a skin boat coating. Chuck asked me to give it a try and was kind enough to provide a sample.
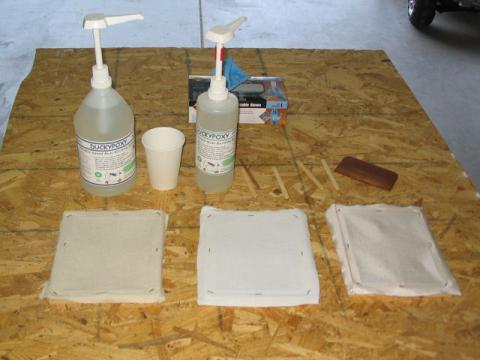
I started by knocking together a set of test frames with 8oz ballistic nylon, 6oz polyester, and cotton canvas, washing and shrinking them as I would on a boat. Chuck also provided a set of Epoxy Pumps (one full, one half shot) which was a revelation; not having to weigh or measure was wonderful. I used a full shot of each (1.5 fluid oz total) for the first coat, which was more than enough. With the following two I used the pumps to fill measuring cups and that still was easier than any other time I've had to measure epoxy.
The temperature only got to a high of 65F on the day I put down the first coat. I was worried about viscosity and penetration, but that turned out not to be an issue. The epoxy flowed and filled all the samples better than I've experienced with either polyurethane or oil-based enamel. Setup time for DuckyPoxy with no accelerator at 70F is supposed to be about 2 hours, but at 60-65F it took about 5 hour to get to the 'peanut butter' thickness stage.
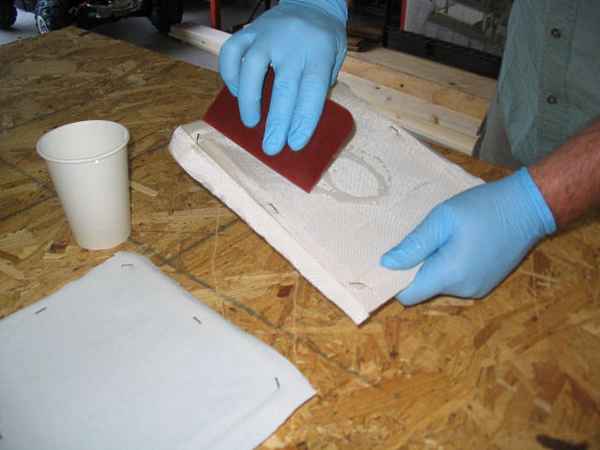
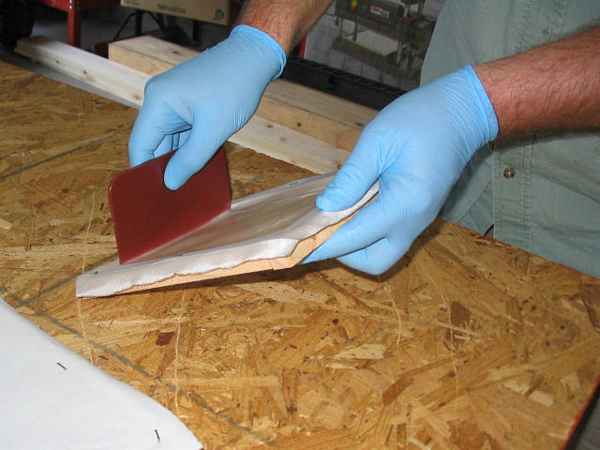
Pours well:
and spreads nicely:
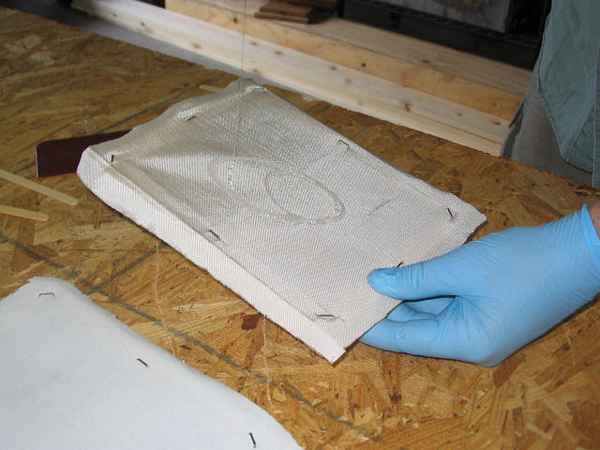
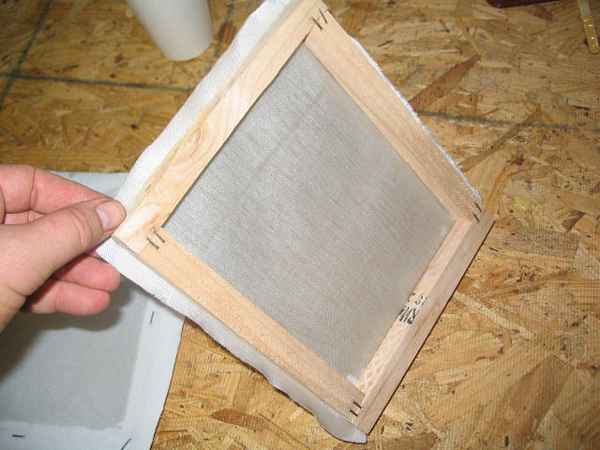
Here's a look at the back side of the nylon after the first coat. That's about as good as saturation gets.
The next day the temperature was only about 55 degrees, but I figured if I waited I'd need to do some surface prep before adding more coats. The low temperature didn't seem to make any difference, the epoxy flowed well and brushed into an even coat with just a bit of weave exposed. A third coat filled in the nylon completely and produced the rough surface I'm used to from using polyurethane and enamel on the other two samples.
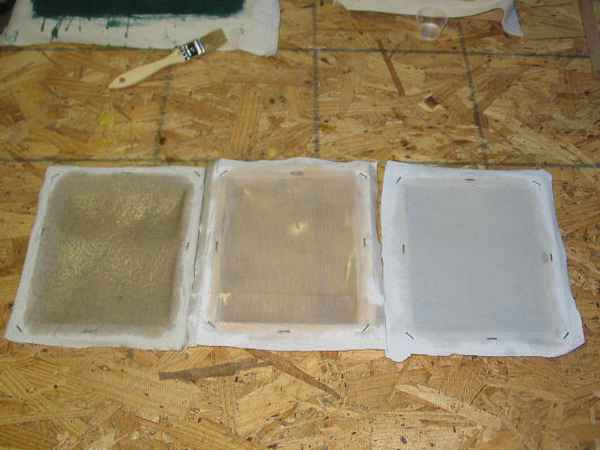
I let these cure for another two days with this result:
That's, from right to left, the canvas, nylon and polyester.
Observations:
- The epoxy is remarkably clear, there is no yellowing or discoloration of any sort, and in the case of the nylon it's almost transparent.
- Three coats are plenty and give better coverage than six of polyurethane.
- The canvas and polyester have a rough texture to them, but that's exactly the same as happened with polyurethane and oil-based enamel.
- The nylon is completely smooth except for some stray fibers from the cheap chip brushes I was using. Better quality brushes would be a good idea.
- The canvas by far soaked up the most epoxy and is probably not a good fabric choice here.
- All three samples seem to be stiffer but also more flexible overall than polyurethane or oil-based enamel.
- All three are definitely waterproof.
- Even though DuckyPoxy is much less toxic than regular epoxy, I used rubber gloves in a well ventilated workspace, there were no strong odors and I had no irritations.
Unfortunately, I don't have a boat ready to skin (the canoe is done but not documented yet), but if I did I wouldn't have any reservations using it, especially with the 8oz nylon. I'm looking forward to using this on my next skin boat.
DuckyPoxy is available at Duckworks:
and don't forget the pumps.
|