Why not saw from a 16' 2x6, 8, 10, or 12? In my experience, the bigger pieces tend to have fewer knots. No table saw? No problem. I actually prefer to rip long sticks using my hand held circular saw (which is just a cheapy $40-ish model with a carbide tipped blade). Personally, I think it is safer than using a table saw, especially if you are working alone.
Drill a few holes (3 or 4) through your circular saw's foot plate as close to the corners as you can. Raise the blade up all the way. Clamp a piece of 1/2" thick ply to the foot plate. You may need to retract the blade guard to get it to sit flat. Drill corresponding holes through the ply. Countersink the holes on the face opposite the foot plate. Bolt the ply to the foot plate with flat head machine screws and nylon locking nuts. Place the saw on your sawhorses so the blade will end up between them, plug the saw in, pull the trigger, with both hands on the saw, slowly plunge the blade through the ply. The 1/2 thickness should be thin enough to allow you to cut all the way through a 2x with a "standard" 7_1/4 inch circular saw blade. Now a word of WARNING, setup like this, the saw's blade guard WILL NOT function. Be extra careful when using the saw, DO NOT EVER set it down when the blade is spinning. You shouldn't do this when the blade guard is functioning either, but people do.
 |
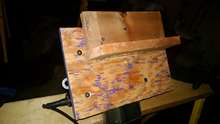
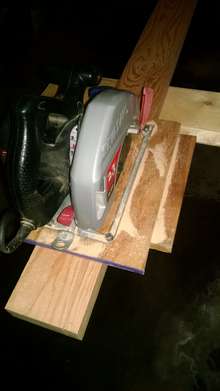
Plywood base plate attached to saw. |
 |
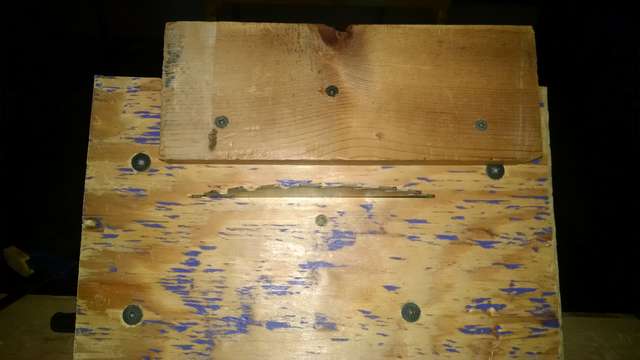
Setting up to cut 3/4" wide strips, using a scrap piece of wood as a spacer ensures the fence is parallel to the blade. |
 |
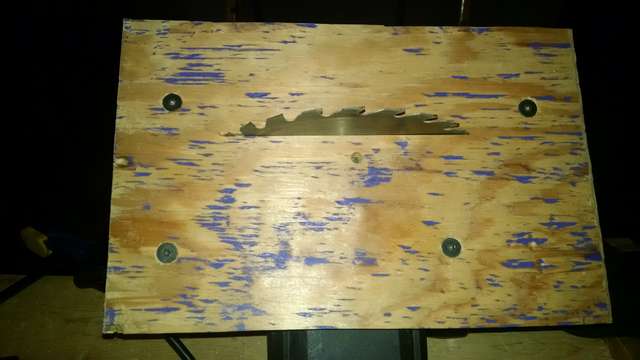
Spacer piece removed, saw all ready to go. My fence is a little short, longer is better, especially in front of the blade so as to stick out in front of the base plate. |
 |
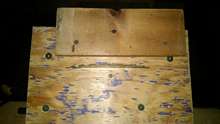
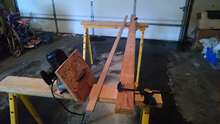
First foot or so of cut, stopped for photos and to adjust clamping. |
 |
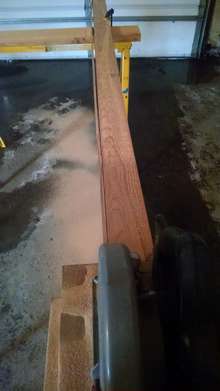
Same as photo 4, but from below, showing the fence and the blade. |
 |
One brand new 3/4 x 1_1/2 strip from the 2x. |
 |
Works well even for thin strips; changed setup to rip 1/4 x 1_1/2 strips. |
Now the bit that allows you to make a straight cut... grab a piece of 1x4 or similar (ply would work) with a straight edge and about a foot long to use as a fence piece. Need 1-1/2x3/4 sticks? Grab another piece of 1x4 (or 1x2 or whatever is 3/4 thick) to use as a spacer. Place it on edge against the saw blade (unplugged!). Which side of the blade depends on if you're right or left handed. I prefer it to be on the right side of the blade since I'm right handed. Place your fence piece of 1x4 flat on the ply foot plate and up against the spacer piece. It helps if it extends forward of the blade a bit. Run 3 or 4 drywall screws through the fence piece and into the plywood foot plate. They need to be short enough to not hit the metal foot plate. Now remove the spacer piece. Viola, circular saw with a ripping fence!
To use, throw that heavy, awkward 2x up on your sawhorses and clamp it down (or for smaller pieces it might be easier to screw through it and into the sawhorses out of the way of your cut). Plug your saw back in, position it at the end of the board with the fence against the edge of the board. Pull the trigger and slowly walk to the other end of the board with both hands on the saw's handles. Keep the fence against the 2x. When you're done, you'll have a beautiful new 16 foot long 1x2 (3/4 x 1_1/2 actual size). If your 2x has some imperfections like wavy grain, it might want to close up on the saw blade. Push a wooden wedge into the kerf behind the saw just enough to open it back up so the blade doesn't bind.
If you're cutting a lot of sticks, a thin kerf blade might also be desirable. Duckworks sells a nice one.
Also, do this outside so you don't have to clean up all the sawdust.
Last tip, don't worry about cutting into your sawhorse tops a bit. If you are, attach some sacrificial strips to the tops of the sawhorses. It is so much easier and safer to not have to worry about positioning your cut line off of the horses' tops. Your board will be much more stable, easier to clamp down (horse legs aren't in the way), and your cutoff will be supported by the horses as well.
|