|
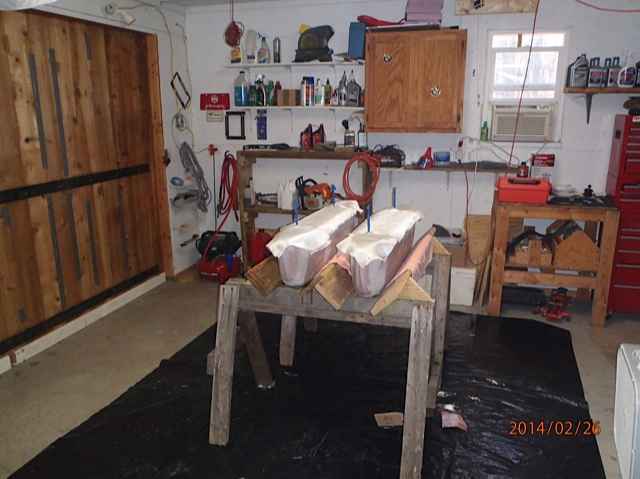
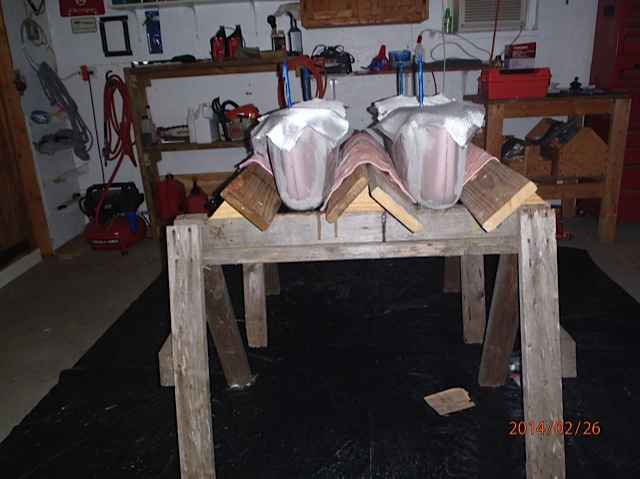
Here are photos of my next step in glassing the pontoons/outriggers.
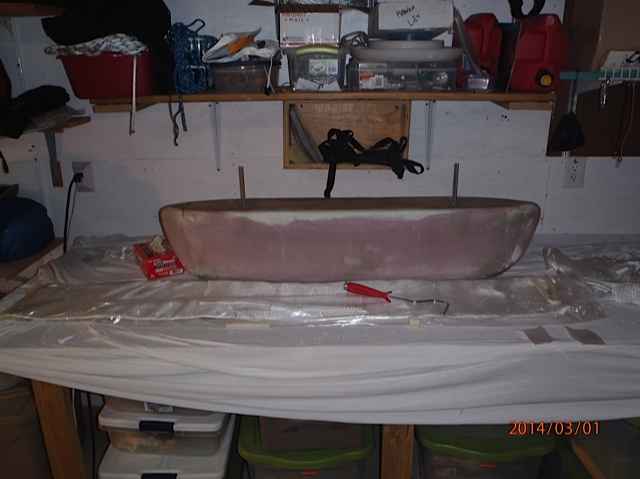
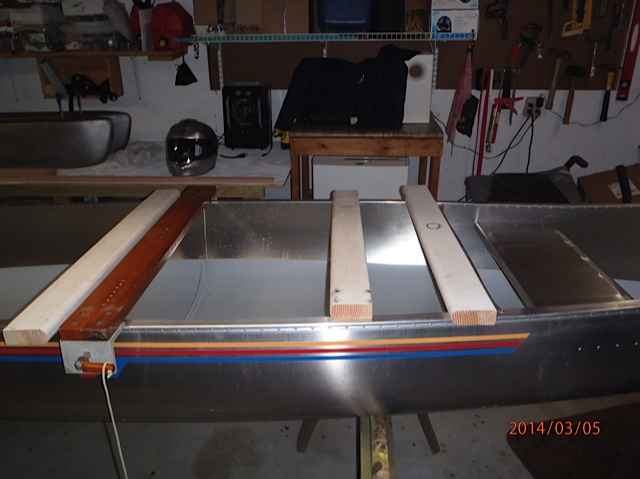
Note I have built cradles to secure the pontoons/outriggers and cut the cloth ready for glassing...
Note the bow/stern areas will be glassed separately for two reasons. One, easier to lay the glass for compound curves in small pieces. Two, I'm glassing each pontoon in three sections to simplify going around the studs which are taped with blue masking tape. I also have small strips cut to join these three sections for strength.
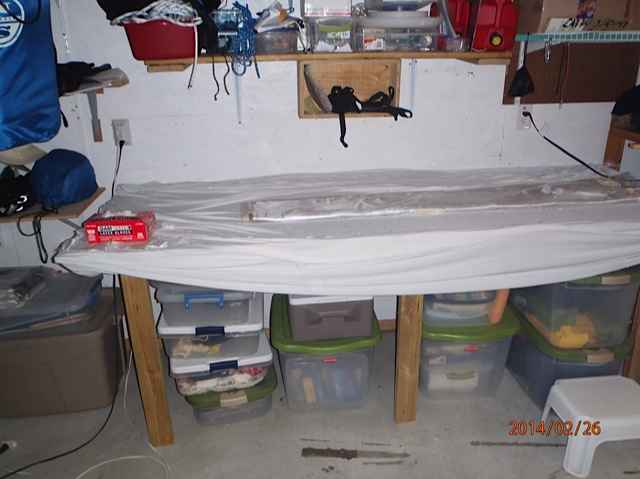
I found using an old bed sheet on my work table made laying out and cutting the glass cloth easier and avoids snags. I'm using 6oz Eglass which is quite thin and requires careful handling.
Just finished glassing the second pontoon. This being my first attempt at glassing it's been a learning experience. Considering my experience, these came out pretty good. They will need some sanding and possibly one coat of thickened epoxy rolled on prior to prepping for painting. I haven't weighed them, but I'm guessing they each weigh about 10lbs, I'll weigh them soon as the second one cures.
 |
 |
You can see white spots, these were where I used spackle to fill irregularities in the foam prior to glassing. This works pretty well, but sanding is tricky since it's very soft stuff when cured. I might experiment with body filler, although it might react with the foam? Body filler is harder stuff, yet it's easy to sand. I'll try and get some before and after photos to show the final preparation for painting. It would be possible to use body filler on the fiberglass, then sand, prime, wet sand and paint, just like doing a auto body repair. We'll know more when we block sand these to see how bad they are..
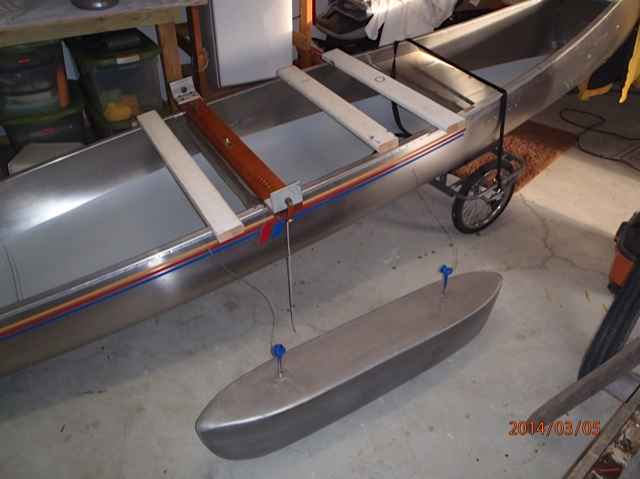
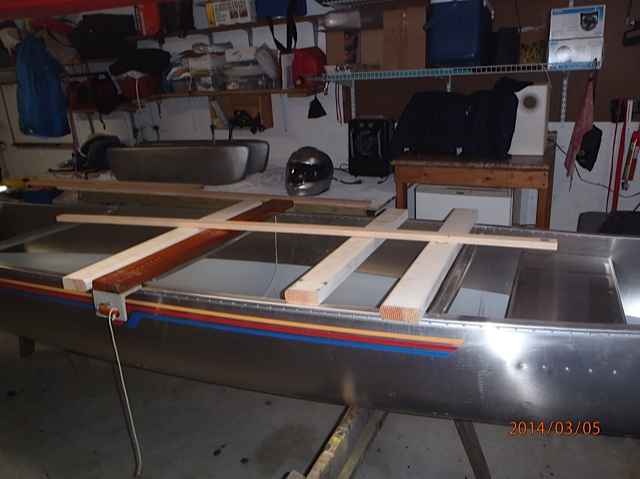
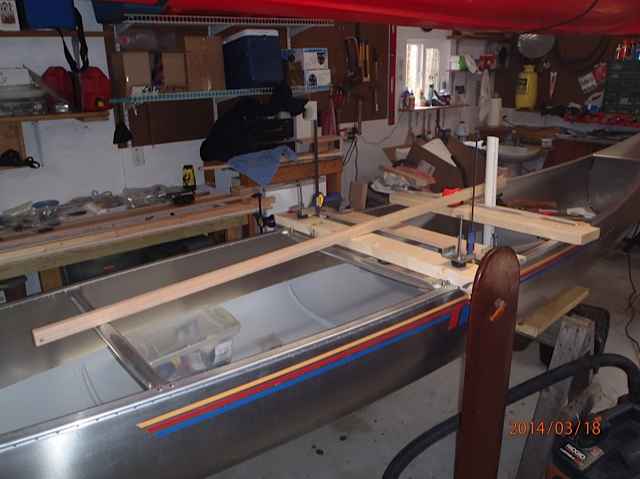
Here are the pontoons painted and a mockup of the location of the leeboards, mast and pontoon struts.
Setting up the rig with the stock stern/bow seat positions, there is ample room midships and towards the stern, the bow seat is a little tricky.
Leeboards will be centered on the hull, the white board represents the aft pontoon strut, the forward strut is just visible. There is room to install a thwart for a mizzen, which I'm still contemplating. I have two bermuda sails I could install and/or use the Sherpa lug with the bermuda mizzen.
The mast thwart will be right at the factory thwart (which will be removed). The mast thwart will be permanently installed. The leeboards will be clamp-on for any possible adjustments. The pontoon struts will be removable for transporting, as will the pontoons (they will be unbolted from the struts for transporting).
This 1x2 represents the boom, note it's about 12" forward of the mast. My wife will have to lean and slide up a bit when tacking, but she's OK with that.
I've been going through a number of mockups in an attempt to determine just exactly how this all goes together. There are some basic guidelines to follow, keeping the leeboards close to the forward center of the canoe, determining the center of effort (CE) of the particular sail you're using, the CE basically determines the location of the mast/sail. There are other details concerning the mast step, on the older Grummans they came with two step tabs riveted to the keel. These were essentially based on the lateen and gunter rigs Grumman sold. The newer Grummans' don't have these tabs, nor does Grumman offer sailing options any longer (not since 1990). However, the tab is relatively easy to have fabricated and an appropriate mast step to mount on this tab. I'll go into more detail about the mast step once I get to the fabricator and have one made. Materials for the thwarts are not difficult to find, and there are many options. I started with 1x4 and 1x6 oak, but have switched to spruce particularly for the leeboard thwart. The leeboard thwart will have a lot of stress on it, so it's important to have a strong structure. It's also important to design the leeboard thwart so it can be moved for adjusting balance. It doesn't have to move very much, 3 or 4 inches is usually sufficient. I'm using metal home made clamps that came with the Grumman lateen sailing components I purchased used. The mast thwart can also be clamped on, but I will mount mine to the railings, thru bolting. I'm using stainless steel fasteners and aluminum or bronze parts to avoid corrosion issues. I'll make comments on each photo:
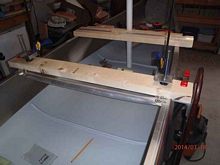 |
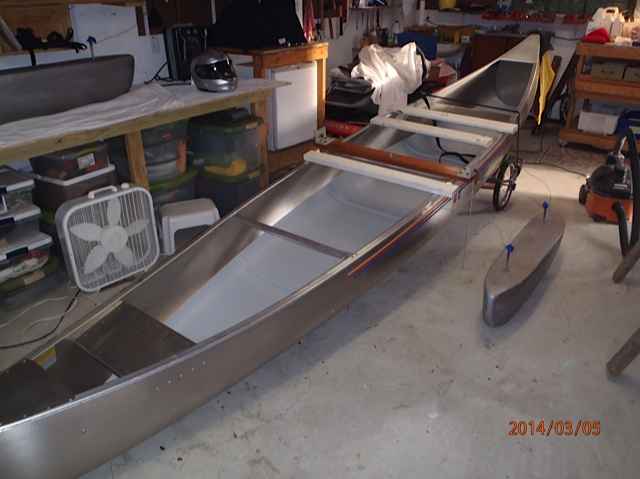
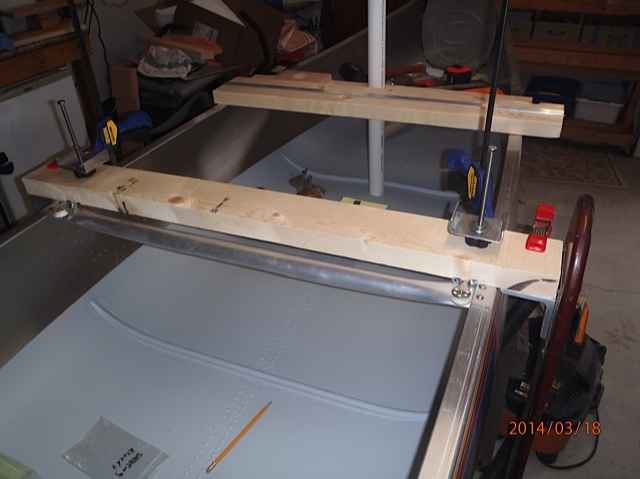
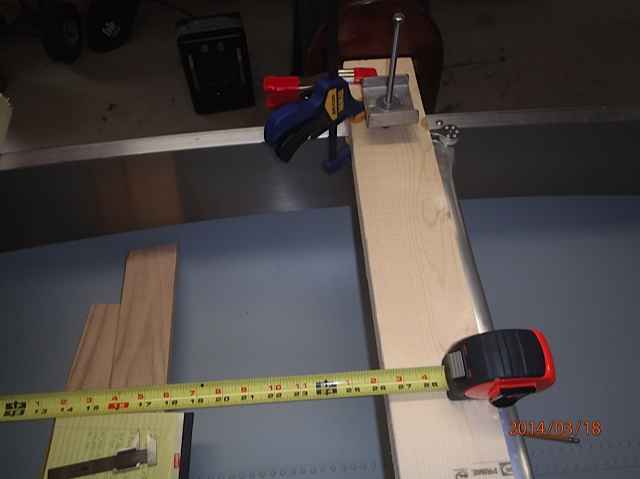
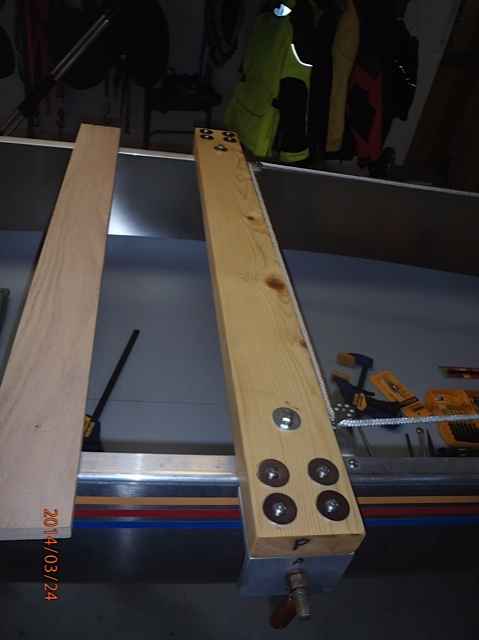
This is the leeboard thwart. I cut this from a spruce 2x6x8 from Lowes (it took some time to find a decent example). I ripped it down to fit the aluminum angle braces used for the leeboard support brackets. These brackets will be thru bolted. Notice the leeboard brackets are inverted to lower the weight and obtain maximum depth when lowered. Also note the home made clamps, these will be thru bolted with a fender and lock washer on top with the thumb screw knob underneath. This arrangement provides the best low profile for the leeboards. The factory thwart will be removed.
Another view of the leeboard thwart.
The measurement is 28 1/2" distance from the center of the mast to the center of the leeboard thwart. CE calculations show between 27 and 30 inches for the location of the leeboards. With the clamp-on system the leeboard thwart can be moved easily.
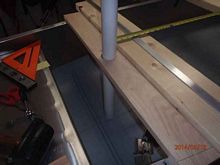 |
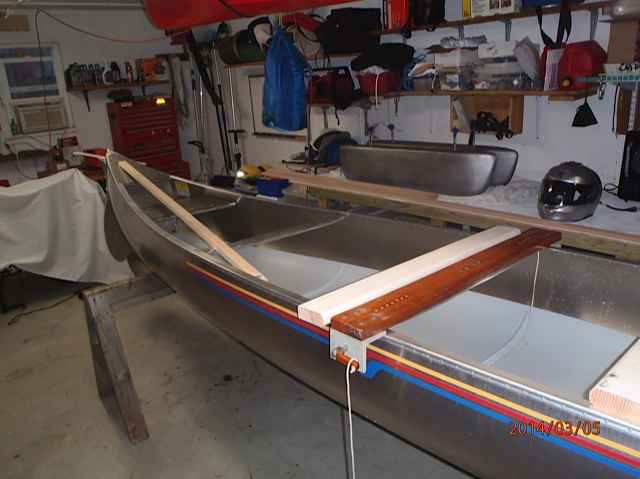
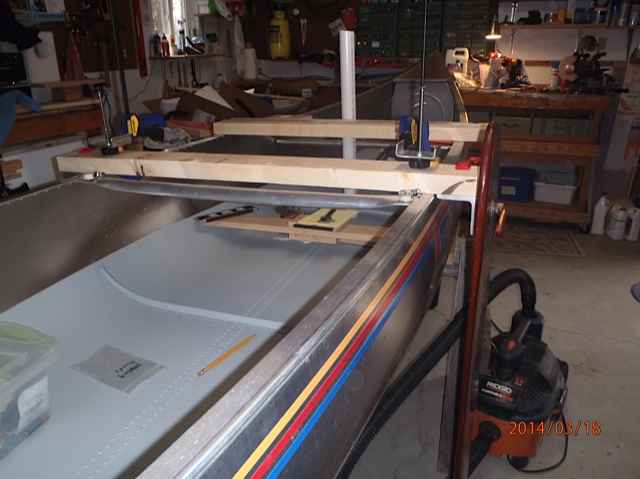
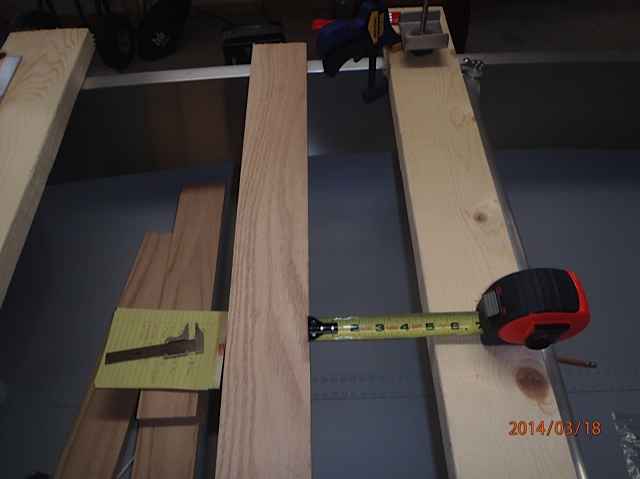
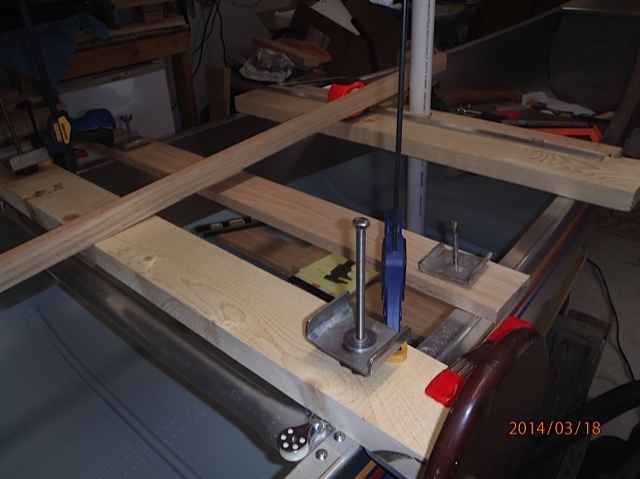
I have the oak thwart with the hole drilled for the mast. I used a 2" pvc pipe to measure and fit for plumb. Remember to level the canoe before you do this step. Since I'm using a balanced lug I want the mast straight up and down. Note the 2x6 just behind the oak 1x4 thwart. I may use it and drill the mast hole close to the forward part of the 2x6 thwart. The wider thwart would provide a location for installing rigging hardware and a place to set drinks/eats if we decide to have lunch aboard. The mast tab will be located flush with the edge of the rib and be about 3 1/2 inches long and 2 1/2 inches wide. Six rivets will be removed to install the tab, the actual tubular mast step will be thru bolted to this tab. The advantage of this arrangement is you can remove the mast step for using the canoe without the sailing rig. It's not necessary as you could leave the step in place, which I'll like do.
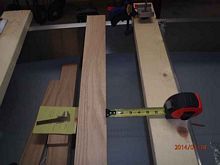 |
This is the oak 1x4 strut for attaching my two pontoons (I call them toons for short). I originally planned to use two struts, but the toons only weigh 11lbs each and a single strut should be strong enough. For good measure I will add a 1x2 screwed and epoxied strong back to this strut. The measurement of 5 inches is the distance forward of the leeboards this strut will be located (thru bolted to the railing). We need 5 inches clearance for the leeboards to rotate up and down.
These clamps could be used to secure the toons, which I may use initially in case they need to be relocated. But I feel they should be thru bolted for strength and to counter the waves hitting the toons could jar it loose.
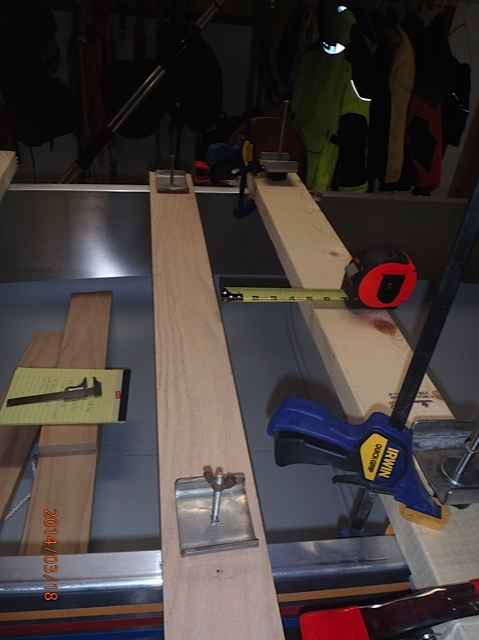
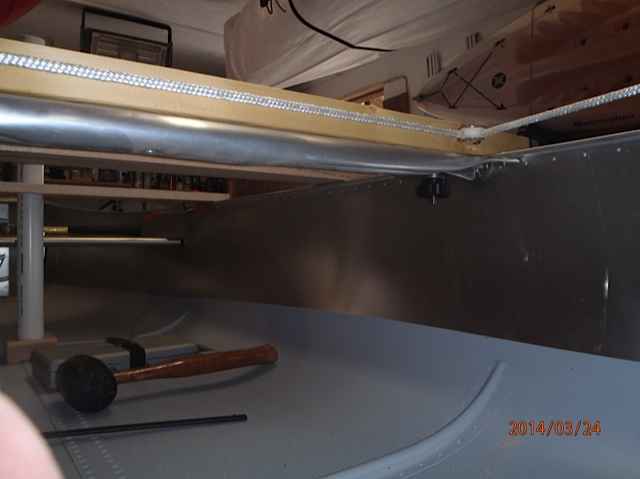
This is to show the distance the boom will protrude forward of the mast. It's close to the back of the front seat, but should provide enough room for crew. When we tack I'll remind crew to slide forward a couple of inches to avoid getting jabbed in the back.
This shows the boom location. The area between the leeboards and mast thwarts is pretty busy, but there is access to stow gear. My objective was to try and leave the factory seating in place, which I have achieved. Some remove the seats and sit on various things; cushions, coolers or low folding beach chairs. But for paddling you need a seat to lean against or sit in. I may remove the aft factory thwart, but it too could be a nice location for solo sailing to sit on a cushion and lean against another cushion sitting on the floor.
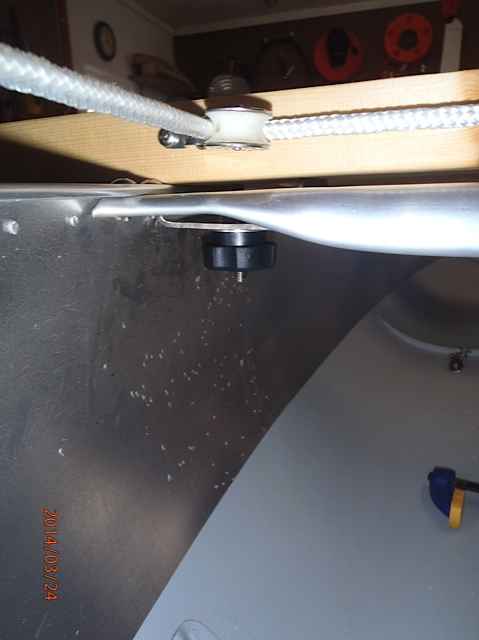
This shows the location of the single line steering system, two blocks will be mounted to the aft edge of the leeboard thwart. The steering line will be attached to the rudder yoke with carribeaners and small springs. The springs will keep the steering line taught. The steering line will be just inside the gunwale, easy to get to.
Here are some more photos of the latest progress with the Grumman sailing canoe project. We are experiencing a late spring arrival here on Lookout Mountain in AL, snow flurries yesterday! Soon as the weather improves, I can get more done.
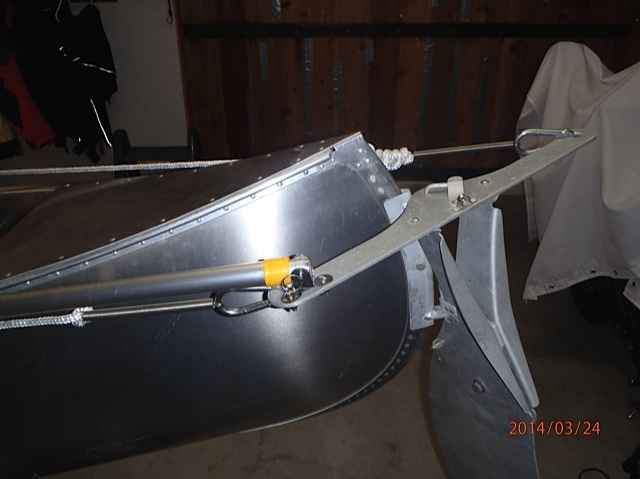
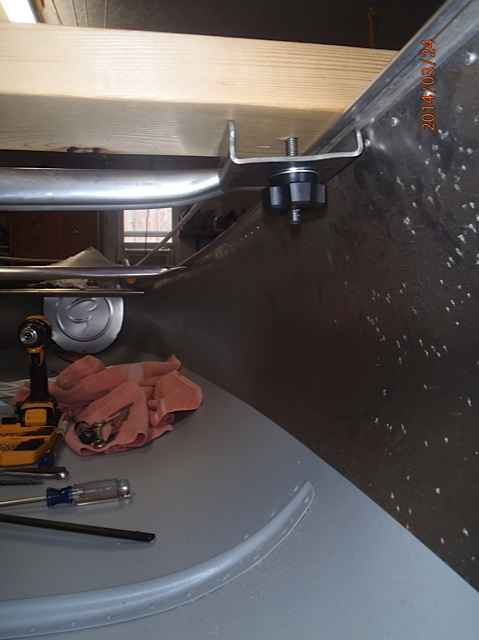
Using U-joints and a painters extension pole, I mounted both the line and tiller steering. Note spring attached to line and carribeaner. I can use either a tiller or line steering, although I think the line steering makes more sense.
With the leeboards thwart in place I installed the blocks for the line steering. There are springs on the line and carribeaners to keep the line taught. I used 3/8 line for easy on the hands operation.
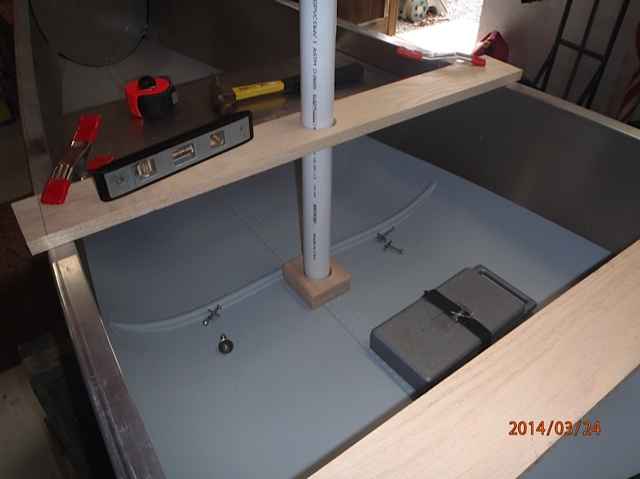
Using a wood mast step and a 1 1/2" PVC pipe for aligning, you can see the thwart placement. There is another option for the mast step, removing six keel rivets and having a step fabricated to bolt in place. The advantage of using a bolt in step is it can be removed and/or relocated by removing rivets and thru-bolting to the keel. The obvious disadvantage of marietexing the step in place, it's extremely difficult to remove. I'm undecided which I want to use. The mast thwart is 1x4 oak, although I have a section of 2x6 spruce which would match the leeboard thwart. The 1x4 oak middle board represents the location of the pontoon strut.
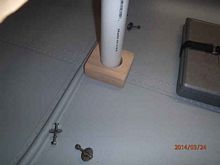 |
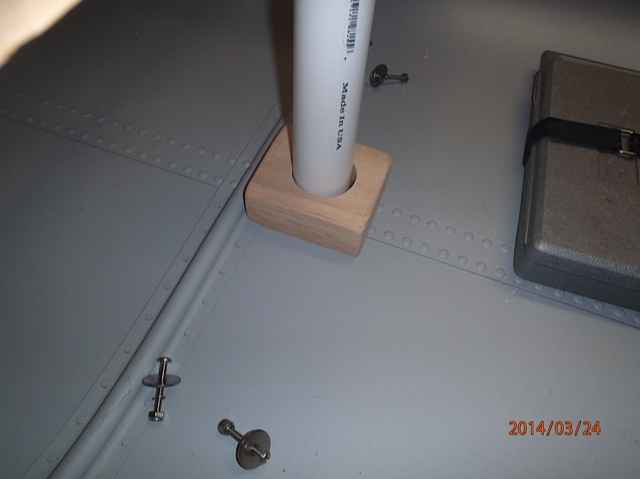
The wood mast step is of two 1x4 oak boards epoxied together. There is a 1/8" channel so it will fit over the keel rivets, leaving two (feet) on either side of the keel for epoxying in place. I also cut a 1/8" ridge across the front of the bottom of the step to rest against the rib and avoid the rivets. Once it's epoxy coated it will look nice and last for a very very long time. This is not a bad option, but the bolt in step made of aluminum also has merit.
All SS fasteners, note I marked the leeboard bracket and leeboard thwart "P" for port, "S" for starboard on the other side. The fender washers protect the wood. The fifth bolt is for the clamp.
I used 5/16 bolts and a plastic knob for securing the clamps.
I will remove the factory thwart as it will not be necessary.
It's important to note the leeboards are best clamped-on since they may need to be adjusted for balance when sailing, plus easy removal when not needed. The mast step is permanently installed. Locating the mast step position is involved, but once determined, it shouldn't need moving. The CE of your sail and sail plan effect mast placement and leeboard alignment to the CE of the sail. But I understand some adjustment of the leeboards may be required, particularly on a light narrow sailing canoe where weight distribution is critical. Sailing solo and/or with crew could require changing the leeboard position.
|