
 Custom Search
|
| boat plans |
| canoe/kayak |
| electrical |
| epoxy/supplies |
| fasteners |
| gear |
| gift certificates |
| hardware |
| hatches/deckplates |
| media |
| paint/varnish |
| rope/line |
| rowing/sculling |
| sailmaking |
| sails |
| tools |


| join |
| home |
| indexes |
| classifieds |
| calendar |
| archives |
| about |
| links |
| Join Duckworks Get free newsletter CLICK HERE |
|
|
| Making a Rudder for a Chrysler Mutineer - 2 |
by Jerry Thompson - North Carolina - USA |
|
We built the rudder blade in Part 1. Now let's move on to the rudder head.
1. First we need to do some work with the pintles. With a hacksaw cut the top pintle so that just 1" remains. This is plenty to secure the pintle in the gudgeon but allows room to avoid the rubrail while installing the rudder assembly. 2. Next drill a 3/32nd" hole in the bottom pintle to accommodate a R Clip which will secure your rudder assembly to your boat. First you must create a flat spot with a file at the location of the hole. The drill bit will slip without this flat spot. Then slowly drill the hole. You may want to drop the pintle at a machine shop and have the job professionally done for around $10.
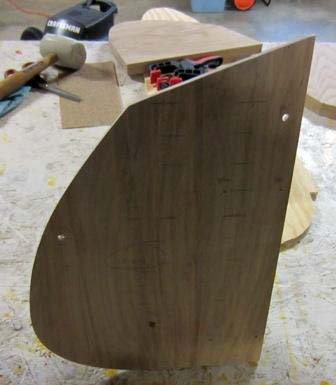
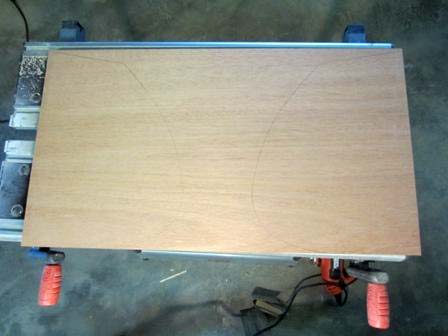
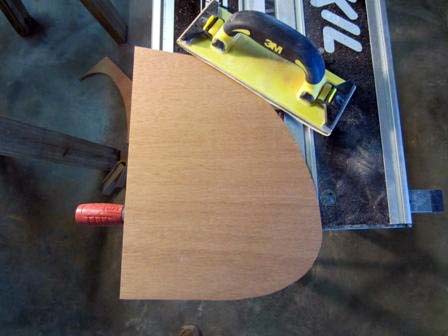
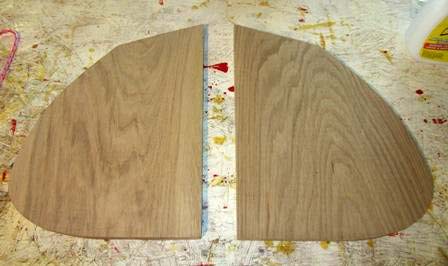
3. Now it's time to cut the cheeks out of your ½" board. I used ¼ inch plywood to make a template. I then used the template to mark the mahogany for cutting. That way if I screwed up I was not out a piece of mahogany. The measurements for the cheek template are in the Cheeks.pdf. The following picture is the completed cheek template. Note that this template is
4. Mark the ½ " mahogany using the template to create two cheeks.
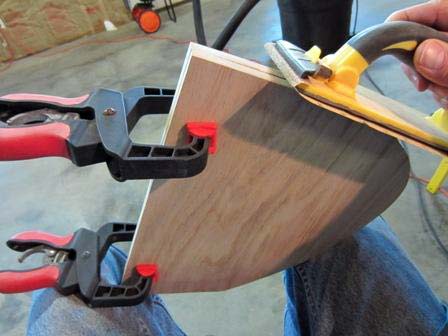
5. Use the sanding block to true the lines after cutting out the cheeks first individually then clamped together.
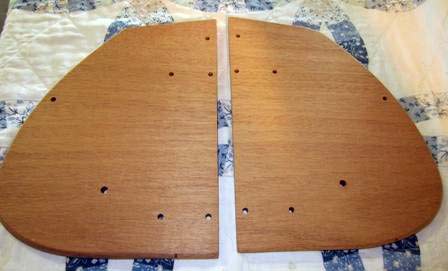
6. Use the template to mark the location of the ¼ inch and single 5/16 holes. Clamp the boards together and drill the holes – CAUTION – it is extremely hard to drill straight holes. Even a hair off will cause the cheeks to be out of alignment. If you know somebody with a drill press, it is the best way to drill the holes straight. If a drill press is not available, use the buddy system to keep the drill bit perfectly straight – not an easy task. I found a friend with a drill press.
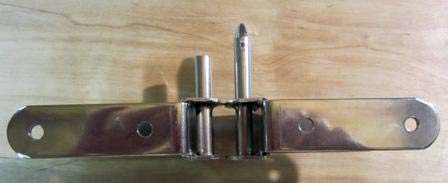
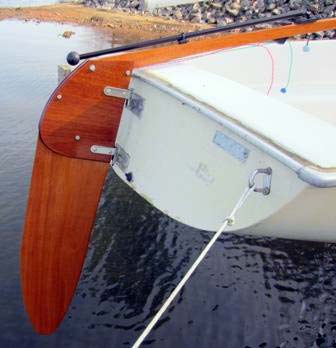
7. The 4 lower holes used to secure the pintles must be countersunk on the inside of the cheeks. This will permit the rudder to raise and lower. Use a drill with a ½" countersink bit. Check your progress often so that the head of the machine screws are just flush with the board.
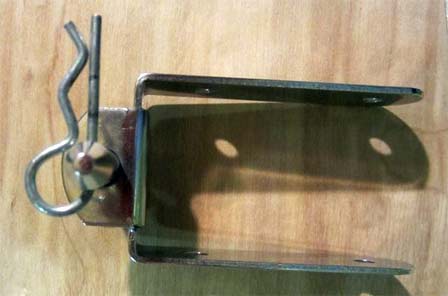
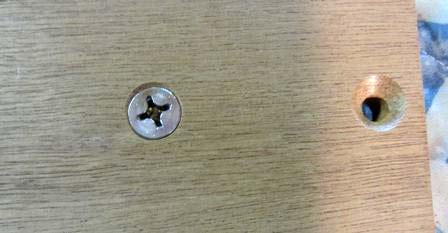
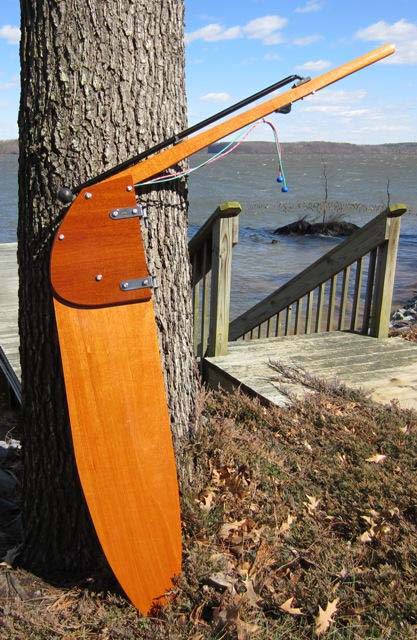
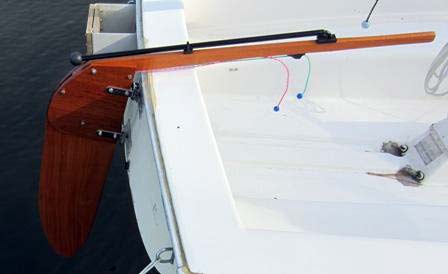
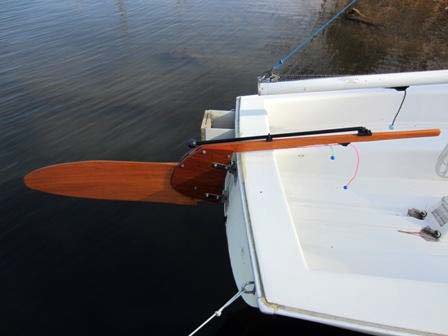
8. Use the 40" x 2 ¼" board left over from the rudder board to fashion a tiller. At the rudderhead end, draw a 3" line starting on the end, bottom and finishing on top towards the user end. Saw this piece off as this would protrude from the rudderhead and be of no use. Use a small wood plane adjusted to remove the smallest amount of wood to shape the handle end. Start 10 inches from the handle end and plane the 4 sharp corners towards the end of the handle. Continue planning until a "rounded shape" is achieved. Smooth with 100 grit sandpaper. 9. Varnish the cheeks and tiller. 10. Assemble the rudderhead. First prepare the nylon spacers by cutting down to ¾" with the hacksaw . Next install the bottom pintle, the long one with the hole drilled in it. Use ¼" x 1 ½" machine screws and ¼" nylock nuts. First attach one side then the other. You will need the offset screwdriver for the second side. 11. Attach brass screw eye, cam cleat, tube clip and tiller extension to tiller. Attach the hiking stick 11 inches from the user end (drill holes and through bolt with 2 SS 10x24x2" bolts and nylock nuts.). Attach the tube clip 15" back from the base of the tiller extension base, secure with 2 SS #6 x ¾" machine screws. Attach the clam cleat 14 ¼ inches from the user end (drill pilot holes and secure with 2 SS #6x3/4" machine screws). Finally attach the brass screw eye 17 inches from the end. Attach the tiller to the rudderhead assembly. Run the uphaul and downhaul lines through the screw eye and add parrel beads to the user end to facilitate gripping the line. 12. Install the standoff screw, SS #10 x ½", on the leading side of the rudder so that it hits the middle of the lower pintle assembly. The purpose of this screw is to prevent the rudder from moving forward past 90 degrees.
That's all there is to it! Go sailing. It will take about one week to complete this project due to the drying times between coats of varnish. Actual hands on time will take from 8-10 hours.
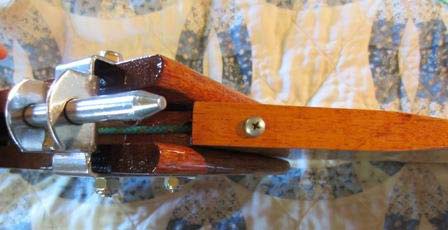
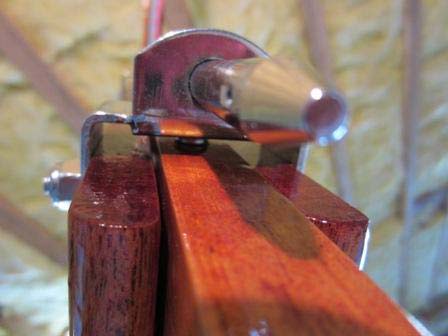
Notice the tiller in the rudderhead. The final ruddercheek dimensions, cheeks.pdf, are so that the tiller is completely covered. I think this looks better and probably gives the tiller more leverage on the cheeks.
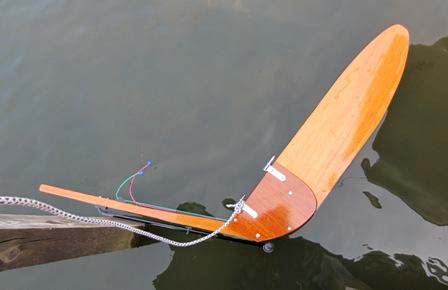
And finally the swim test. You will not lose this rudder assembly to Davy Jones' locker as it floats! |
To comment on Duckworks articles, please visit one of the following:
|


 |