| To Part One
To Part Three
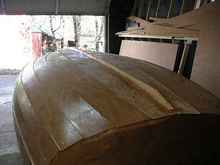
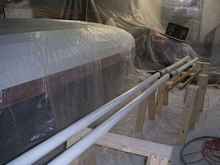
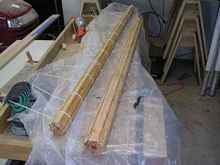
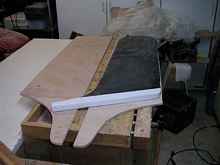
The next step was to shape and install the external keel and
stem. The shape of the stem required laminating strips. Because
I would be installing a stainless keel band, I opted to stick
with Doug fir here instead of going to a hardwood. The external
keel and stem were glued on with thickened epoxy and stainless
fasteners.
|
Planing off the landing in preparation for
the stem |
|
The external stem being laminated in its
form |
 |
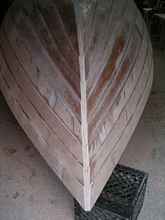
The keel |
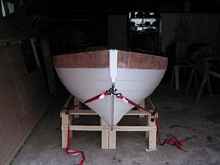
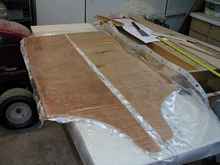
Having missed my schedule, I was now prepping for hull paint
in the freezing cold. An unusually cold winter had hit us and
I now had to wade through snow to get to the workshop. I spent
hour after hour, day after day, fairing and sanding. This is tiresome,
often depressing, work. Instead of looking better, the boat just
seemed to get uglier each day. Eventually, I got her as smooth
as I could and called a buddy who would let me borrow his HVLP
painting system. Soon, I would paint.
 |
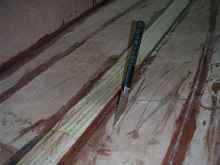
Using chalk and a long board to find problem
areas |
 |
A scarf joint that needs attention |
 |
Building up the stemhead |
 |
The hull goes outside for the first time |
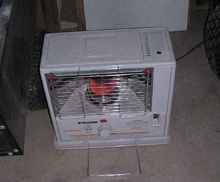 |
The portable heater that saved me from certain
death by freezing |
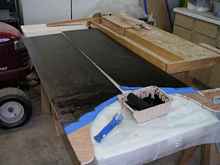
Taking a page from Dexter, I wrapped my workspace in heavy plastic
and prepared to get to work with the spray rig. I used Glidden
oil-based porch paint and, once I figured out how thin the gun
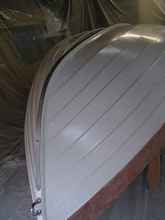
needed the paint to be, it sprayed on beautifully. When finished
painting at the end of January 2010, the hull wore three coats
of epoxy and four coats of paint.
 |
Glidden oil-based gloss white paint |
 |
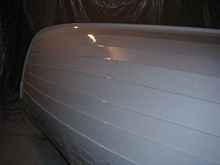
It's definitely shiny |
 |
The painted hull, ready to go under plastic
for a month of curing time |
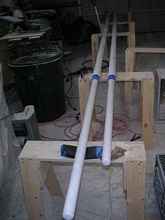
Much of frigid January was spent working on masts and other non-hull
tasks. The masts have three sections; two sections of aluminum
tubes and the top section of birdsmouth Southern Yellow Pine.
Once painted, they were joined using fiberglass bearings and shoulders.
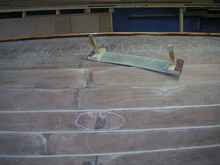
Once the hull paint had cured, I was able to fabricate and install
a 316 stainless steel keel band. The way I run into stuff, this
will come in handy.
 |
Shooting more Glidden porch paint on the
mast tubes |
 |
Birdsmouth mast tops gluing on the workbench |
|
The masts aligned and glued |
|
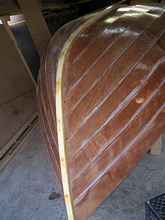
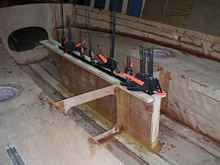
Stainless bar stock fastened to the external
keel with countersunk fasteners |
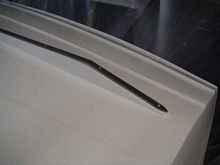 |
I fear no reefs |
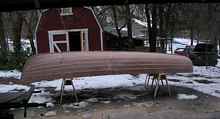
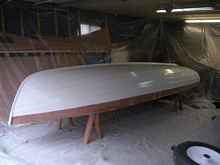
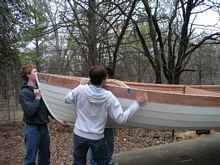
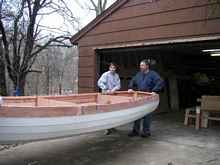
On February 6, friends assembled for the turning of the hull.
For the first time, I was able to see what my new boat would look
like. I fell in love with her all over again. All that thankless
planking, fairing and sanding was suddenly worth it.
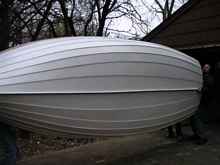 |
Five of us turn the 150 pound hull over |
 |
We finally get a look at the boat from the
right side |
 |
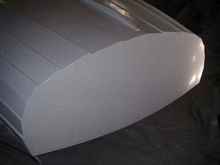
The hull is not only beautiful, but very
light |
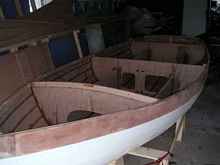 |
The cockpit starts to show itself |
 |
Lapstrake artwork |
It was February and still bitter cold. All epoxy work had to
be tented and heated with work lamps so it would set up over night.
Outside, the snow was still piling up. But, I diligently waded
through it to work on the cockpit. I was still spending every
available hour trying to get the boat completed for the start
of the sailing season (which I would ultimately miss).
 |
Laying out the bench tops |
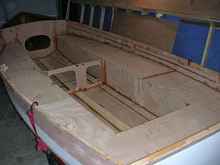 |
Once the locker interiors are filleted and
epoxy-coated, the tops could go on |
|
I built a pair of insulated ice boxes into
the benches, accessed through deck plates |
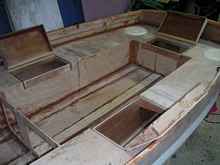 |
Then, locker hatches could
be constructed
|
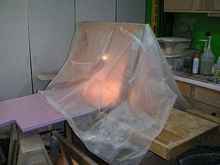 |
A heating tent to help epoxy cure in frigid
temperatures. I might as well be in Alaska. |
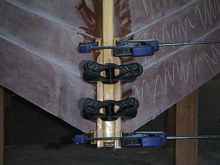
March 2010 arrived with even more snow. To celebrate, I started
work on the centerboard trunk. The trunk interior is glass covered
and graphite-epoxy coated. When assembled, it was glued, screwed
and clamped over the centerboard slot.
 |
Trunk components are cut from ¼"
Okoume ply |
 |
9 oz. cloth will protect the trunk from
wear |
 |
Graphite on both the trunk interior and
centerboard should reduce binding |
 |
Assembling the trunk and testing fit |
 |
My Japanese saw quickly cuts the centerboard
slot |
 |
The trunk fits over the slot and through
the mid-bulkhead |
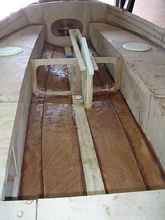
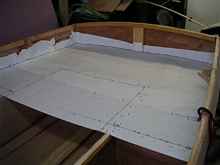
Before I could shoot paint on the interior, I needed to finish
several cockpit tasks. I covered the cockpit sole with 4 oz. "surfboard"
cloth from Duckworks. So, the bottom of the boat now has a stainless-clad
keel, ¼" ply, 9 oz. cloth on the exterior, 4 oz. cloth
on the interior, three coats of epoxy on the outside and three
more coats on the inside.
I built mast steps from laminated plywood. I want my masts to
rotate, so I inset slippery HDPE plastic. Also, it is supposed
to bring good luck by putting a coin under a sailboat's mast and
good luck is something I really need. So, I permanently set state
commemorative coins in both the main and mizzen steps. I put a
North Carolina coin in the main step because the boat was designed
there; an Oklahoma coin in the mizzen step, as the boat was built
here.
Untold hours were spent sanding the boat's interior. Trust me;
it gets old after a while. But, if you want a pretty, smooth cockpit,
it has to be done. Also before I could paint, I needed to cut
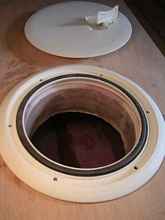
a hole and "bed-in" my Anderson bailer. Soon, I'll be
ready to paint!
|
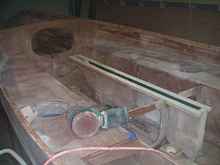
Glassing the cockpit sole |
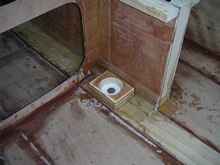 |
The mizzen mast step with embedded Oklahoma
coin |
 |
Hours and hours and hours of sanding |
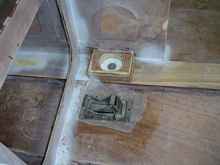 |
Bedding-in the bailer |
to be continued....
For more details on this building project and our ongoing adventures,
visit Blue Peter's website at www.svbluepeter.com.
Fair Winds
John Turpin
Edmond, OK
s/v Blue Peter
*****

|