| 1 have used several
of the butt-joint methods in the past, and have been
looking for a better way to make one as strong and
invisible as possible, and I came up with the following.
This butt-joint is
made without fasteners, using just epoxy-glue, and
we want to glue more than just the surfaces together,
so this is what we did.
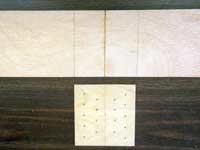 |
Photo 1
(click images for larger
views) |
Step One
Lay out the two panesl
of one-eighth inch plywood to be joined and also a
butt-block of the same thickness material (Photo
1)
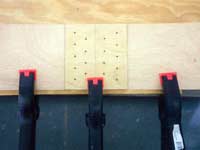 |
Photo 2 |
Place the butt-block
over the joint, and then drill through both pieces
with a small drill bit (3/32 to 1/8 inch), in the
marked places. (Photo 2)
Step Two
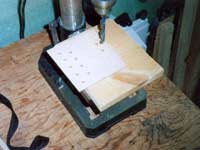 |
Photo 3 |
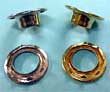
Now we want to ream-out
the holes on the inner faces of both the panels and
butt- block to a depth of the outer ply of the plywood.
Use a reamer bit or a larger drill-bit as shown (Photo
3).
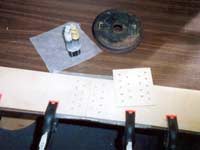 |
Photo 4 |
Now --- when glued
together we are bonding more than just the surfaces
of the plywood. We are creating a bond through all
layers of the plywood. This makes the joint stronger
and in my opinion the butt-block can be narrower and
thus less flattening of the panel at this point.
Step Three
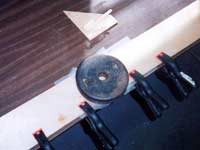 |
Photo 5 |
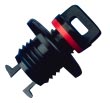
We are now ready for
the epoxy. (That used in this example is from Ace-hardware)
Put the epoxy on the edge of both panels to be joined,
position them on the wax- paper, coat the surfaces
of both the panels and butt-block being sure to fill
the recessed holes. When pressing the butt-block in
position you will squeeze out through the holes the
excess epoxy, remove the excess before covering with
another piece of wax paper and adding the ten pounds
of weights (photo 4-5).
Step Four
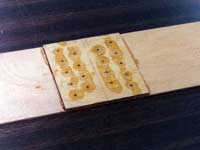 |
Photo 6 |
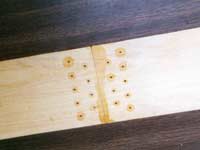 |
Photo 7 |
After the epoxy has
set and is still tacky, but not hard, 1 remove the
weights and wax paper and scrape both sides of the
joint, then replace the paper and weights leaving
it until it is hard (Photo 6-7).
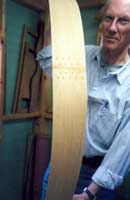 |
Photo 8 |
Results (Photo
8) |