Building The Chesapeake 17
by Chris
Bullen
As a requirement to build another
boat for myself my lovely wife ask that I build her a kayak before
I go on to something bigger. This was OK with me as a kayak is
another boat. (Ha Ha!)
I had never been in a sea kayak
so I looked around and after consultation with people in the know
I decided on the C.L.C. Chesapeake 17. It's relatively small and
seemed to be simple to build. This is a hard chine stitch and
glue plywood boat . I purchased the plans and gave them to Julie
for Christmas, as I could not get it built before that.
Its real cold here in the winter
so I started to lay out the boat on the plywood in our living
room. Remember it's for Julie so certain rules can be over looked.

The plywood was scarfed together
prior to laying out the lines. After this we moved outside to
cut out the panels.
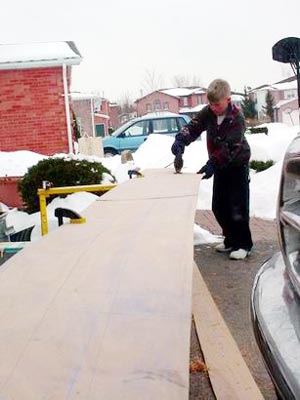
Using a jigsaw we cut out all the panels leaving the line visible
and then planed to line to get a smooth edge. Glued shear clamps
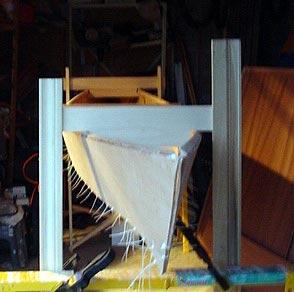
to the sides. After drilling many holes with the panels together
so the holes were lined up we used electrical zip straps to sew
the panels together. Once this is done the boat starts to take
shape. The boat is hung so as not to deform the shape, a spreader
was put at the widest point to help hold the shape.
The next step is to lay in Strips
of fiberglass to glue it all together. Once cured then cut off
all the ties and sand smooth. Next we flip it over and add a deck
beam and bulk heads.
The deck is installed in two pieces
. The first time I did it I ripped the plywood with a strap. Ouch!
After buying a new sheet of ply I tried again. The deck is nail
and glued to the shear clamps then the coaming is installed this
is made of 3 pieces to get the thickness needed and to be able
to form to the decks shape.
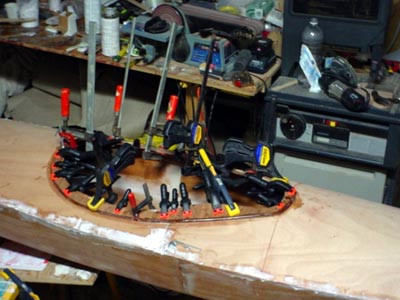
That’s every clamp I own
under 4’. next step, wrap the whole bottom in glass.
Now more and more sanding
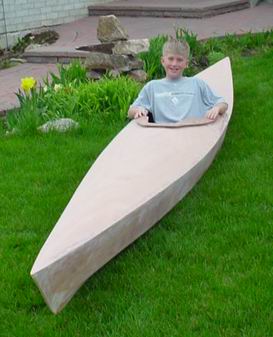
I added rub rails and an inlay
to the bow and stern to give it a classic look . The rub rails
turned out to be great to protect the sides getting in and out.
Julie was in charge of colours and schemes so I did as I was told
and painted the bottom and varnished the top.
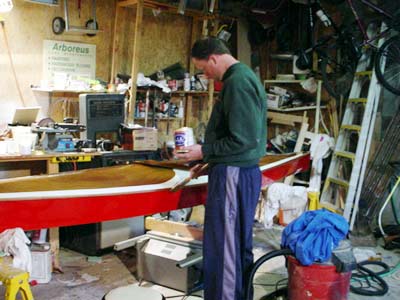
I had to keep taking it back into
the house to get all the glue and paint to cure. It was a long
cold winter.
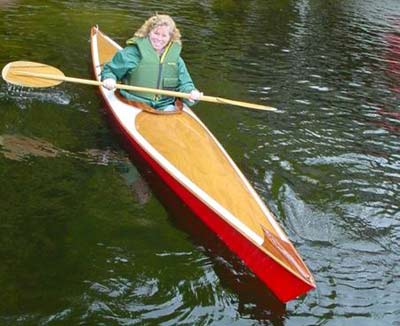
The first launch was may 24. It
was cold and very windy not a great day to try a kayak when you’re
a novice. The day was with out incident. The only challenge was
getting out of the boat. I am glad we went with a hard chine as
the extra stability was needed for our novice status.
The boat is tippy at first, but after a little time its very stable
and tracks nicely.
Turns out, it was a great stitch
and glue Kayak to build for the first time.
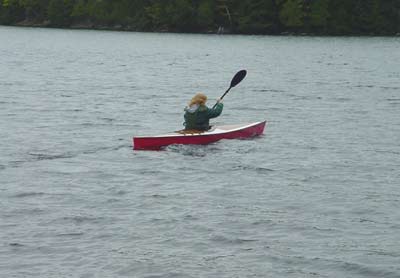
I have taken the boat out in the
mornings into parts of the lake that I have never been, shallow
and marshy this is no place for a motor. It was great fun to be
away for the main part of the lake. Lots of birds, peaceful.
We have had a great time in the
boat this summer. Now its grown on me and I may need one for myself.
Happy Boating
Chris
Bullen
|