Entry 5
by David Beede juliejj@nersp.nerdc.ufl.edu
click here for Page Two

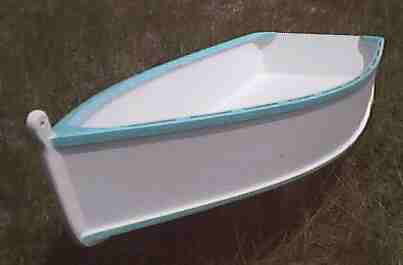
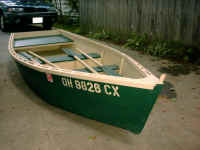
My entry into the Duckworks contest is an 11'8"
long 50" beam 16" sides, high capacity skiff reminiscent of the turn of the
century flatiron skiffs. I know the contest guidelines urged us to stress
specific use, but since this was conceived as a community boat building craft,
what I've tried for is versatility and ease of construction. No lofting is
required and all saw cuts are straight. The "bump" where the sides rise to the
transom is smoothed out with plane, rasp or sander. The chine log, PL premium
and bronze nail construction keeps young fingers out of Epoxy and glass,
though she can be stitch and glued and glass sheathed if conditions warrant.
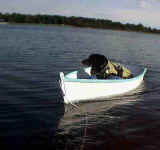
She's a pleasure to row, and I have several
times hit 7.5 knots with her humble polytarp lug sail in moderate breezes.
Though I've only had my wife and I, our dog and a picnic in her as yet, her
leeboard creates wide open sprawling space enough for a bed roll to a
dedicated small boat camper.
Though I didn't have more than an electric
trolling motor in mind when designing her, one builder has had fun with a 4
horse kicker on his version of this boat.
 |
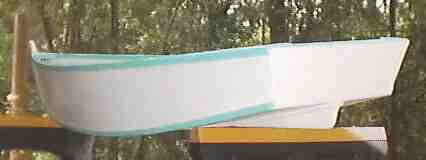
Here are the three
views. I'm no artist so the photos of the model and the boat will
have to do. |
And here is the way the sheets of ply and board
stock are utilized.
 |
You'll notice that the
waste in the side layout sheet is the saw dust from the kerfs. This
sheet also provides butt blocks, skeg, oar blades and quarter
knees. |
 |
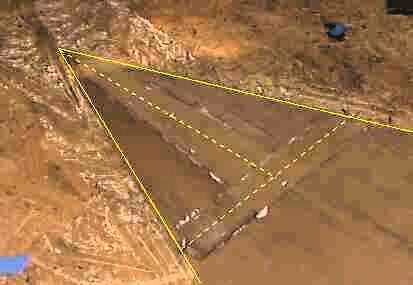
The rotated triangles
in the bottom layout is what make it possible to get such a large bottom
section from one sheet. Gussets, mast step, leeboard backing and bow
butt blocks also come from this sheet. |
 |
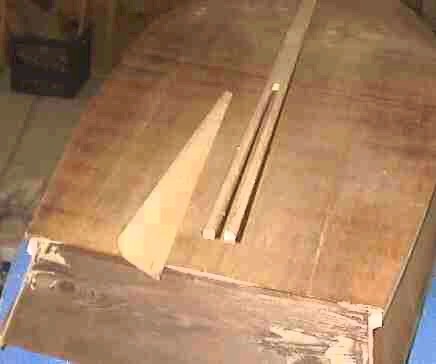
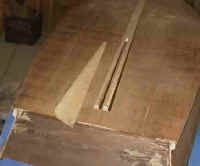
Here's photo of the bow
triangles and their butt blocks. |
 |
Using solid stock for
the transom allows maximum bottom and sides from ply, and makes for a
respectable capacity skiff without going to a pram
bow. |
 |
The stem can be made of solid
stock, but this resaw sandwich method uses the least wood. The ply
gussets are sandwiched between the bottom and side frame
members. |

|
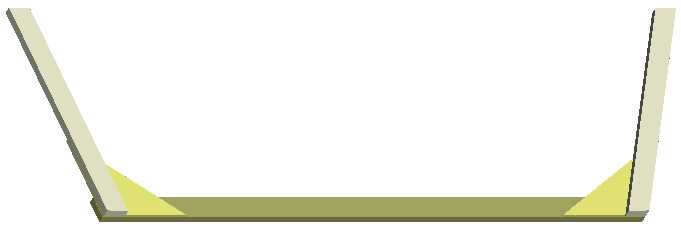
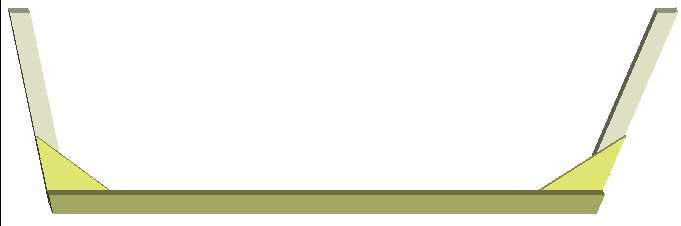
Here are the sketches
of the frame. The shaded version below should make it clearer how the
gusset is sandwiched. |
Gunnels and chine logs...
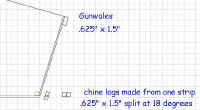 |
The photos show split gunnel
and inwale set up, but this single gunnel is simpler and sufficient. The
chine log is not necessary if the bottom is stitched to the
sides. |
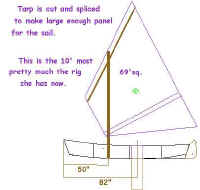 |
I had to
laminate a couple of pieces from one of the 1" boards and scarf to the
2x4 to get the 10 foot mast I wanted. One pole is used for the upper
spar of the lug sail. I was going to use the other for the sprit boom,
but someone mentioned that in this contest, a row boat needed to make
the oars from the material (you can specify a purchased motor, but not
oars?) So now the sail is either loose footed in the chine log version,
or if she's stitch and glued together the chine log material can be used
as the sprit boom. Sail making details are HERE. |
| |
Here's photo of the bow
triangles and their butt blocks. |
 |
The laminated ply skeg
slips into a slot in the keel making fitting it to the bottom
simpler. |
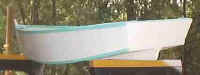 |
In spite of all the
straight cuts, to my eye, her finished lines are sweet and flowing. One
of the small miracles of boat building. |
 |
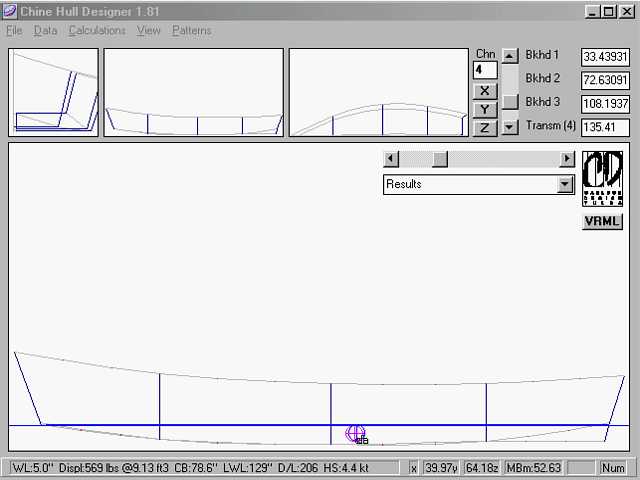
Here's a screen shot of
Gregg's Hull program showing the displacement at 569. The water line
just touches the stem and transom here. At 650lbs it not even an inch
higher, but seems like pushing it. Displacement, of course includes the
weight of the hull. Capacity is how much she can hold, which is over and
above the weight of the hull. Since the finished boat weighs about 60
lbs, I've estimated her capacity at 500 lbs. This is an upper limit
figure and I expect her rarely to be that
loaded. |
 |
She trims fine for
rowing. |
 |
This is the motor boat
version. |
 |
Ultra Light Rowing Version
-
This is a fantasy of an ultra light version that
is a simple approach to lapstrake building. The lap gluing is done flat on the
floor, the gunnels and the chine logs are attached and the side is bent as an
assembly. (I know this sounds far fetched but Steve Redmond used this approach
in his skiff Whisp.) The side sheet is 1/8" ply. 1/2" overlaps provide added
stiffness. The gunnels are notched (1/8" x 3/4") to enclose the top of the
sides, a la Herb McLeods OSS. This seals the top of the ply sides and extends
the height of the side 3/4" to make up for most of the inch lost in the
laps.
 |
In this case I would
temporarily hold the side panels together with duct tape while cutting
the strakes. The bow and stern are divided in thirds then a batten
or PVC pipe is used to draw the curves of the strakes. Cut with a thin
saw blade, saber saw, or even a matt knife. 1/4 staples can be used to
"clamp" the laps. The strakes could be skarfed with epoxy and 2" tape
rather then 1/8" butt blocks. |
 |
I confess this board
layout was done before the Duckworks contest so it calls for one 12 foot
2x4. In keeping with the rules, we will scarf it from the two 8 footers
allowed. For oar locks I glue 3/4" thick blocks to the gunnels with
stainless deck screws, then drill a 1/2" hole lined with half a brass
grommet for canvas works. This really works! |
 A sketched view.
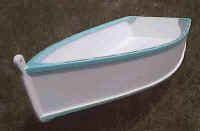 |
This was the
proof of concept 1/4 sized model done in 1/8" |
 |
click here for Page Two